Sometimes my desire for a beautiful home wars with my desire to be frugal. I love design. I love all the HGTV and Style channel shows with beautiful furniture and perfect decor. But I don’t love the idea of spending close to $400 on a swag lamp.

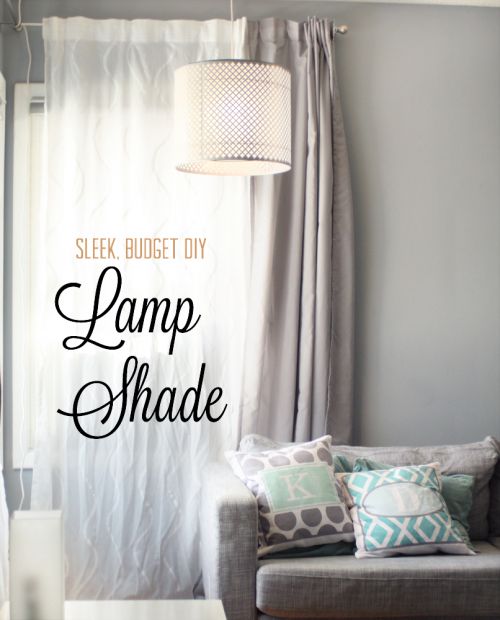
It all started when hubby and I saw This Lamp online. We had been looking for just the right lamp to finish our living room decor. We LOVED that lamp. But, at $400 I couldn’t help but think, “We can do that.” So, we this DIY Swag Lamp Shade!
Seriously, I can’t believe exactly how easily this thing went together. We added some paper behind the radiator screen to make the light softer, and it suits the space just perfectly!
What I Used:
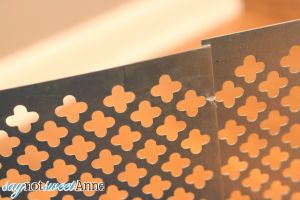
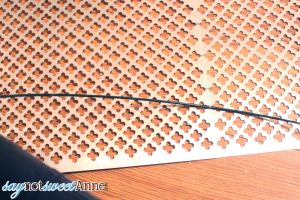
- “Radiator Screen” type metal sheets (I got mine at Hobby Lobby. It took two to finish the project. They were $11 each, but I bought them with a 40% off coupon!)
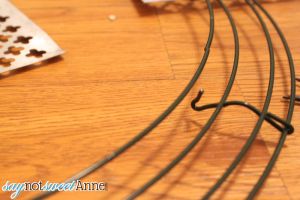
- Green Wire Wreath Frame x 2 ($1.99 each)
- Thin silver toned wire (on hand)
- Old pendant lamp shade (Thrift store: $2)
- Wax paper
- Iron
How To Make It:
- Start by removing a loop of wire from the wreath form. In theory, you could just bend a wire hanger to a circle and use two of those. But, I know how hard it is to bend wire into a circle so I cheated with these wreath forms.
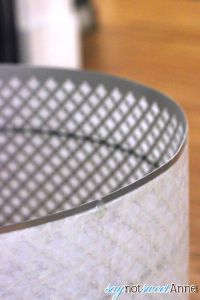
- Next, use the thin wire to attach the two sheets of radiator screen together. Since it already has a bunch of holes in it, all I did was loop the wore through several times and twist it off. I did this in 5 places along the seam.
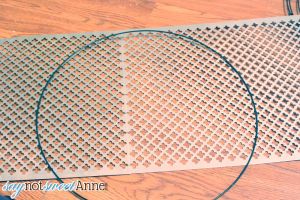
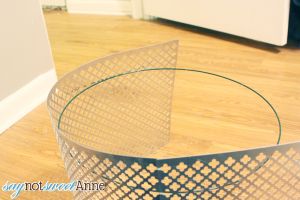
- Now it is time to start attaching the screen to the wire loop. Using the same technique with the thin wire, I went around attaching a loop to the top and to the bottom if the “drum” made by the radiator screen.
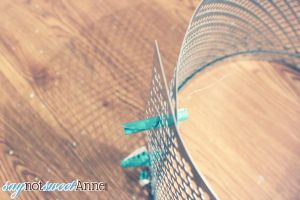
- Now time to seam the screen on the other side of the drum. I got tired of trying to hold it with my hands while also looping my silver wire to anchor the pieces together. So, I rolled up some card stock and wedged it in the holds in the screen where it overlapped. Voila! The rolls held the screen in place while I seamed it.
- Now I added the second wreath loop to the other side of the drum.
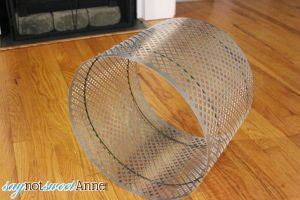
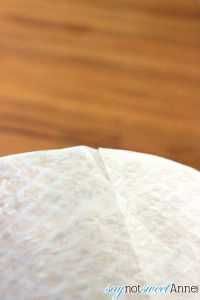
- Looking good right? You could just skip the wax paper bit and use it like this is you prefer. As for hubby and I, we wanted it to be softer. So, I laid down 2 sheets of wax paper long enough to go around the drum and ironed them together with my iron on low.

- Once I had the wax sheet prepped, I laid it across the drum and ironed it on! The wax in the paper melts and then solidifies, acting like a glue. For extra precaution though I dabbed some hot glue on the inside in strategic areas.
- Finally, we tore the guts out of an old swag lampshade (Its just a bracket that holds the bulb with three prongs that stick out to attach to the shade) Used wire to attach the prongs to the shade and tada! Not bad for $25 huh?
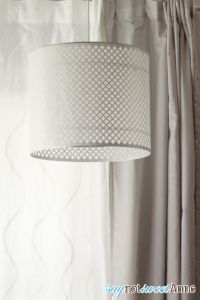
I absolutely love how this turned out. And I’m already thinking of possibilities for other things. We chose this clover radiator screen to match the one we’d seem online, but they have a LOT of other types. That alone would change the look dramatically. Or maybe using home made paper as the shade instead of the wax paper? Ugh, so many things to try! I wish I had more lamps!
Kayla Domeyer
Latest posts by Kayla Domeyer (see all)
- Miniature Bohemian Style 1:12 Dollhouse Rattan Shelf - August 24, 2023
- How to Solve Stress with Princess Bathtub Melts - June 2, 2020
- 25 Valentines Even a Toddler Can Make - February 11, 2020
IU am so anxious to try this! Like you, I thought $400 was an astronomical amount of money for what it was. thank you so very much for posting your experience and the instructions!
Lisa, ha! It totally is right!? I’m sure you’ll be able to make it AWESOME with the tutorial!
Your lamp turned out stunning. I think I like it better than the original. Drop by anytime. I look forward to seeing your next projects!
Theresa @DearCreatives recently posted..Inspiration Spotlight Party #LinkUp #103 Crafts DIY Decor Recipes
I love this lampshade! Such an awesome way to save money without sacrificing style! 🙂
Hi Kayla, love the savings that you made on the lamp! Im decorating my lounge and want to make a lamp similar to yours! Do you think this cheap rhinestone wrap that I found on ebay will make a good alternative to the radiator screen
http://goo.gl/3MVyav
Many thanks, Jen
Hey Jen!
I’m so glad you like the lamp. Looking at the link you shared, I don’t think it would replace the radiator screen. As you can see in the pictures the screen is really very sturdy. The linked fabric doesn’t looke like it would hold the shape needed for the lamp.
hope that helps!