I am very, very pleased to introduce Jennifer, our newest contributor!! Please leave a comment to welcome her to Say Not Sweet Anne!!

Hi, everyone! I’m Jenn, and I’m so excited to be a contributor here at Say Not Sweet Anne! I blog over at Endlessly Inspired, so head on over there if you want to see more of my crafts and recipes!
The other day, I was checking out Pinterest, looking for some fun Easter ideas, when I saw this tutorial on Eclectically Vintage for a burlap bunny table runner. I mean, seriously, how cute is that??
While I loved the idea, I don’t really have a need for an Easter table runner. I was, however, in the process of doing my Easter mantel, so I immediately thought of using the same idea to do a burlap bunny sign.
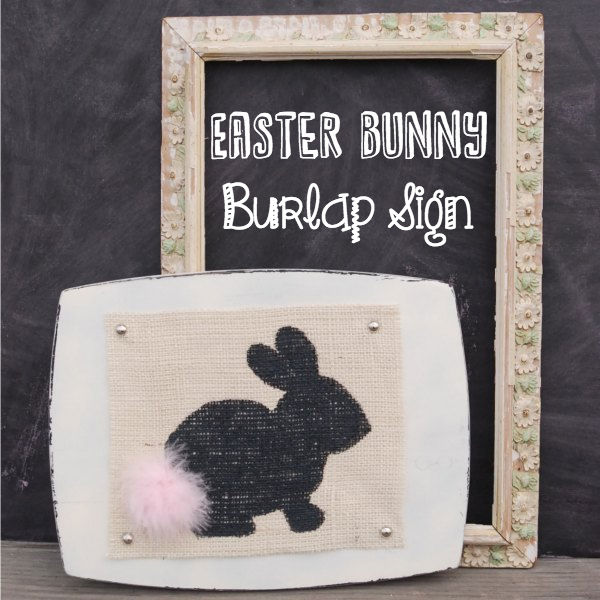
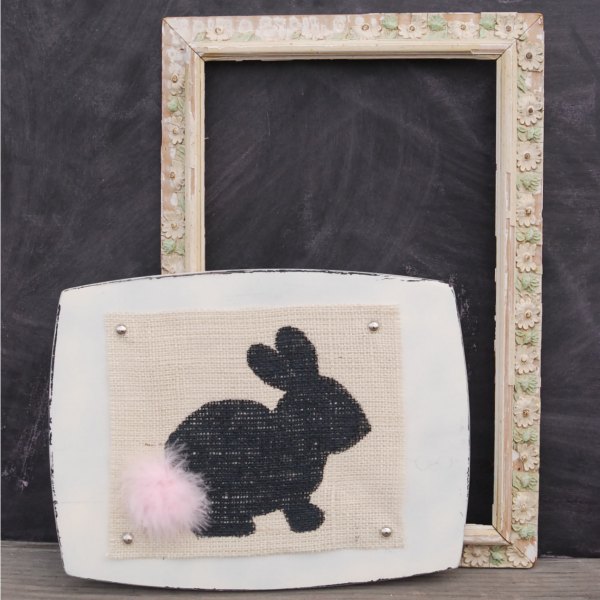
And look at how ridiculously adorable he turned out.
I love his little fluffy tail, I just want to pat it every time I see him.
This was one of those projects where I thought: “This is how I’m going to do this!” and then changed my mind to something completely different at pretty much every step of the process. Learn while you go, people. That’s how I roll.
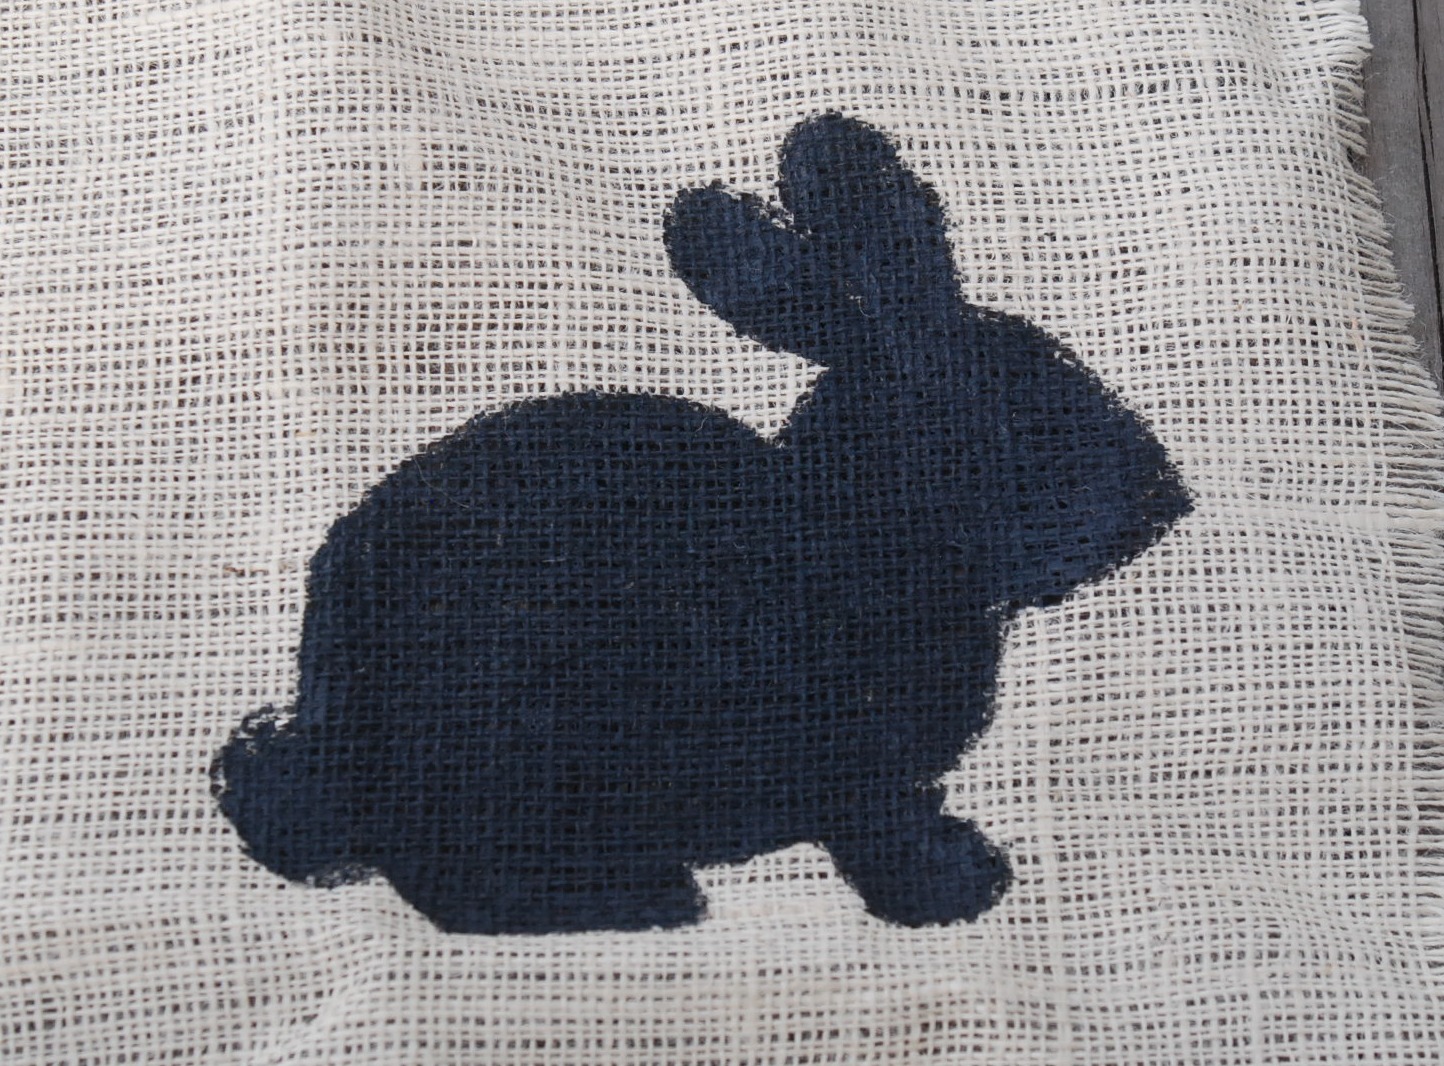
I printed out this bunny outline, cut it out and then traced around it on a piece of burlap with a black Sharpie. I then used a foam brush and black fabric paint to fill in the bunny outline. Make sure you work on a piece of scrap paper, because the paint goes right through the burlap. I also found that brushing the paint on didn’t really work, it was much easier to dab it on. You can see that there were a few funky spots along the edges that didn’t really get fully filled it with the paint, so I just went back over those with the Sharpie.
I had originally planned to frame the little guy, but I didn’t have a frame I really liked for this project, so I checked out my “random stuff stash” to see what I could use instead. And I found an old cutting board that I had gotten at Goodwill for about $2. I thought it would be cool to make this a little more rustic, so I decided to glue him onto that instead.
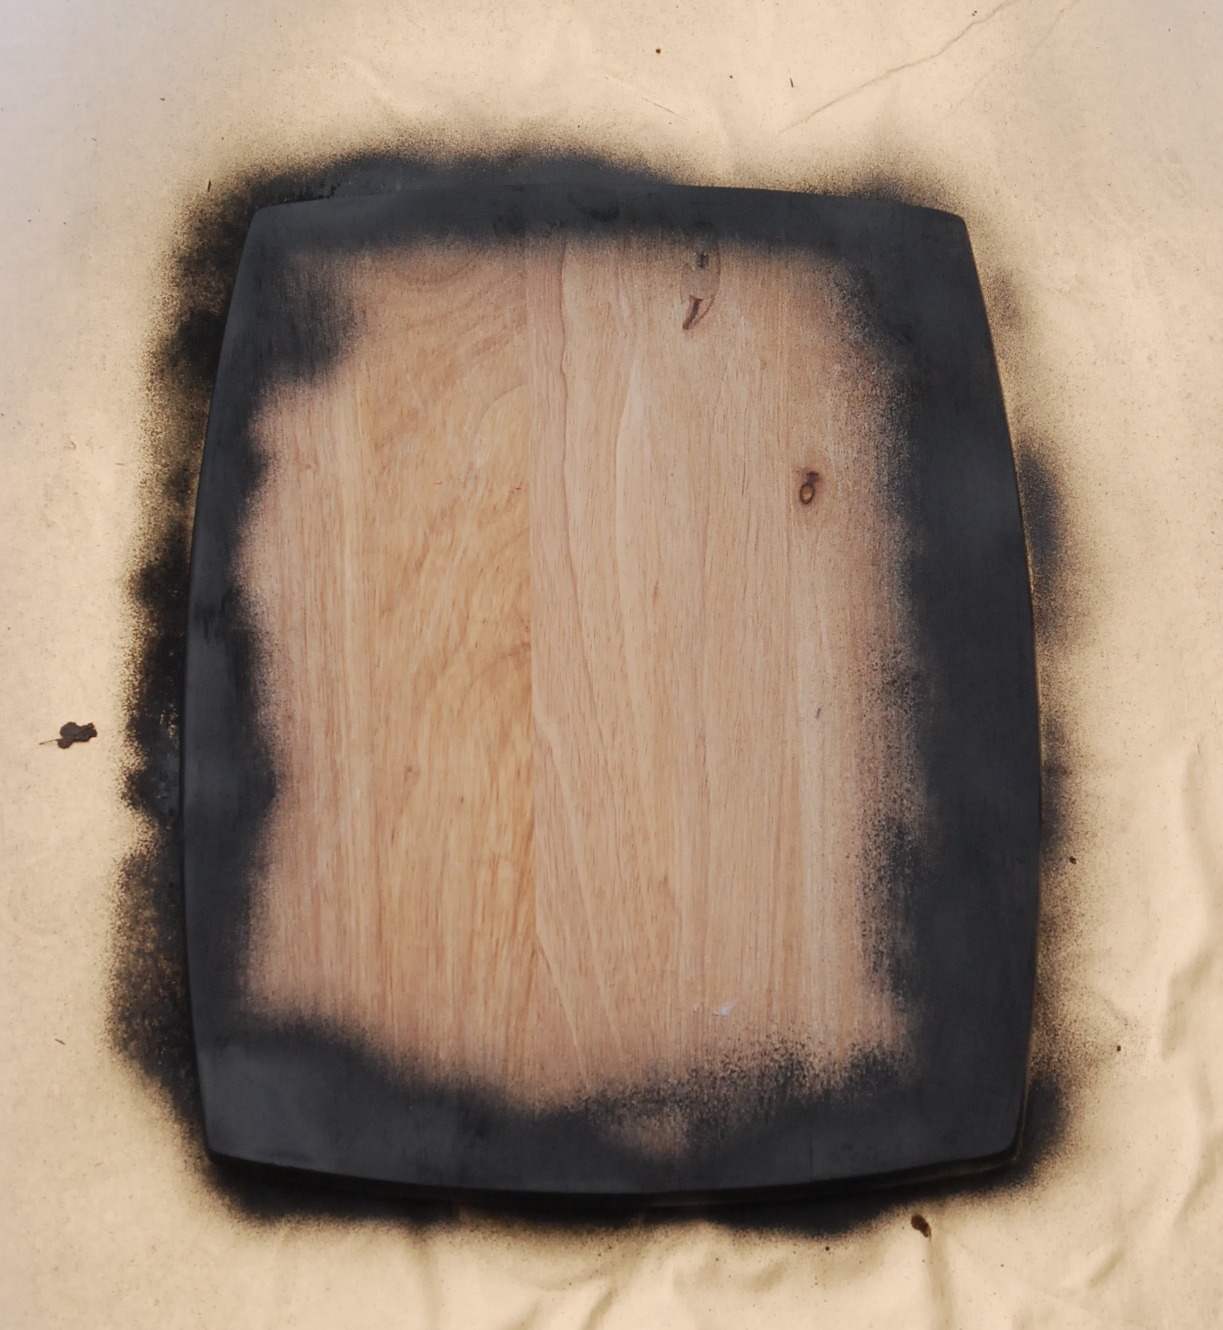
I wanted to make it look weathered, so I started off by spray painting just the edges of the cutting board black. Once that dried — and I realize that you may think this is crazy, but just go with me on this one — I rubbed lip balm all around the edges.
Seriously, lip balm. Again, just go with me. It will all make sense in a minute.
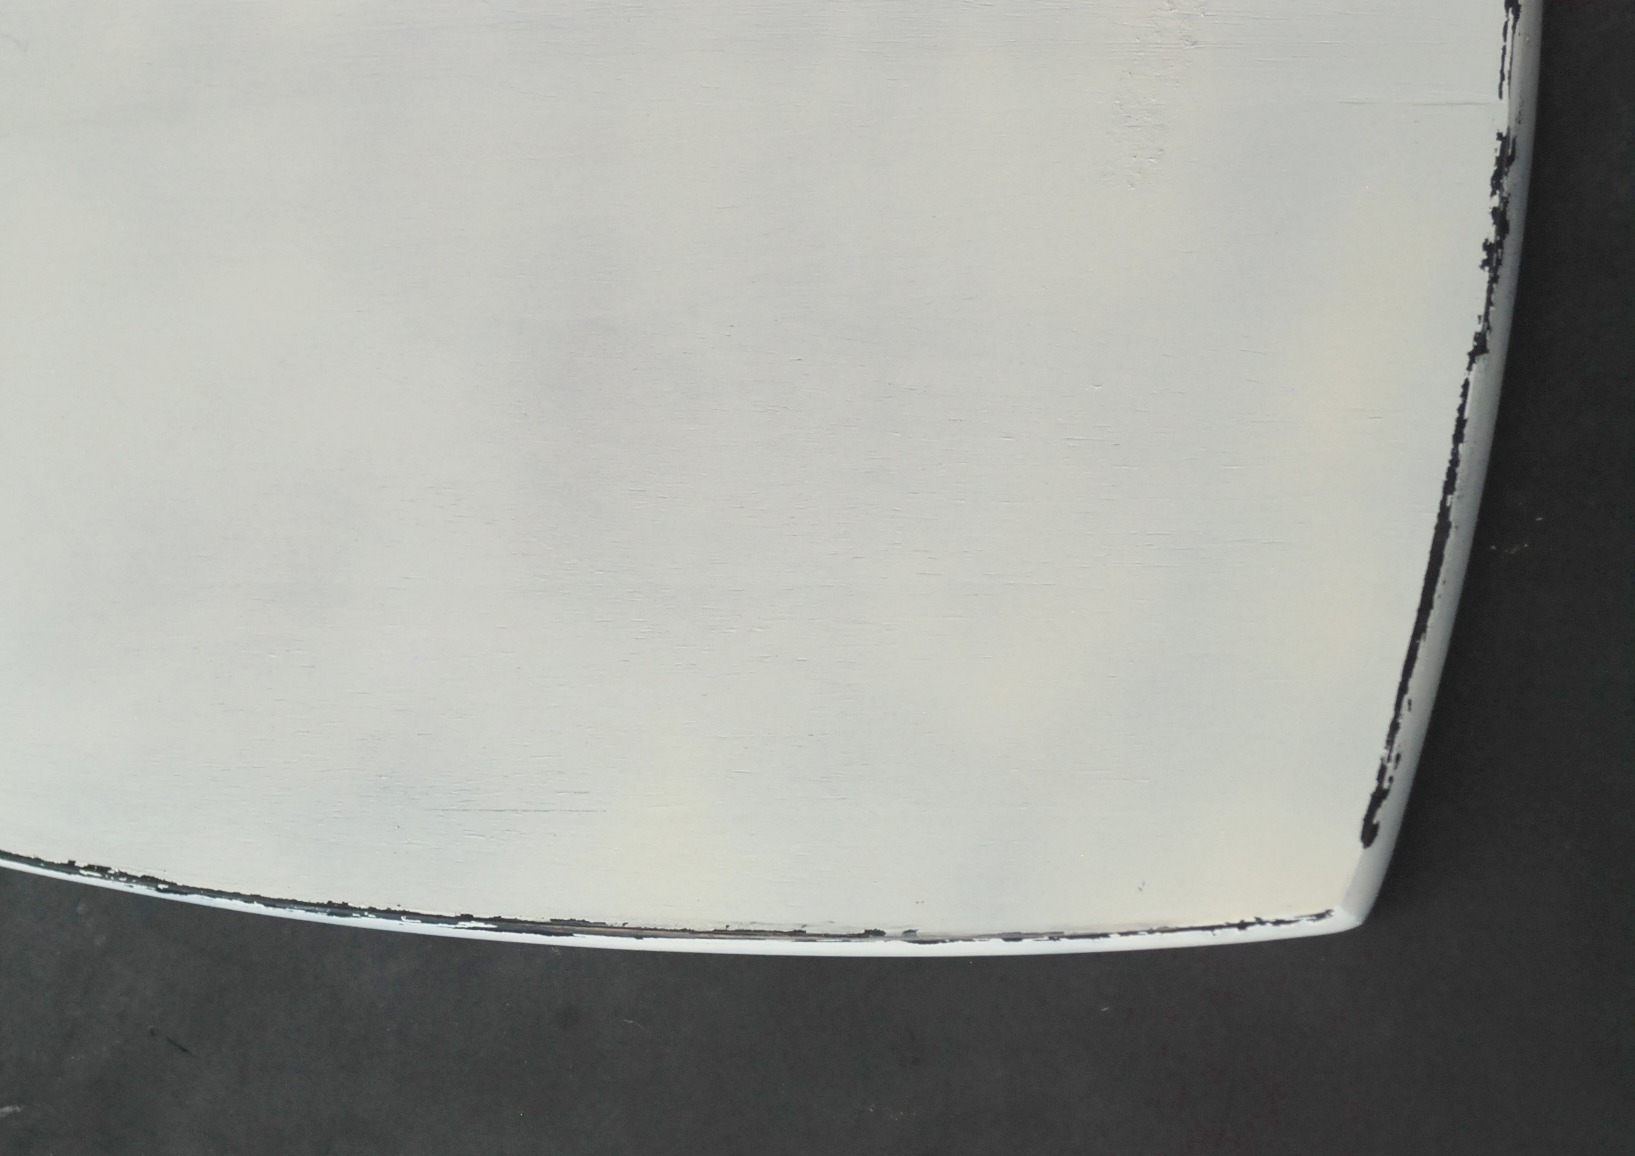
I sprayed it again with a cream spray paint, but I wanted to sand the edges down so that it looks all cool and shabby and you could see the black paint sticking through. The lip balm {I’ve also heard of people using Vaseline, but again, I just used what I had on hand — although you obviously want to use a lip balm that you don’t actually use for your lips} prevents the cream paint from sticking, so it’s super easy, once that top layer of paint is dry, to sand it down to see the black underneath. So easy, in fact, that I didn’t even use sandpaper, I used paper towel to just wipe off the cream paint.

I first thought I would glue the whole burlap piece down, but I thought that would get really messy. So I busted out some decorative nails and planned to tack it on that way. Except apparently this cutting board is made of pure steel, because I could not for the life of me pound these nails into it. So I pulled yet another switcheroo and used hot glue to stick down the corners and then used pliers to remove the nail part from the head and hot glued the nail heads on each of the corners.

I realized I didn’t have any yarn to do a pom pom tail, but when I found the little marabou puffs that I had leftover from my hair bow-making days, I knew that’s what I had to use. I thought I was going to use white, but I liked how the pink gave it a tiny splash of color.
So there you have it. My super cute little bunny sign, inspired by Eclectically Vintage.
I love him so much that I’m trying to figure out a way to keep him out all year round, but I think that might be weird. Oh well, I’m going to enjoy him while he lasts!
For more from me, visit my blog, Endlessly Inspired, and follow me on Pinterest, Facebook, Twitter, and Instagram!
Latest posts by Jenn Young (see all)
- S’mores Pops - August 28, 2014
- Strawberry Shortcake Waffle Ice Cream Sandwiches - July 17, 2014
- Clementine Crinkle Cookies - June 19, 2014
Nice to meet you! That burlap bunny is very cute, nice idea. And I like how you got innovative with attaching the nails 🙂
Nancy at Hungry Enough To Eat Six
2014 A to Z Challenge Participant