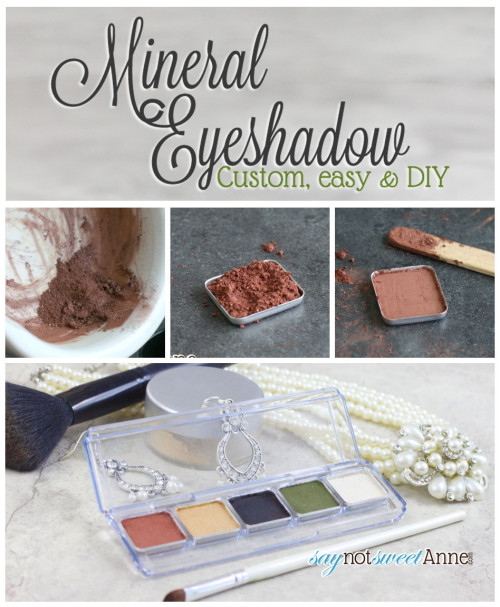
Since my foray into DIY mineral makeup went so well, I decided to take it one step further. I suffer from blocked ducts in my eyelids pretty frequently, and it is more than just painful- its ugly. My whole eye puffs up and I cannot really see. I decided that a mineral DIY eyeshadow with no chemicals or bargain-basement fillers might help. Plus I’ve got a very specific color pallet, and I really liked the idea of making my own eyeshadow compact and eliminating a few products from my makeup bag.
The process started off like my mineral foundation. Use the base, add pigment. There are some extra steps though. Mica adds shimmer and glitteriness which is common in eyeshadows. A drop of almond oil makes the mixture tacky so it can be pressed into a cake in the compact. I ordered a bunch of colors in a sample size (~$1) and with the mineral base I already had, this compact cost me less than $7!
What You Need:
- Mineral Makeup Base from Making Cosmetics Inc.
- Pigments from from Making Cosmetics Inc. (You can get smaller pots at their website)
- Mica Mineral from from Making Cosmetics Inc. (You can get smaller pots at their website)
- Almond Oil
- Steril Eyeshadow compact (You can use any, but this is the one I used.)
- Clean empty Eyeshadow tins (These ones match the pallet I used)
- Mortar + Pestle
- Accurate Measuring Spoons (as small as 1.8 tsp)
How To Make It:
- The ratio that I used was a 1-1-1 ratio of Mineral Base, Pigment and Mica. I used 1/4 tsp each and that amount filled my tins. Depending on the size of your tins you’ll have to adjust the amount you make. For my white highlight color I used a 1-2 ratio of base to mica.
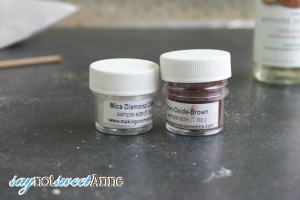
- Add your ingredients to the mortar and pestle and mix for approximately a minute.
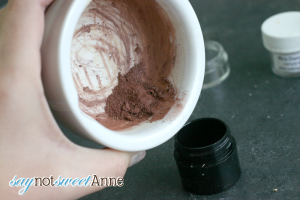
- Test the color on the back of your hand. If you like it, move to step 4. If not, adjust by adding more pigment and mixing again.
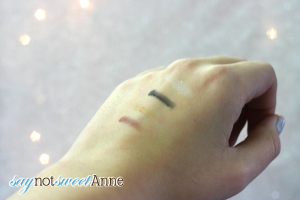
- Add 1-2 drops of almond oil. Just enough so that a pinch of the mixture stays together.
- Pour prepared powder into a tin. Use a flat object to tamp it down into a tight cake. This always reminds me of making a graham cracker crust. So, enjoy that mental image while you tamp =D
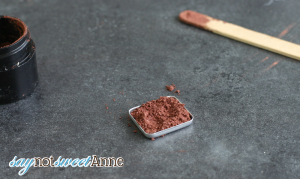
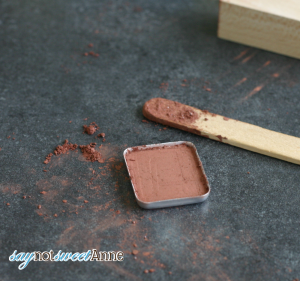
- Put the tin in the compact. I use a dab of hot glue to secure it. Continue on with your other colors!!
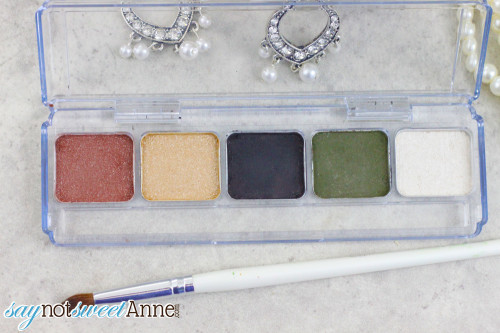
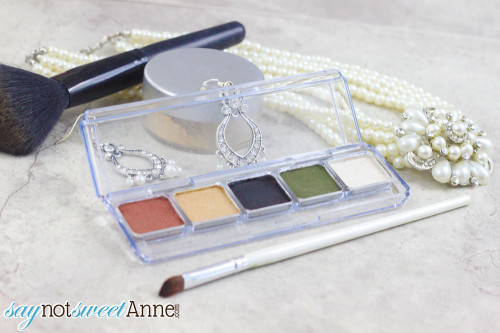
Here you can see my colors. I went to a makeup lesson once and this eyeshadow style is what I learned. I’ve been using it ever since. I also learned that using a slightly damp brush will help the powder adhere to the lid. So I start by using my non-greasy moisturizer over the lid to “prime” it. then dampen my brush and go to town!
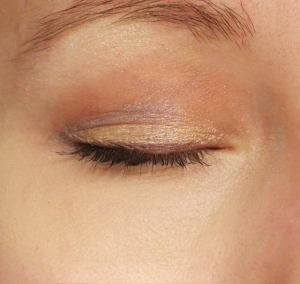
Since I’m using all homemade cleansers, masks, moisturizers, foundation and now eye shadow – the only things that are still store bought are my mascara, concealer and blush!
Kayla Domeyer
Latest posts by Kayla Domeyer (see all)
- Miniature Bohemian Style 1:12 Dollhouse Rattan Shelf - August 24, 2023
- How to Solve Stress with Princess Bathtub Melts - June 2, 2020
- 25 Valentines Even a Toddler Can Make - February 11, 2020

As a red head with your coloring, I’m going to give this a try. I find I have to throw out any make-up I’ve opened after 3 months. I hope this will change things. Beautifully done.
This is wonderful! I’m so excited to start making my own mineral makeup from your tutorials! Just one question: The blush tutorial uses rubbing alcohol to press the blush. Can almond oil (or another carrier oil) be used instead of the alcohol in that recipe or is blush just different? And I wonder…. have you ever tried making your own concealer this way? I think I’ll give that one a try! 😀 Thank you again!
You can certainly try! As I learn new things I add them in and just sort of experiment. I’ve not done a concealer, but that seems feasible!
what pigments did you use the link doesn’t work
Thanks for letting me know! I’ve fixed it above – but this one works too :http://amzn.to/2kaAGZm
Really clever! I love DIY beauty products. Thanks for sharing!
I’ve always wanted to know how to make my own mineral makeup so thank you so much for uncovering this mystery for me! This looks somewhat fool-proof which is perfect for me. Thanks again!