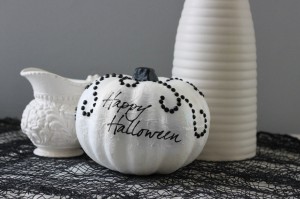
 Do you remember the pumpkin that turned in to Cinderella’s BEAUTIFUL white carraige? Well I do. And a couple weeks ago when I stumbled across a pretty white pumpkin with the words “Happy Halloween” on it, I was instantly transported to a realm of up-scale, chic and modern whimsical Halloween decor. I was snapped out of it by the $70 price tag.
So, I set about making this. This is a dollar store pumpkin and some press on jewels. Let me show you how it’s done.
You will need:
- Foam pumpkin
- Scissors
- Modge Podge
- Paintbrush
- White paint
- Clear polyurethane spray
- Tape
- Inkjet Printer
- 1 sheet of printer paper
- Computer with a text editing program
- Black Jewels
- Craft Glue
- White tissue Paper
How To Do It:
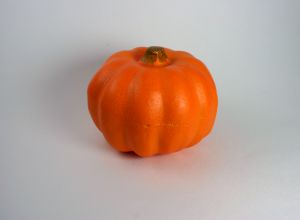
- Starting with the pumpkin, coat it in white paint. This may take more than one coat.
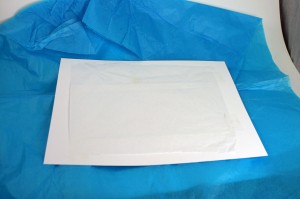
- While waiting for your pumpkin to dry, tape a square of the tissue paper on all sides to a sheet of printer paper.
- In your preferred text editor, type the words “Happy Halloween” in the font of your choice.
- Carefully insert the tissue paper taped to regular paper into the printer, so that the tissue paper will be printed on.
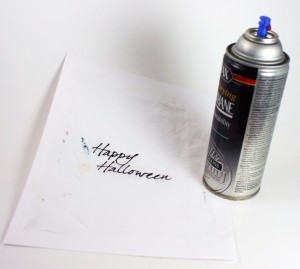
- Print the words. This might take a couple tries to get right. My tissue paper got caught a couple times, and I had to start over. (Warning: I am not responsible for any damage caused to your printer. However, my Husband works in IT and he says there is unlikely to be any problem besides a printer jam)
- Lightly spray the words with polyurethane spray. This will help prevent the words from smearing when you apply the Modge Podge. I sprayed it with 3 coats.
- Once both your pumpkins and your words are dry, remove the words from the regular paper and trim the excess tissue paper away.
- Spread a thin layer of Modge Podge where you would like the words to be on the pumpkin.
- Place the tissue paper words carefully on the pumpkin
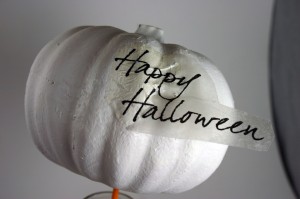
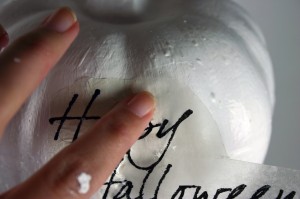
- Modge Podge over the words and the rest of the pumpkin- let dry.
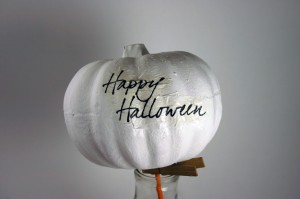
- Using craft glue, glue the jewels into a swirl design as you see fit.
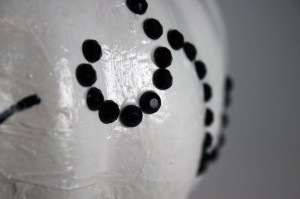
- All done!
I can’t wait to put this out with my other Pumpkins! I hope that you enjoy!
The following two tabs change content below.


Kayla Domeyer
My name is Kayla and I am a Graphic Designer. That means that I love pretty things, and also that I like to make free printables! I'm so happy that you've stopped by to visit my blog, and I hope you will follow me on Facebook, Twitter, Google +, Pinterest or Instagram!! (Yeah, and I'm totally addicted to the internet).
Latest posts by Kayla Domeyer (see all)
- Miniature Bohemian Style 1:12 Dollhouse Rattan Shelf - August 24, 2023
- How to Solve Stress with Princess Bathtub Melts - June 2, 2020
- 25 Valentines Even a Toddler Can Make - February 11, 2020


I LOVE THIS! I am always looking for unique (glamed?) decor…(not the biggest fan of orange) This is perfect. Great job!
-Jen