 For years when I was growing up my mother and I had a ball breaking out the “Halloween Box”. It was mostly cardboard witches and ghost faces, with some extra special ceramics that my mother had painted (Most memorably, a witch and cauldron, and a pumpkin with the shape of a sleeping baby’s face), and one very old electronic skull that hung from the ceiling and made an awful noise when set off. Decorating our house with these things felt like the whole month of October was Halloween, not just the 31st.
So, with these fond memories in mind, I’ve set out to make my own Halloween box, one that my Husband and I can add to over the years and one day I will hopefully share with eventual children.
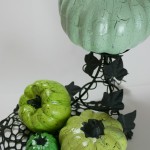
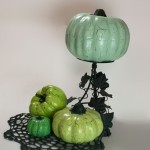
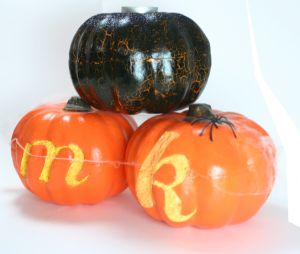
Its no surprise then, that when I saw this tutorial on Tatertots and Jello, that I HAD to make my own! I found pumpkins at the dollar store and at the local Salvation Army Thrift store to decorate. I also made the group a bit classier by repurposing a candle stand from the thrift store by painting it black.
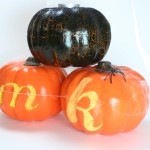
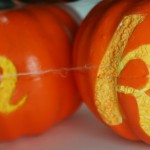
Well, the whole thing was a breeze! So, I went back to the dollar store, scored a couple more pumpkins, and carved just the first layer off, creating my Husband and my Monograms. With and electronic candle in them, they are a lovely, flickering sight! And the best part is, they will last for years!
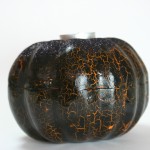
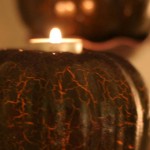
That ain’t all, folks. My final (so far…) pumpkin project involved the same crackle process as the first, but I finished it up with some glitter, and a hole cut in the top to form a tea light candle holder! (Tip: Once you saw the hole in the top of the pumpkin, take the discarded “puck” of foam and push it back in-upside down- pluggin the hold but creating a flat divot for the candle to rest.)
Kayla Domeyer
Latest posts by Kayla Domeyer (see all)
- Miniature Bohemian Style 1:12 Dollhouse Rattan Shelf - August 24, 2023
- How I made a DIY Prop Dragon Book (Twice!) - March 20, 2023
- How to Solve Stress with Princess Bathtub Melts - June 2, 2020

