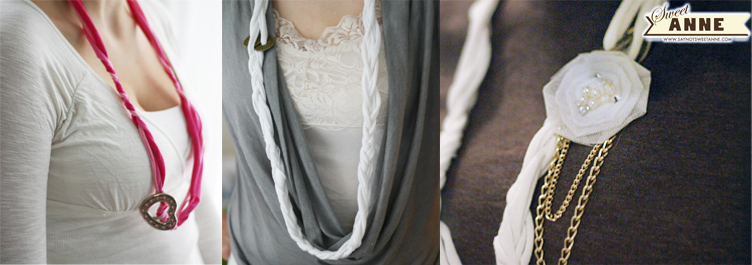
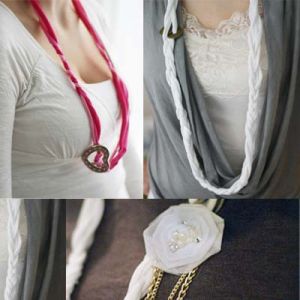
 My line of work entails many community “events”. Each of these events often includes some sort of branded t-shirt. I only need so many t-shirts, so I am always looking for ways to up-cycle them. That’s why, when I saw this pin on Pinterest, I knew I had to give it a shot. But, there were no instructions. So, I’ve spent some time experimenting, and I’ve been very pleased with the results. I thought I would share!
What You need:
- Old t-shirts, in as many colors as you desire.
- Old belt buckle, brooch pin, necklace pendant or any other sort of bobble you might want to add.
- Scissors
How To Make It:
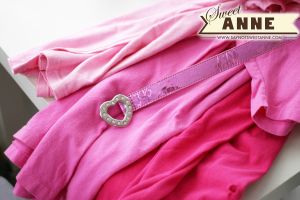
- Assemble your materials. For this tutorial I’ve gathered 3 different colored t-shirts, and one belt I picked up at a thrift store.
- Cut the hemline off of the first shirt. Discard.
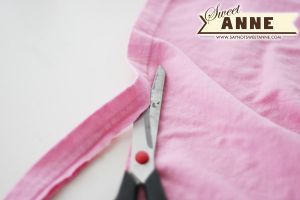
- Cut a 1/2 inch strip from the same shirt. Repeat with the other two shirts.
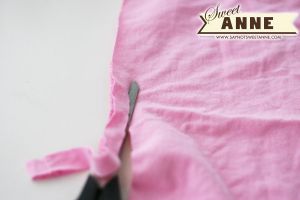
- Your loops will look like this. Cut more if you would like a bulkier necklace. My cats seem to really enjoy this part.
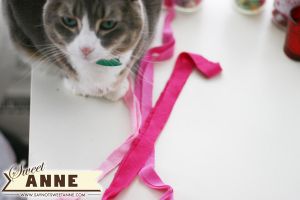
- Take the first loop, and stretch it out so that the knit fabric curls and becomes thinner-looking. Repeat with the other strips.
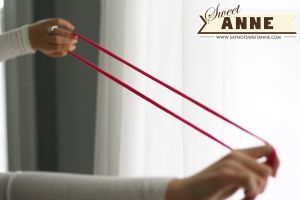
- Your loops will now look like this. Again, much to the delight of my cats.
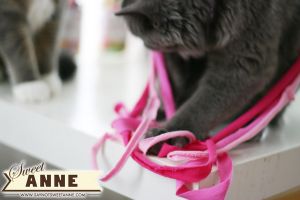
- Now, cut all of the loops into strings the same length. Don’t try and estimate the necklace length yet- we’ll do that after the braiding.
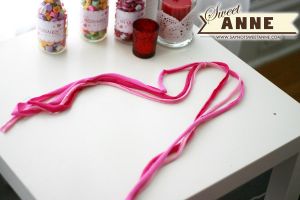
- Now, collect whatever charm you will use on your necklace. I removed that adorable heart belt buckle for use in my design.
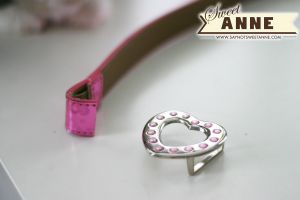
- Time to assemble. If using a belt buckle like mine, go ahead and tie a knot to collect all the strands in one place. Then, slip one strand through the buckle loop as an anchor. (If you’re using a charm like a bead or a pin, just start with a tied knot to anchor your necklace.)
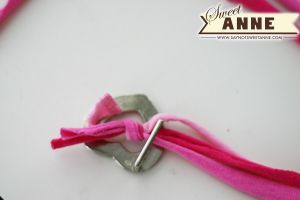
- begin by braiding about a 4inch section of the necklace. Then, allow another 4-6 inches without braiding. When you begin your second 4inch braided section, make sure the braid begins in a different configuration than the last one ended. That is, if you last braid strings came out (left to right) *pink, darkpink, red* you would start your new braid with the strings in a different order such as: *red, pink, darkpink*. This keeps the braids separate, instead of just becoming one big one.
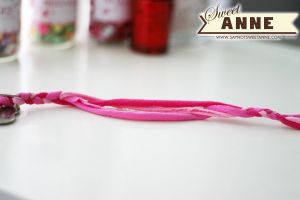
- Repeat step 10 until you’ve reached your desired length. (If you’re using a bead-like charm, add them wherever you’d like!)
- Finally, secure the end of the necklace to the beginning. In my case, I tied another knot around the belt buckle.
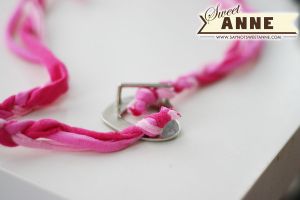
I think these necklaces are super cute/casual for everyday wear. I’ve gotten several comments on the white one with the coin detail. Not to mention they would be awesome at a slumber party! They are definitely easy enough for kids to make. Imagine the possibilities!
The following two tabs change content below.


Kayla Domeyer
My name is Kayla and I am a Graphic Designer. That means that I love pretty things, and also that I like to make free printables! I'm so happy that you've stopped by to visit my blog, and I hope you will follow me on Facebook, Twitter, Google +, Pinterest or Instagram!! (Yeah, and I'm totally addicted to the internet).
Latest posts by Kayla Domeyer (see all)
- Miniature Bohemian Style 1:12 Dollhouse Rattan Shelf - August 24, 2023
- How to Solve Stress with Princess Bathtub Melts - June 2, 2020
- 25 Valentines Even a Toddler Can Make - February 11, 2020

Kayla,
Thank you so much for being a part of “A Little Birdie Told Me…” at Rook No. 17!
Even as the party continues to grow, I’m glad I still have the opportunity to visit all the amazing projects and soak up the inspiration that is shared each week!
Hope you’ll join the fun this week too– the party is in full swing!
Best, Jenn
Lovely, as always, Kayla! Thanks for the great tutorial and for sharing at Shine on Fridays!
I love it! I could always use more necklace choices!
You should join me for Handmade 52! http://raisingoranges.blogspot.com/ -Katie
I love this…have seen them around, but like you, couldn’t find a good tutorial! Thank you! I pinned you!
-Shara
Awesome tutorial! Your cats are SO cute.
These are so pretty…I’d wear them everyday!! And I love the idea of the wooden beads so kids can join the fun. Would be delighted for you to link to my brand new party: http://www.ishouldbemoppingthefloor.com/2012/01/mop-it-up-mondays-party-1.html
{HUGS},
kristi
Awesome ideas, Kayla. This might even be something I do with my 4th grade students as a gift they can give on valentines day to their moms, friends, sisters, etc. Super cute! Thanks for sharing, Sweet Anne!
I’m so glad you like them! I really did have a great time putting them together. With some large wooden beads, these could be awesome kid’s projects!