I’ve been busy working in our basement Ice Cream shop!! It all started when Icon Wall Stickers contacted me about reviewing their product. They let me choose one of thier many stickers and sent it for free. So, that part of this post is sponsored but the view/opinion are all mine!
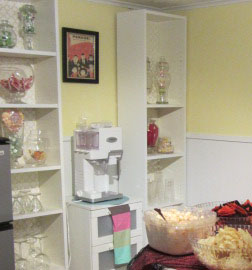
Anyway, so I had a plan on where to use the new sticker, but I had to wait a few days for it to ship. I happen to be VERY impatient, so I set out to spruce up some old Ikea Billy bookshelves while I waited. The shelves went from looking like crappy bookshelves to being the perfect backdrop to our work-in-progress bar. So, I’ve decided to share both the fridge AND the bookshelves with you incase you can use it as some inspiration!
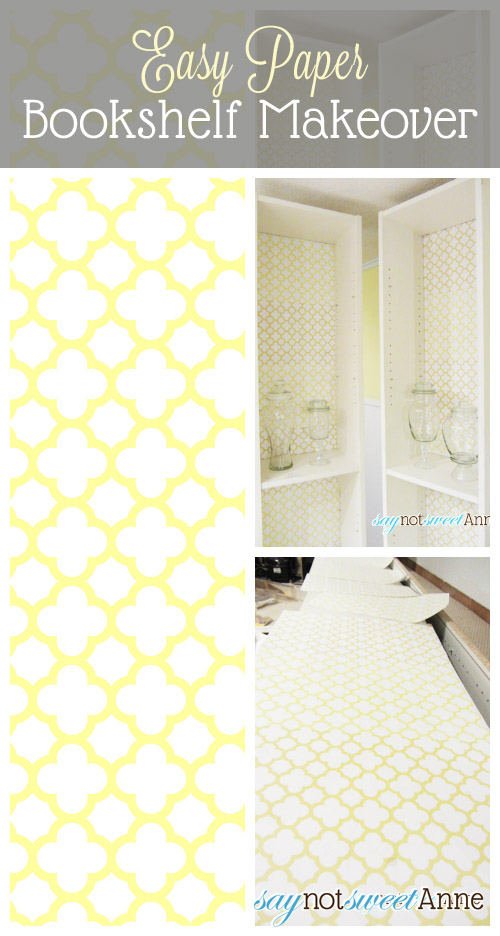
Bookshelf Makeover
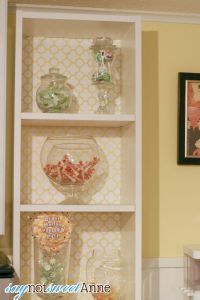
I’ve seen a couple of tutorials that require a pretty shelf liner on the back of a cabinet or bookshelf. So, I scoured everywhere looking for one with the sort of vintage/modern feel we were going for in bright yellow. Not surprisingly, I didn’t find any. So, I brainstormed and decided to simply print a pattern on some 11x17inch paper and glue it to the back of the bookshelf. Some printing, a can of spray glue and about 25 minutes later I was done!
What You Need:
- Printed Paper (Download the Pattern Here)
- Scissors
- Spray Glue
- Bookshelf
How To Make It:
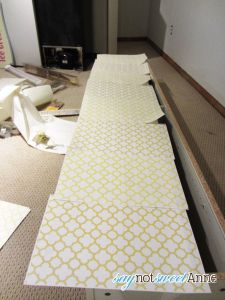
- Print the paper. I made a mistake in printing 10 sheets one day and 10 sheets another. Somehow the ink looked TOTALLY different in the two prints. I decided to alternate them and I’m cool with how it turned out. I only needed about 10 sheets per bookcase.
- If the back of your bookcase is removable, remove it. The Ikea Billys have a back made of heavy cardboard. I removed it so I could apply the paper without the sidewalls in the way.
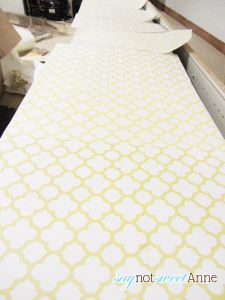
- Lay out your pattern. The printable pattern tiles, so it give the appearance of seamlessness. But you have to plan ahead!
- One piece at a time, glue the back of the paper and apply to the bookcase backing. Trim the print margins (that white line where the printer wont print) off the next piece and repeat the glue process.
- Do this until its done, then replace the back!
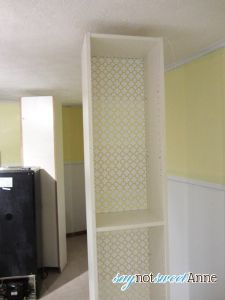
- That’s it! This teeny tiny simple project has done wonders making these bookshelves look like they belong in this space. Things are coming a long and I can’t wait to show you this room when it is finished!!
The Fridge Makeover
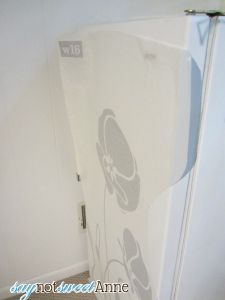
In a few days, I recieved my giant wall sticker. It came in sturdy cardboard tube, and I couldn’t wait to put it on! You see, we’ve got this really, really ugly mini-freezer in the basement. (An ice cream shop needs a freezer!) We got it second hand and is scratched, dented and stained. I was really counting on these stickers to make it prettier, but also to make it look like a part of the room instead of just a freezer in the corner.

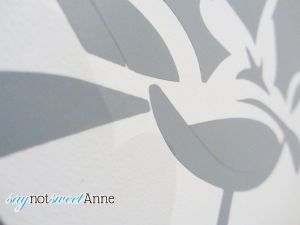
So, I prepped the freezer surface with a good scrub down. Sadly, it didn’t do much. Then, I opened up my wall sticker (I chose “Row Of Poppies” in grey.) And read the instructions. Its pretty simple.
- After positioning your decal, pull off the backing paper.
- Apply the sticky paper to your surface, using a card or something to push out bubbles and prevent wrinkles as you go along.
- Remove the cover paper.
- Done!
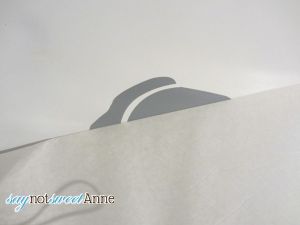
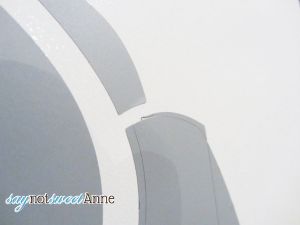
I did end up using the design in a creative way, cutting bits out and positioning them in other places. This way I was able to cover all of my trouble areas. I even put some poppies on the top of the fridge! As for the product, it went on easy and looks great. There are several areas though where it looks like the design was over cut. Where the vinyl has been sliced several times creating weird cut shapes instead of one solid one. See the image below.
Overall I’m happy with the Icon Wall Stickers product and would recommend it. They’ve got a LOT of great designs, including song lyrics and unconventional items (instead of just the trite “live, love, laugh” saying we all see everywhere.) So there’s something for everyone. That alone is a huge plus in my book!! You can Check out their site, Or see their product in action on Pinterest.
Stay tuned! We’ve got PLENTY of awesome DIYs related to this room, and it is definitely coming along!!
Kayla Domeyer
Latest posts by Kayla Domeyer (see all)
- Miniature Bohemian Style 1:12 Dollhouse Rattan Shelf - August 24, 2023
- How I made a DIY Prop Dragon Book (Twice!) - March 20, 2023
- How to Solve Stress with Princess Bathtub Melts - June 2, 2020