Are you organized? It come easily to some people – not to me. I struggle with keeping some areas of my life clean and tidy, most notably my craft room. But, with the move into our new house, I wanted to make sure that the dedicated room we have for crafting didn’t turn into a “junk room.” So, instead of just unpacking everything, I set about to organize it all. I did a lot of research on how to organize, organization methods, storage options, etc. Then, I set to work!
For those of you who are looking to organize a space in your home, but are hesitant like I was, I’ve catalogued my experience into just a few steps.
STEP ONE: Make the Decision to Organize.
I know this sounds simple, but it is still very important. Organization isn’t something that happens when you are just passing through on your way to another task. This is something you need to consciously decide to do. For me, its often at the strangest times that I decide something needs organized. Sometimes it happens because it makes sense to do so, like when you are moving into a new space. Either way, the first step is deciding for yourself, “I will organize my (crafts, hair accessories, bathroom, junk drawer.)”
STEP TWO: Take out the trash!
Often, you can make HUGE dent in a space’s organization simply by removing what doesn’t belong there. In my craft room there was all sorts of leftover items from painting the room, a bunch of bubble wrap and moving accessories, a collection of wall art that needs to be hung up in other rooms, etc. Getting rid of that stuff already made the space feel better.
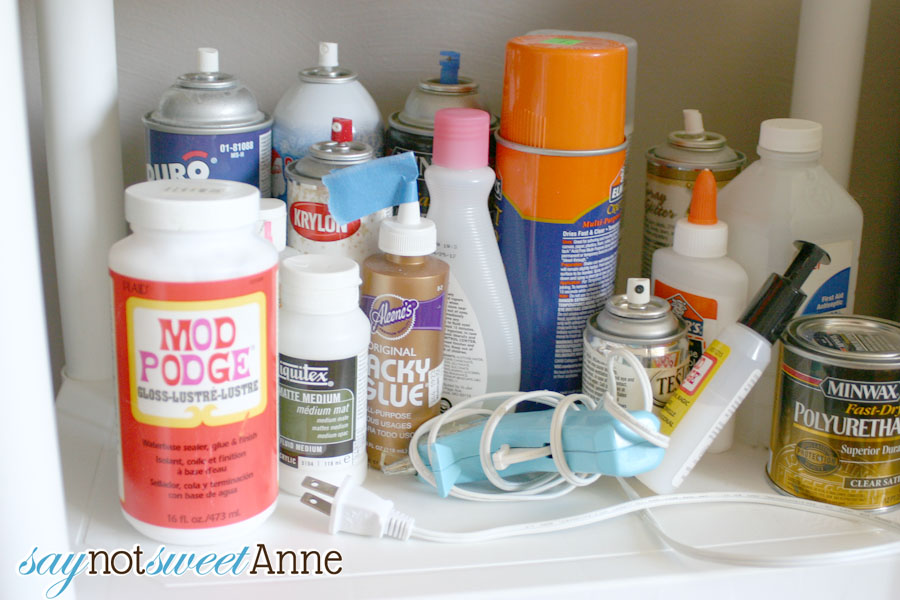
This step also includes removing stuff you no longer want to keep. I found a bunch of dried up glue sticks, cardstock that had been creased, paint brushes that weren’t cleaned properly and dried hard, as well as paper I just don’t like and some curvy scissors I never use.
Getting rid of stuff that’s trash is easy, it’s the culling of things you still could use that is hard for most of us. So, have a plan to donate still-good items to a place in need. Many schools will gladly accept crafting/art supplies. Those useless kitchen utensils can go to a Salvation Army thrift store, or a local home-ec class. That half-full gallon of paint would be welcomed at a Habitat for Humanity Re-Store. The important thing is to get those things out of your space, but why not help someone in the process?
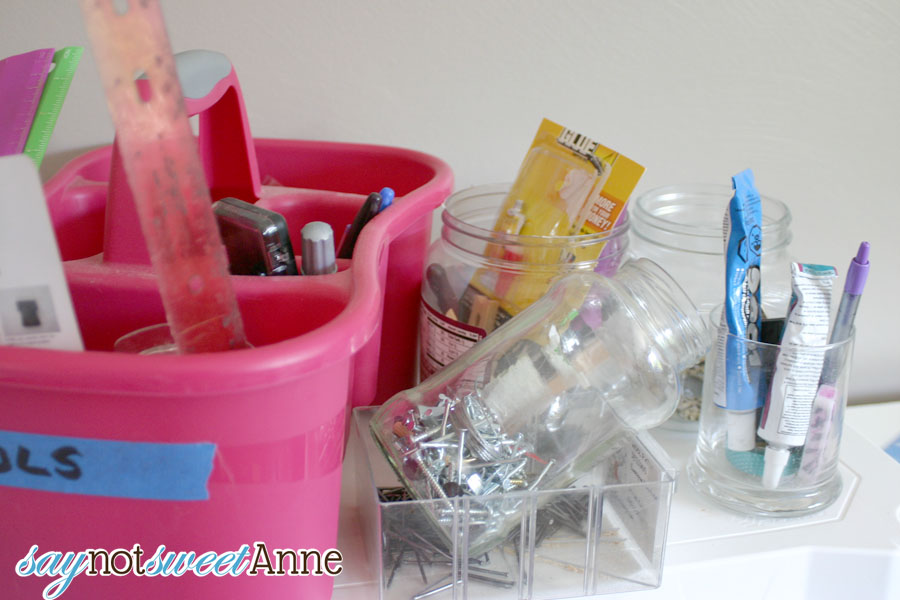
STEP THREE: Sort and Re-sort.
Putting like items in groups is essentially what organization is. In a space like a craft room, that task may seem hard if things don’t immediately jump out into categories. Start with general groupings (Cardmaking, sewing, etc) and then into smaller groups.
An important part of this step is knowing who will be using the space. This was easy for me since I was the ultimate audience. So, I had to sit down and think about how I would use things like paper, scissors, and hand tools. For example, I tend to choose paper by its purpose; printing or just crafting. So, I sorted the paper in that way.
As I mentioned earlier, going from general categories into smaller ones makes the process more sensible. So, I first sorted all the paper into a pile. Then, I sorted it into printable paper (stickers, business card paper, photo paper, plain 8.5x11in paper) and crafting paper (deckled edge paper, heavy cardstock, home made paper, glittered paper, scrapbook paper) each of these made its way into a different filing cabinet.
STEP FOUR: A place for everything and everything in its place.
This is where we start to take those piles (and no doubt, that huge mess!) and put it back together. It is important to choose storage options that suit the task at hand. While large opaque totes work well for Christmas and Halloween décor storage, they won’t work for sewing items that you need to see and choose from.
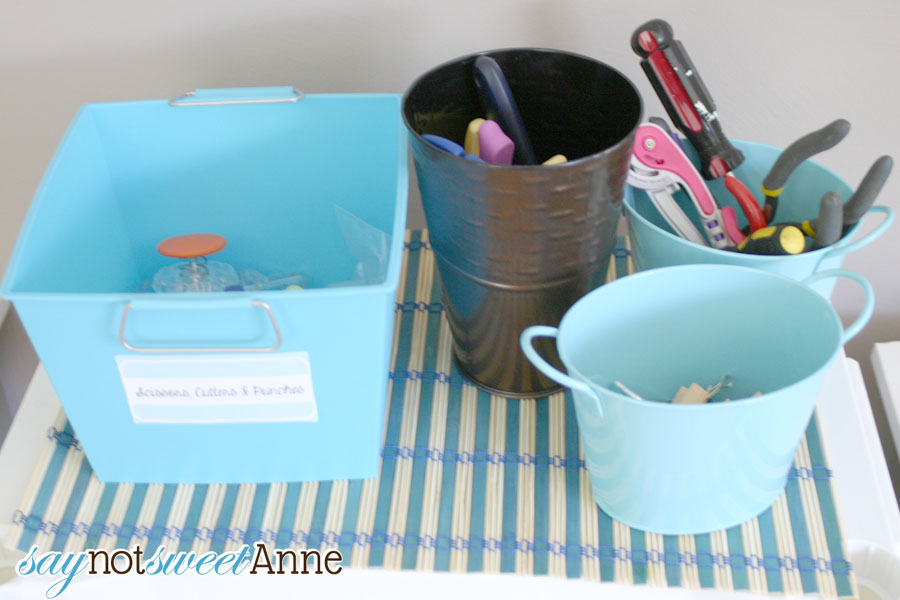
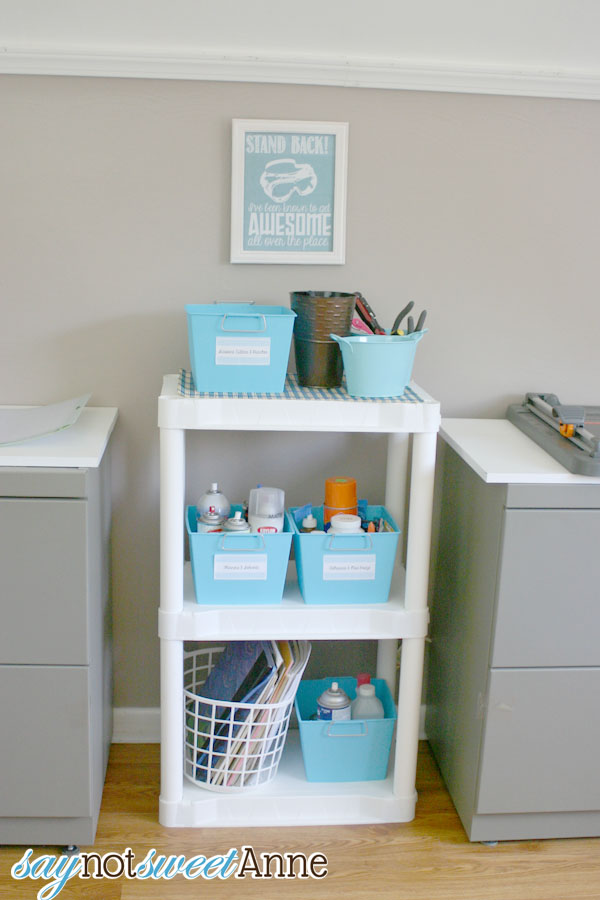
I hopped down to the Dollar Tree and gathered a bunch of blue bins and cans, and to the department store for a bunch of snap closed totes. The totes fit perfectly in the filing drawers (to store that paper we talked about, as well as all my other crafty items) for items that are large and not accessed super frequently.
For the things I use all the time, I kept them in a more open storage. This sort of distinction is important. If you’re going to stay organized, you need to put things away. You’re less likely to put away your scissors if they are buried in a box under a table and you use them every day. So, store them in a pretty cup out in the open where you can grab them (and return them!) easy and often.
For me the open storage included almost all of my tools and pens, my adhesives and the sketchbooks and notebooks. These are all open and easy to access, but they all belong somewhere.
STEP FIVE: Where is it?
Finally, the pretty part. When dealing with closed storage, or with several bins of the same type and color, its important to label what is inside. This prevents that tear-the-clean-space-apart-looking-for-one-thing phenomenon. I opted to make some pretty labels and make sure it was obvious what goes where.
But you know the best part? I’m sharing them with you!! I’ve got over 12 different designs, and they are all in Word format so you can open and edit them! They print easily on Avery 18163 Mailing labels, or you can just cut them out and use glue. With the steps above, and the labels below, you are on your way to getting organized!
Of course, you don’t have to use these to get organized. You can print out the free printable labels and use them on Jars, as gift tags, for lunch boxes- whatever!
Just Right Click>Save As on the one you want!
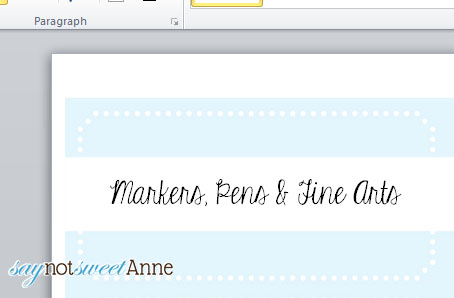
Free Printable Labels Dot Pattern Template:
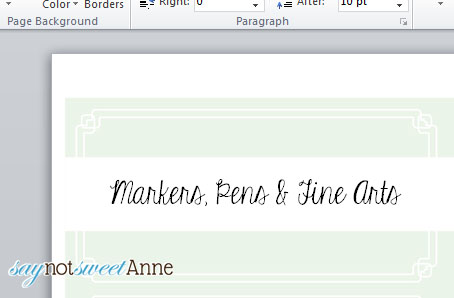
Free Printable Labels Lines Pattern Template:
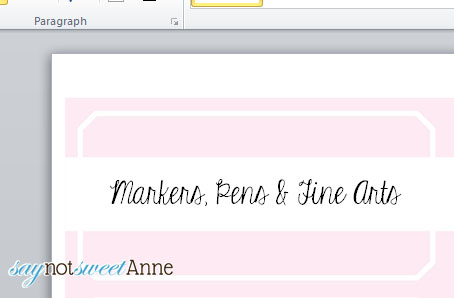
Free Printable Labels Simple Pattern Template
Kayla Domeyer
Latest posts by Kayla Domeyer (see all)
- Miniature Bohemian Style 1:12 Dollhouse Rattan Shelf - August 24, 2023
- How I made a DIY Prop Dragon Book (Twice!) - March 20, 2023
- How to Solve Stress with Princess Bathtub Melts - June 2, 2020
I love these printables. I will be using them a lot to help me organize! Thanks!
Thank you so much for the great printable! I’m working very hard on getting my house more organized this year and this will definitely help.
Brenna @ Life After Laundry recently posted..Less Laundry, More Linking #2
I’m sure you’ll get there! Happy to help ;D
One thing that I’ve noticed working for me is putting something in storage. If, after a few months/years you still want it, make a place for it or store it again. On the other hand, if you feel you can let it go, do so.
Of course, that only works for certain items (the kind that will last a while like clothes, dishes, stuffed animals, etc.) AND you must have the space somewhere to store it.
Hope that helps someone!
Good thinking Crystle! There are a few items I’ve “stored” over the years and never missed. Out they go!