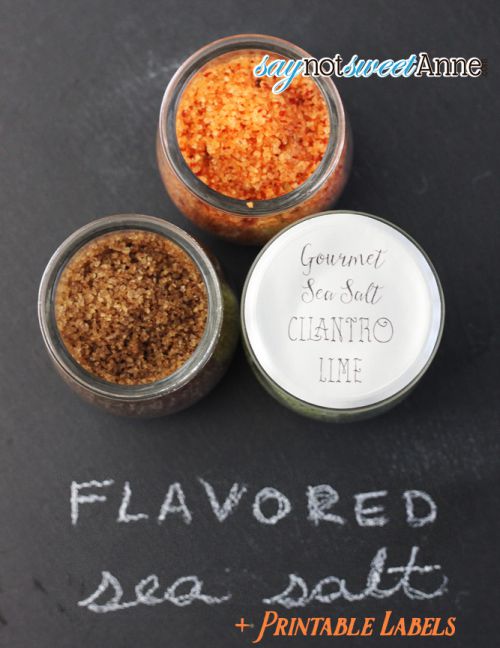
Finishing salts are one of those things that I could have gone my whole life without ever knowing about. I mean, salt is salt right? Wrong. Sea salt is different than Kosher salt which is different than Iodized Table salt. Sea salt tends to taste saltier, which allows for more sparing use. Additionally, Sea salt is available from many regions, each imparting the salt with its own flavor derived from minerals in the salt water.
Flavored salts are, in my opinion, an awesome way to jazz up a dish without dumping on a bunch of condiments. They are also great in raw foods because they add a pop of flavor at the end of a dish’s cooking that stays fresh tasting until it is eaten. Finishing salts are also great on desserts because salt interacts with the way we perceive bitterness, so chocolate and caramel (bitter and burnt, respectively) both benefit from it.
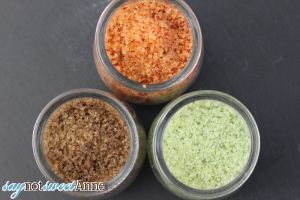
Today I made three distinct flavored salts that I am super excited to give away as gifts. With the help of Avery I made some beautiful labels to go with (and three designs for you to customize and print too!) and the whole package looks very upscale for the foodie in my life.
Oh, and it is so super simple. Seriously, this is one of those things that can hardly be called a recipe because its more just “put this and this together.”
What You Need:
- Sea Salt (unflavored, in large crystals)
- Flavorings. I used Cilantro, Lime Zest, Chipotles in Adobo, and Balsamic vinegar
- Food processor or blender that will blend the salt
- Avery 2″ Round Labels (I used Gold embossed #22831, Silver Embossed #22824 and White gloss #22807)
- Customizable Labels Here, here and here.
- Jars for storing salt.
- Oven and cookie sheet (optional)
- Pinch of corn starch (optional)
How To Make It:
Once you decide what flavors of salts you want to make, the rest is a breeze.
- Combine your flavorings and the salt. I used about 1/2 cup sea salt per batch, but you could easily make huge batched and use them to make a lot of gifts! The ratio of salt to flavoring is a bit of a taste test. Start with a small amount and then add more as needed. You never want the food processor to be wet, leaving moisture pooling at the bottom if you get there, add more salt. At most the mixture should get as moist as packing sand.I used the following combinations:
- 1/2 cup sea salt with 2 tbs balsamic vinegar
- 1/2 cup sea salt with 1 chipotle in adobo sauce (from a can, I took out 1 chipotle and a bit of sauce)
- 1/2 cup sea salt with the zest of 1 lime and a small bunch of cilantro, cleaned and patted dry.
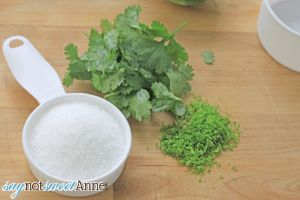
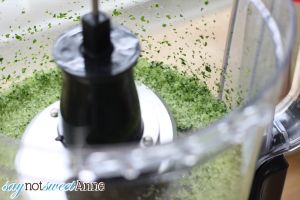
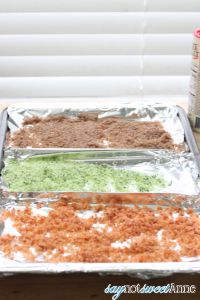
- Spread your salts on a lined baking sheet and bake at 170° for 15 minute intervals until salt is dry. It may still stick together in clumps. In that case, pop it back in the processor with a pinch of corn starch to keep the salt free flowing. (I used foil to segregate the salts for baking.)
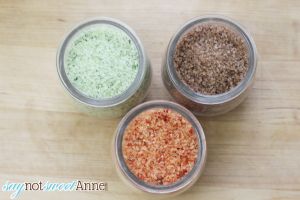
- Pour dried and cooled salts into easy to open jars, and top with your Avery Labels. I’ve designed three printable versions that you can edit using Google Drawing. These could be used for salts, cards, gift tags, or anything your heart desires!!
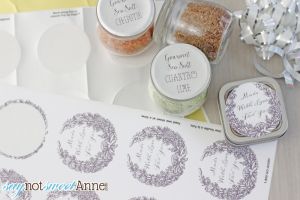
- GET THE PRINTABLES
Of course, don’t forget to stop by Avery.com because they have TONS of free templates and other designs to choose from.
Kayla Domeyer
Latest posts by Kayla Domeyer (see all)
- Miniature Bohemian Style 1:12 Dollhouse Rattan Shelf - August 24, 2023
- How to Solve Stress with Princess Bathtub Melts - June 2, 2020
- 25 Valentines Even a Toddler Can Make - February 11, 2020


One thought on “Seasoned Sea Salt + Printable Labels”