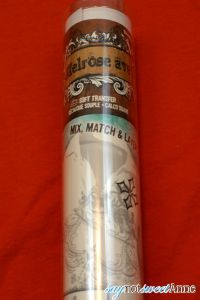
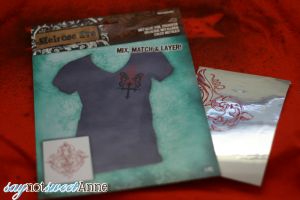
It all started about 3 years ago. I was making some custom t-shirts as gifts and I stumbled upon something called a “Fabric Tattoo” by Melrose Ave. These are a fabric ink transfer (not customizable) that, once ironed on, are soft and flexible. Now, I’ve tried a BUNCH of fabric transfers and I’d never found one that didn’t have some sort of plastic film around it that was stiffer than the rest of the fabric.
I was a customer for life.
That is, until they stopped making them.
This year I wanted to make some custom t-shirts for Christmas gifts. They are easy and personal, and I really enjoy the process of making them. So, I tried to buy some more of those Transfer Tattoos. What I found was disheartening. Only a few in stock, and clearanced down to $1 or so on all of the websites, even the manufacturers! So, I bought one of each (c’mon! They were only $1!!) and then I began scouring the internet for “soft transfer” for fabrics.
I bought a few of the print-your-own type that promised to be soft and without plastic stiffness. Every. One. Failed. They all had a vinyl film over the image, and I was sorely disappointed. Look at this one. This is expensive print-you-own design that boasts being “soft” and “invisible” on fabrics! After one wash it turned white and began cracking:

Suddenly I remembered a technique I learned in art school during print-making. Acetone transfers. Acetone is a solvent that will soften the heat-hardened ink of a laser print or copy. (The laser is important. Ink Jet won’t work.) In printmaking, we soaked a laser print in acetone, and ran it through the printing press, which transferred the image onto another sheet of paper. I wondered if it would work the same with fabric.
It does!
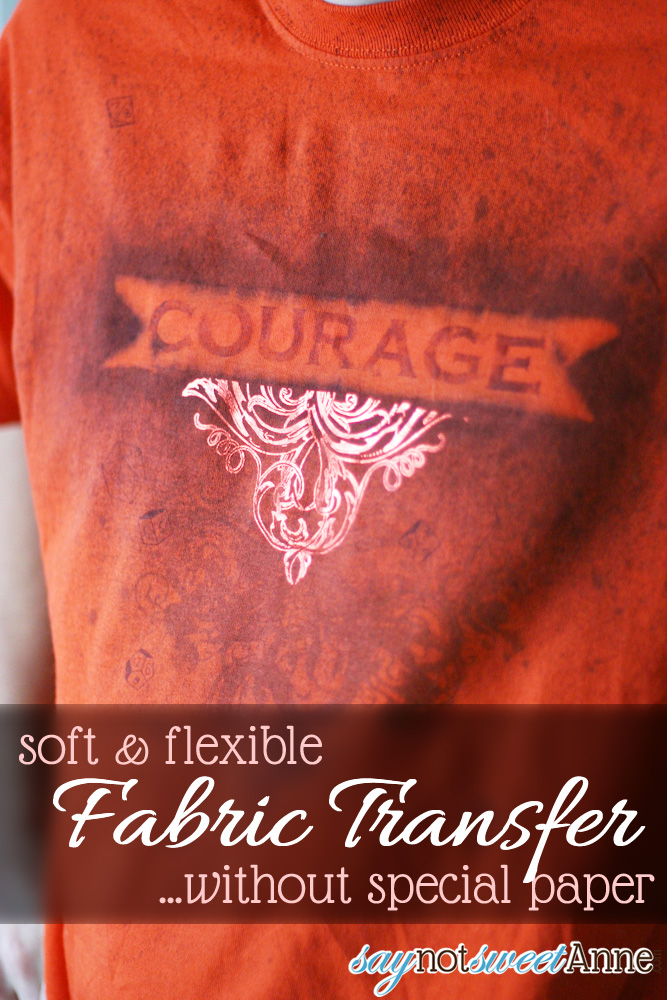
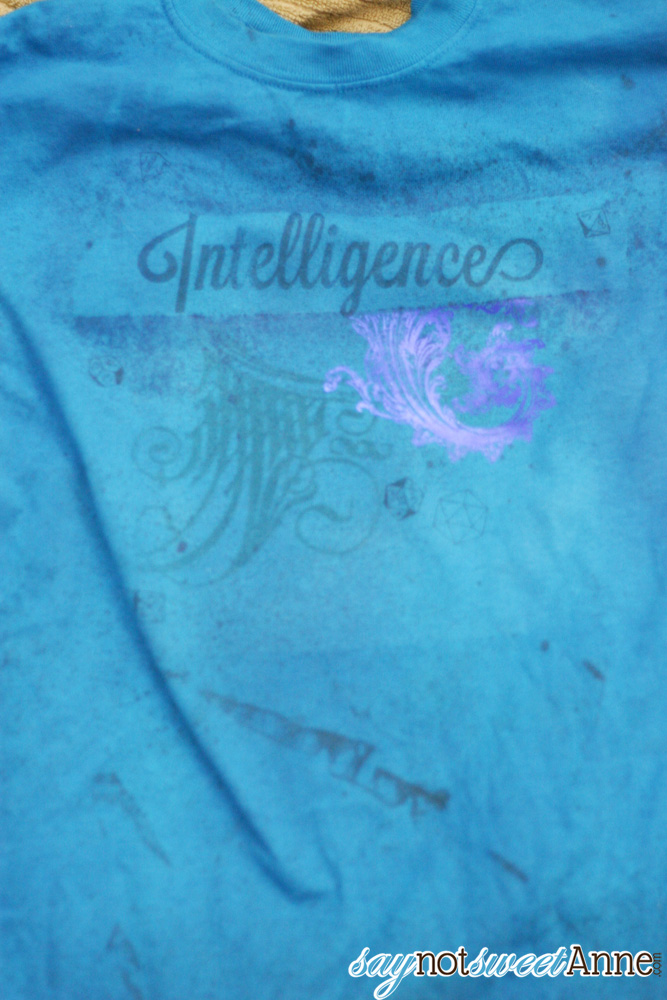
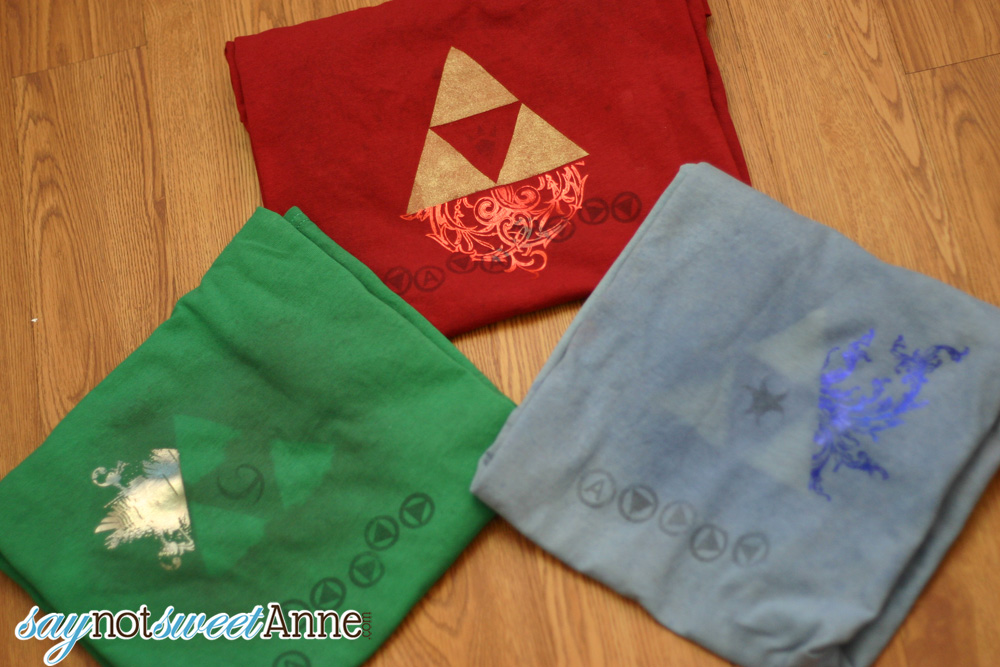
So, I went to town! These shirts have a great depth and I think they look store bought. If you wanted to be simple, just skip all the dye steps and jump right into the transfer!
What I Used:
- 100% Cotton T shirts
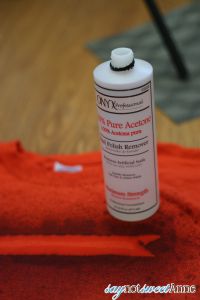
- 100% Acetone (from nail section of supermarket)
- Black and white REVERSED laser print of my design (Copies from a copy shop on laser will work!)
- Large Spoon
- Pins to hold design in place
- Masking Tape
- Rit Liquid dye in brown
- Dollar Store Spray Bottle
How I made it:
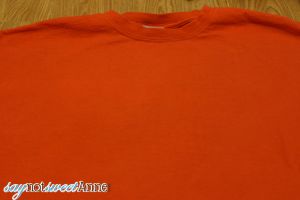
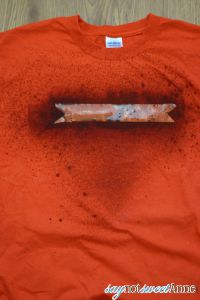
- I knew I wanted a more vintage look. So, I started with the plain colored tees and I gave them a quick dunk in dark brown dye so to dull the colors. Then I washed and dried them without fabric softener.

- Now they are ready for some more customization. I used masking tape to mask off where I wanted the main word to be, and spritzed with the dark brown dye to create a dappled area. Be sure to put cardboard or something in the shirt so that your designs don’t bleed onto the back side.
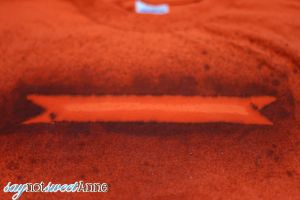
- I removed the tape and let the dye dry.
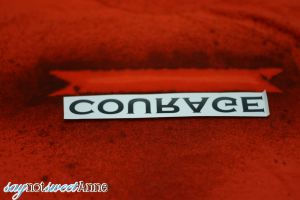
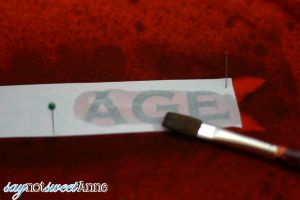
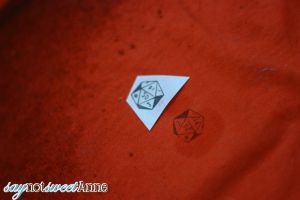
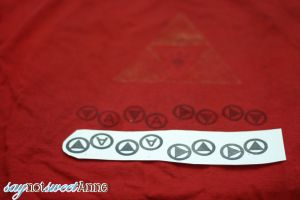
- Once everything was dry, I placed my transfer where I wanted it on the shirt, face down. Using a paintbrush I soaked the paper in acetone a letter at a time, and then rubbed it HARD with the back of a spoon. I worked one small area at a time, because acetone dries fast. I peeked after each section and repeated the process if the print wasn’t dark enough.
- After I had all my transfers done, I added some of those Melrose Ave iron ons, including some pretty foil ones. The iron ons didn’t bother the transfers at all!
That’s it! There are TONS of possibilities with this transfer system. A quick test with water and soap tells me it’s also machine washable. But I’ll confirm that after I give them this Christmas and get feedback from the recipients.
What are you waiting for!? Your custom tshirt awaits!
Kayla Domeyer
Latest posts by Kayla Domeyer (see all)
- Miniature Bohemian Style 1:12 Dollhouse Rattan Shelf - August 24, 2023
- How I made a DIY Prop Dragon Book (Twice!) - March 20, 2023
- How to Solve Stress with Princess Bathtub Melts - June 2, 2020
Do you heat press after removing the film?
I’m looking for a way to transfer a tiny argyle pattern I’ve created with my computer onto a sock. Would this work? I definitely don’t want any shiny/stiff vinyl in there, as it’s a sock and needs to stretch.
Yes and no. Firstly, yes the transfer will probably work on a smooth, tightly knit sock. However, hot water will severely fade the image. You might look into something like Spoonflower? I believe you can get custom prints on fabric there and then making a sock would be fairly straight forward.
Does this work with colour laser prints
In theory, yes. The color part of a laser print is the same as the black. The issue would be coverage. If you were transferring onto a white shirt it would probably be fine. It might not work over the dark red etc pictured here.
Hi! I just discovered that post on pinterest, it’s exactly what I’ve been looking for so thanks! So can you tell now if the prints are washable or not? thanks again. Solene
Hey Solene!
The prints are washable in cold water, without harsh solvents. The laser ink is heat-set in the laser printer, so hot water fades it severely.
thanks! I have to find something washable, I’ll try something else
Great post, Kayla, and I love the new design!