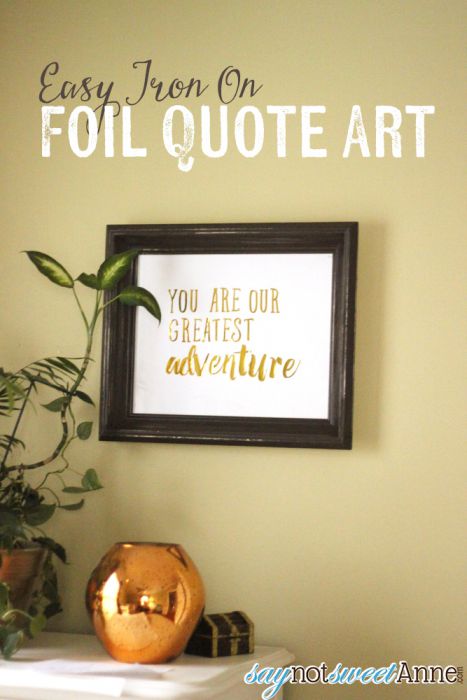
There has been a huge trend for foil/shiny elements in home decor lately. I see tons of beautiful pins of amazing foil art prints that are just too lovely not to want. And believe me, I want them all!
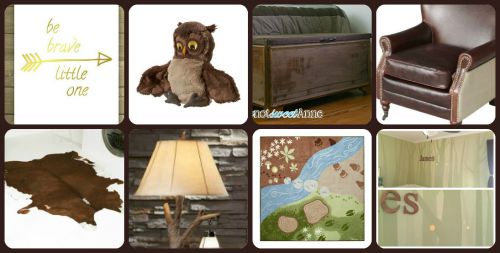
When we decided on the theme for baby James’ room hubby and I knew that we wanted to ride the difficult line between forest/baby green and the more rustic/upscale Hemingway/old world feel. We were aiming for something rustic, but with class and soft enough for a baby. Boy, what were we thinking!?
Anyway, we chose our primary colors as soft green, dark brown and reflective gold. The gold really lightens the space and the reflective surfaces all over the space really give it a whimsical feel that brings everything back to the magic of a new baby. So of course I knew I wanted one of those beautiful foil art prints in the space!
Here’s the trouble. In almost all of Etsy shops that I found selling prints like these, the “foil” look was digital. Yeah. The artist did some graphics magic to make regular type look like it was shiny and then the prints were normal everyday printer prints. So, no actual light reflection. The few (very few) who actually had foil on the prints were pricing an 8×10 at over $80. I love the idea of a pretty nursery. But not that much.
Then, as I worked on other projects in the room that used iron-on vinyl in gold shiny foil, I wondered suddenly, “would this work on paper?” The answer my dear friends is yes. This will work on paper. And it is easy, beautiful, and so much cheaper than $80!
What You Need:
- Foil Iron-On Vinyl. I got mine from Happy Crafter.
- Nice watercolor or textured paper. I used Reeves BFK. You can buy this in sheets at most craft stores. It elevates the project to more of an Art Print.
- Cricut, Silhouette Cameo, or some other vinyl cutting machine.
- Iron
- Frame for Print
How To Make It:
- Start by measuring out your frame, and trimming the backing paper to fit.
- Using your cutting machine, cut your quote in a size appropriate for your paper. (Keep in mind it will look funny if the design goes all the way to the edge. Leave some space on the outside.) Remember to flip the design if your vinyl requires that! (Mine did).
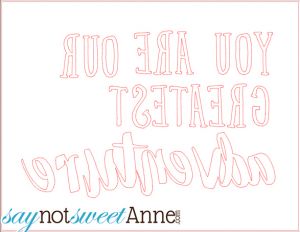
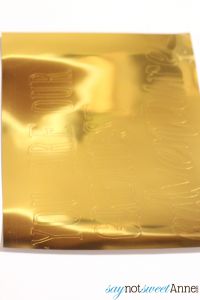
- Weed out the unused parts of your design so you are left with only the quote.
- Apply the vinyl to your paper. Reposition as needed until it is centered.
- Use your iron on the settings recommended by your vinyl, and iron the vinyl to the paper. Be sure to use a cover sheet, or an extra sheet of paper.
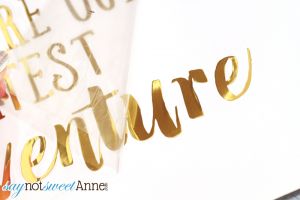
- Remove the transfer backing and voila! A beautiful, glossy, reflective quote art print! You could totally do this with glitter vinyl too. Imagine the possibilities!


Kayla Domeyer
Latest posts by Kayla Domeyer (see all)
- Miniature Bohemian Style 1:12 Dollhouse Rattan Shelf - August 24, 2023
- How to Solve Stress with Princess Bathtub Melts - June 2, 2020
- 25 Valentines Even a Toddler Can Make - February 11, 2020

