When we first discovered we were expecting, hubby and I had dreams of a forest themed nursery. Girl or Boy, we loved the idea of soothing green tones, natural wood and serene forest animals. (You know, until the child arrives and the whole house is thrown into chaos.)
So when time came for our little boy’s baby shower, we followed the same theme. We found a beautifully rustic restaurant space, decorated with wood logs and forest creatures, and staged our food on fresh cut slices of a large tree trunk.
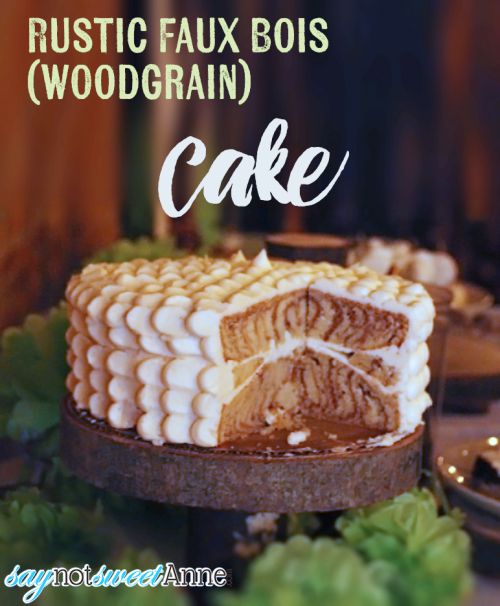
But what about the cake? We knew we wanted something to match the theme. But since the cake would need to be made at least 2 days in advance (due to the distance we had to travel to our home town), and the fact that our budget was minimal, we were at a loss. Bakery purchased cakes in the size we needed were expensive, even before decorating. So I did a little research into Woodland Themed cakes, and found some inspiration.
There were a lot of cakes that were frosted to look like birch bark, or like tree stumps. I liked that idea but I knew that even if I could decorate it as well as those, I would be fretting for days over how the decorations would stand up to the drive home. So then I started thinking about the inside of the cake. Someone, somewhere, had to have made a cake that looked like wood on the inside, right?
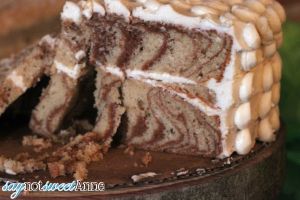
Wrong. I found 0 references to faux bois cake, wood look cakes, or anything similar. What I did find however, is the zebra cake. I decided that I could start with that and see where it took me.
I baked a practice cake 5 days before the shower just to test. It was amazing! Once the real-cake making day arrived I was more excited than nervous. The method is so easy and the results were amazing. Guests raved about the cake (and that the mom to be had made it ;D ) it stayed moist and delicious from Friday night to Sunday afternoon when we cut into it. The woodgrain on the interior was a big hit, and I would for sure make this cake again and again.
What You Need:
- Your favorite cake mix, and everything the recipe calls for. I used Duncan Hines French Vanilla. This was a tip given to me by a bakery employee. The cake takes a lot of eggs, but it stays moist for longer.
- 1-2 tbs cocoa powder.
- 1 tbs water.
- Prepared cake pans.
- 1 Tablespoon and 1 1/4 cup measuring utensil. I used appropriately sized dishers/melon ballers/ice cream scoops
- Your favorite frosting
- Piping bag with large round tip
- Frosting Knife
How To Make It:
- Prepare your cake mix. Most mixes say to beat on low until blended, and then on medium for a few minutes. If you can, separate out your darker mix before the final mixing.
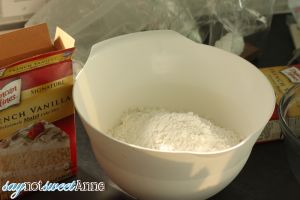
- Once combined, separate out about 1/4 of your cake mix into another bowl. We want thin lines, so we won’t need too much mix.
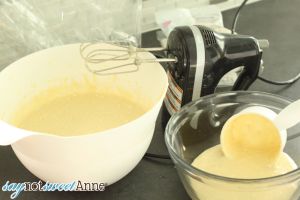
- Add 1 – 2 tbs of cocoa powder into the smaller bowl of mix, depending on how dark you want your lines. Add the 1 tbs of water.
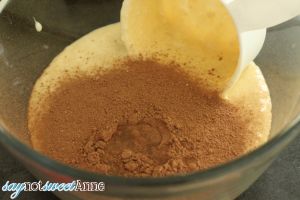
- Beat each bowl of cake mix separately, for the time stated in the mix (or until well blended and not lumpy).
- Grab your prepared cake pans and start with a 1/4 cup scoop of the plain mix in the bottom of each pan.
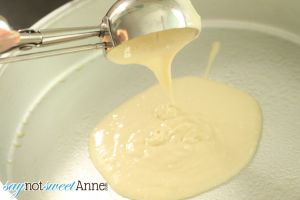
- Add a 1 tbs scoop of the dark colored mix into the center of the “blob” in each pan. You might want to shake or tap the pan to help the mix spread out.
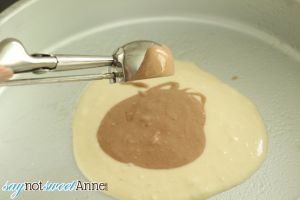
- Repeat steps 5 and 6 in each cake pan until you have used up all your mix.
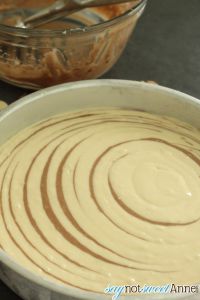
- Bake as directed by the mix. Wait at least 10 minutes before removing from the pans and letting the cake cool completely before moving on.
- Prepare your frosting, level and stack your cake as normal. I’m not so good at this and ended up using a wedge of cake on the edges as my cake was not level.
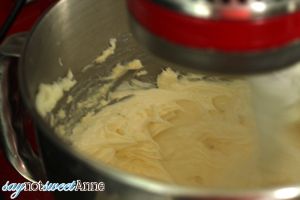
- Frost a thin layer over the whole cake. This is often called a crumb coat. Now is a good time to pop the cake in the fridge to stiffen up while you clean up your kitchen.
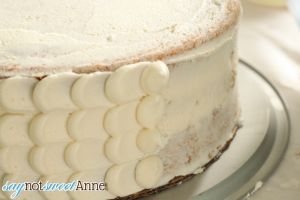
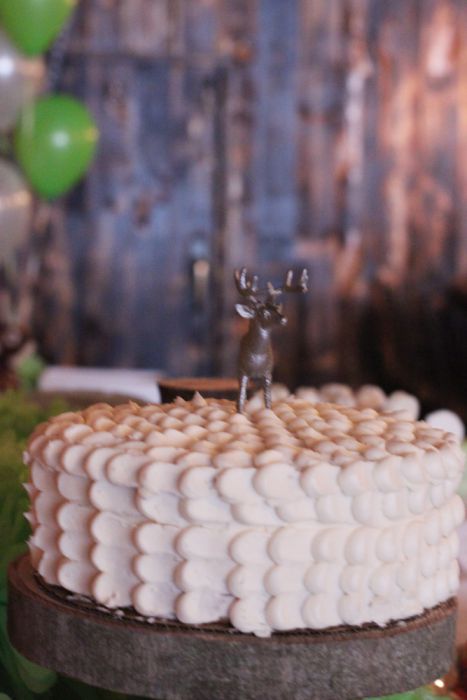
- For the petal look, use a piping bag to pipe large dots up the side of the cake, and your frosting knife to gently pull the dots to the side. Repeat until the cake’s sides are covered. Do the same on the top of the cake, and finish with a line of petals on the corner where the bottom meets the top.
- Add a beautiful topper and you are all set!
Kayla Domeyer
Latest posts by Kayla Domeyer (see all)
- Miniature Bohemian Style 1:12 Dollhouse Rattan Shelf - August 24, 2023
- How to Solve Stress with Princess Bathtub Melts - June 2, 2020
- 25 Valentines Even a Toddler Can Make - February 11, 2020

Wow, I love the cake. It looks stunning. Thanks for sharing very detailed recipe!