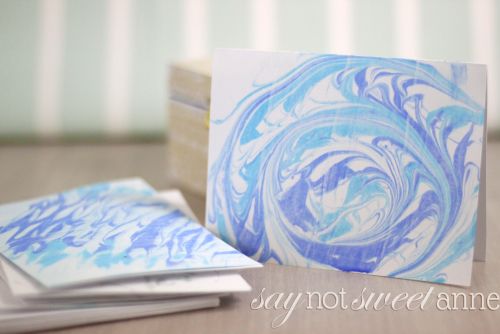
I’m a big fan of paper and stationary. I mean, I designed my own planner for crying out loud. So, while it is true this project could be a gift… I’ll skip the formalities and admit I made the DIY Marbled Paper Stationary for myself. I’m not even ashamed. I can’t wait to use it!
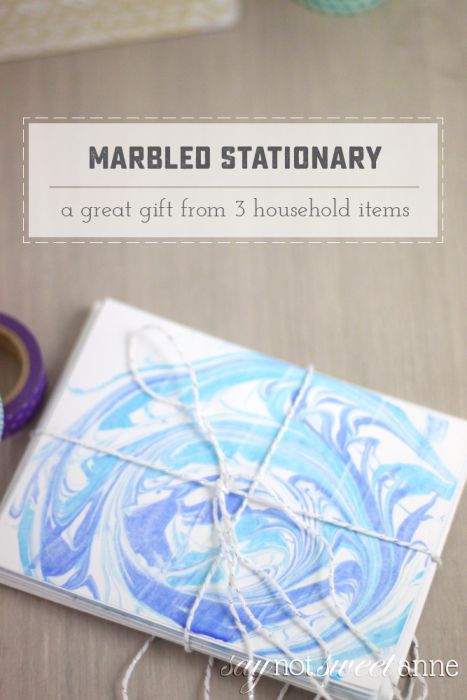
There are a bunch of ways of making marbled patterns on paper, and I’ve tried a fair amount of them. I have to say though, this one is my absolute favorite. I LOVE that I can use my favorite paints, and that even the metallic paints come through. I love how easy it is, and that it doesn’t soak my paper and make it all wrinkly. I also love the price point and all of the amazing possibilities.
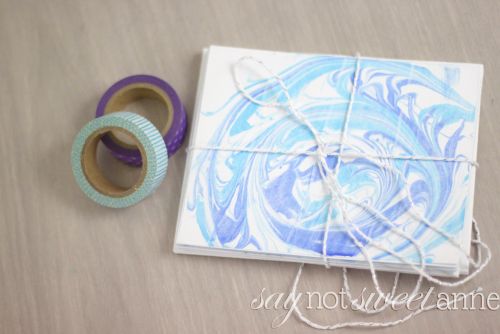
What You Need:
- Shaving Cream – The fluffy kind, not gel. And make sure its a scent you like – bonus scented stationary!
- Paint of your choice (I love metallics to add a touch of class to the whole thing)
- A credit card or gift card (for scraping)
- Plank notecards and envelopes (Depending on where you get them, this gift can be as little as $10!)
- Baking pan to hold the shaving cream
How You Make It:
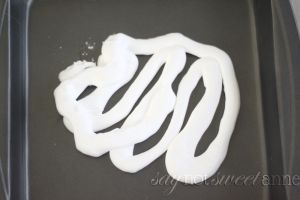
- Start by adding a bunch of the shaving cream to the bottom of your pan. Smooth it out with the back of a spoon so there is enough to cover your note cards.
- Add a couple of drops of your favorite paint. I like to water mine down a bit so it spreads better.
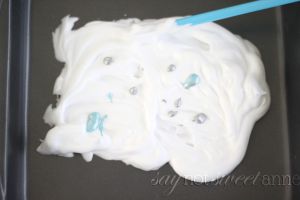
- Using a straw, a pencil or other interesting items (a to pronged BBQ fork) swirl around the paint until you get a great pattern.
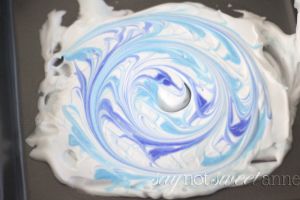
- Place your notecard face down into the shaving cream and then gently lift up.
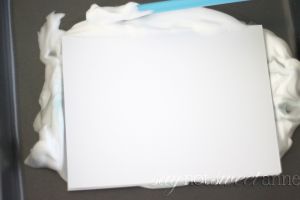
- Use the credit card to scrape the extra shaving cream off the card. Add it back into your pan and keep going!
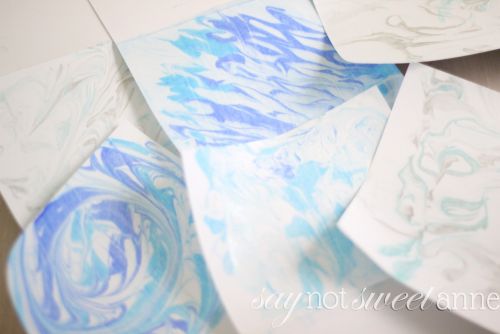
- As you continue to re-use the shaving cream your patterns will become more and more saturated with color. That’s OK! Try introducing new colors half way through. Its your stationary set – make it unique!
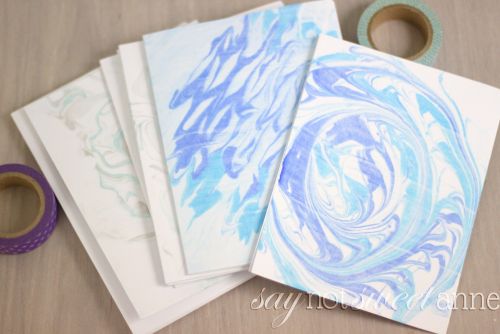
- Let the cards dry, and then flatten them by sitting over night under some heavy books, or my ironing them with a low iron until crisp. A bit of twine and some coordinating washi tape completes the gift set!
The following two tabs change content below.


Kayla Domeyer
My name is Kayla and I am a Graphic Designer. That means that I love pretty things, and also that I like to make free printables! I'm so happy that you've stopped by to visit my blog, and I hope you will follow me on Facebook, Twitter, Google +, Pinterest or Instagram!! (Yeah, and I'm totally addicted to the internet).
Latest posts by Kayla Domeyer (see all)
- Miniature Bohemian Style 1:12 Dollhouse Rattan Shelf - August 24, 2023
- How to Solve Stress with Princess Bathtub Melts - June 2, 2020
- 25 Valentines Even a Toddler Can Make - February 11, 2020
