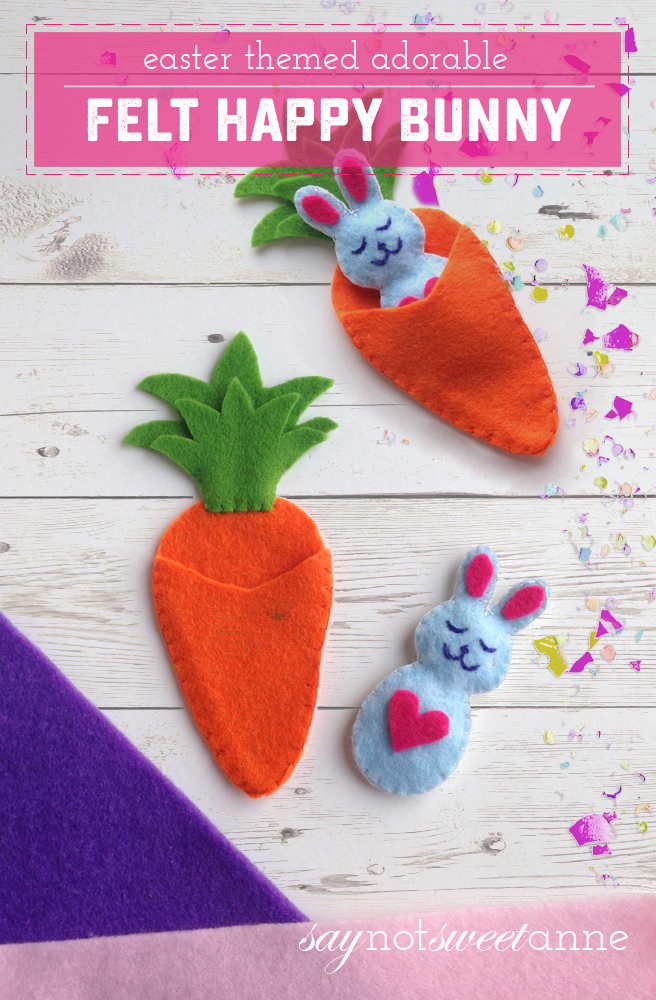
Felt crafts are one of those really adorable genres that is actually pretty easy to get into. The bold colors and cozy nature of a felt craft makes them instantly adorable, and the forgiving and inexpensive nature of felt makes it pretty approachable. For that reason, felt crafts are often some of the first “sewing” crafts that kids get a chance to try. This Felt Bunny tutorial would be great as a monitored craft for a 10+ child, or if done with glue instead of thread, could be good for kids 5+.
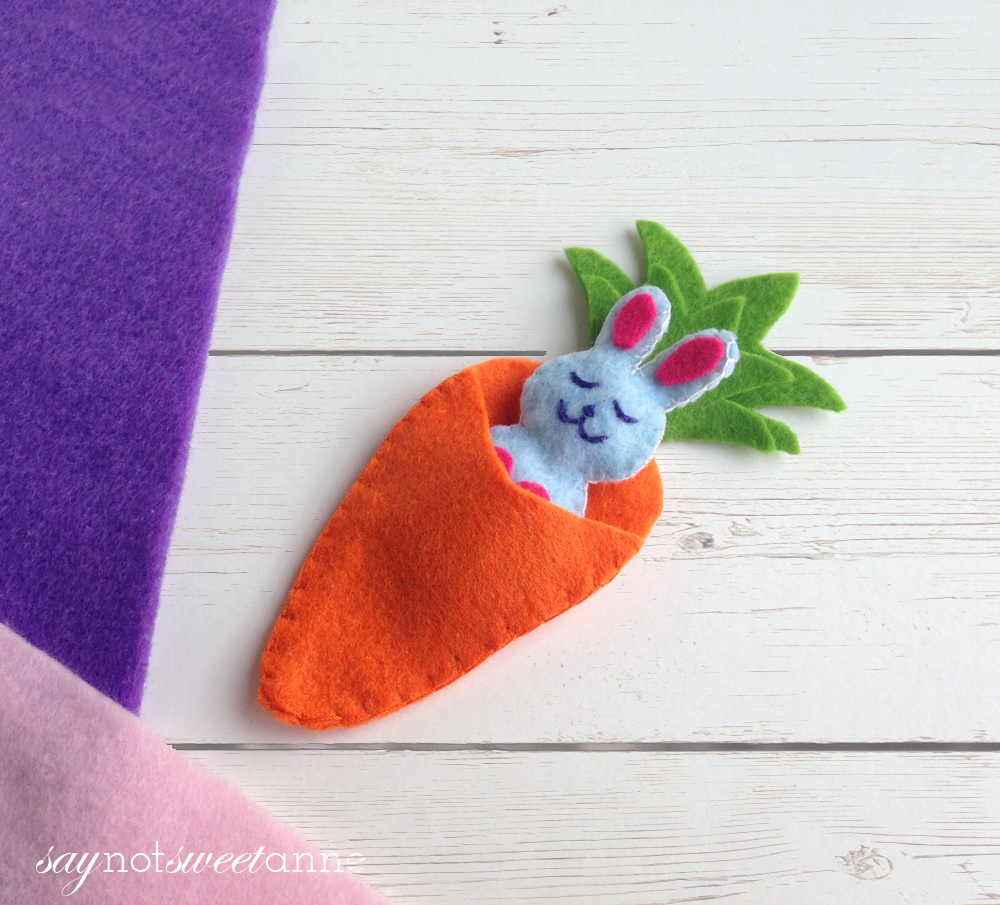
This little happy felt bunny craft makes me smile, and it is sure to brighten anyone’s day. Tuck him into a lunch box, pepper him into an Easter basket, and warm someone’s little heart. You can put whatever face you want on him, so he doesn’t have to be as sleepy as mine. Grab some adorable beads and he could even have eyes!
What You Need:
- Felt fabric – orange, green and 2 or 3 other colors of your choice.
- Scissors
- Matching thread and needle
- Fabric glue (optional)
- Pencil – to trace the template
- Template

How To Make It:
- Print and cut out the patterns from the template. Trace the patterns on the selected felt fabrics and cut them out carefully.
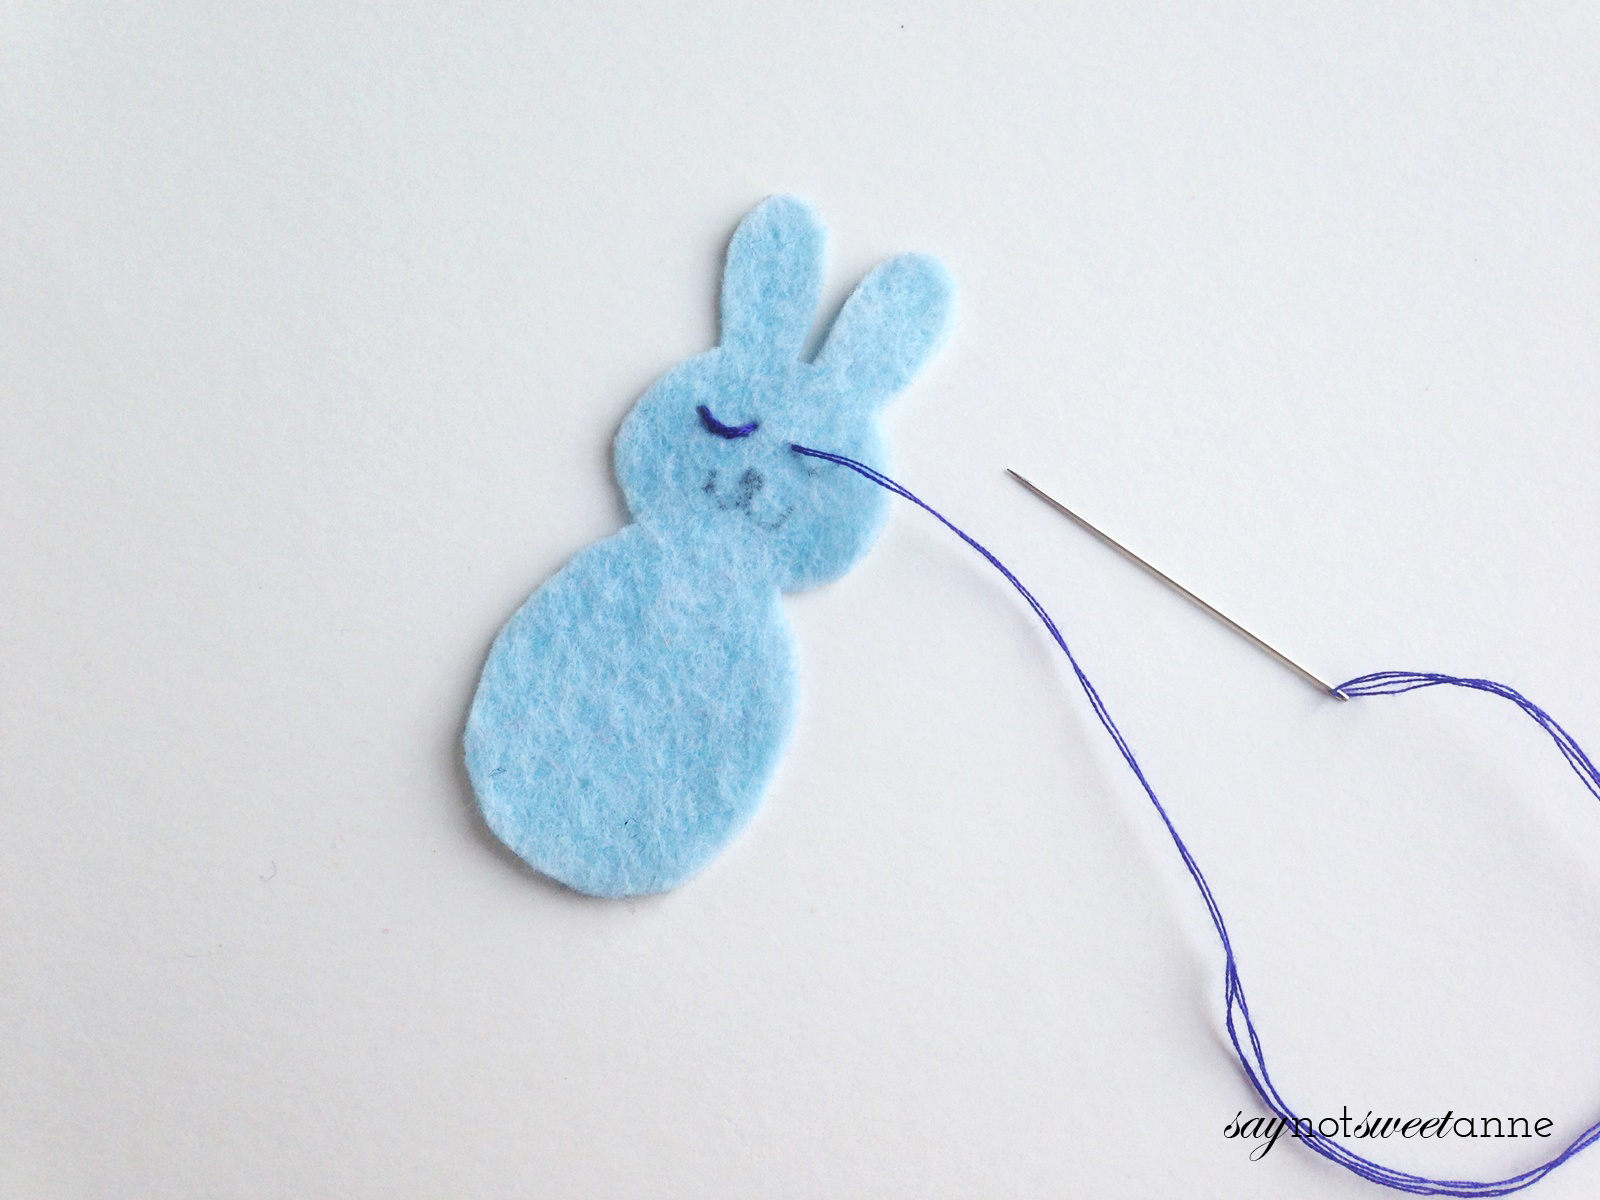
- On one of the Body pieces, use a pencil to sketch your happy face. Using dark thread, stitch the face.
- Once done stitching the face details attach the 2 inner parts of the ears and the heart pattern. You can either glue or stitch these patterns, however you wish to.
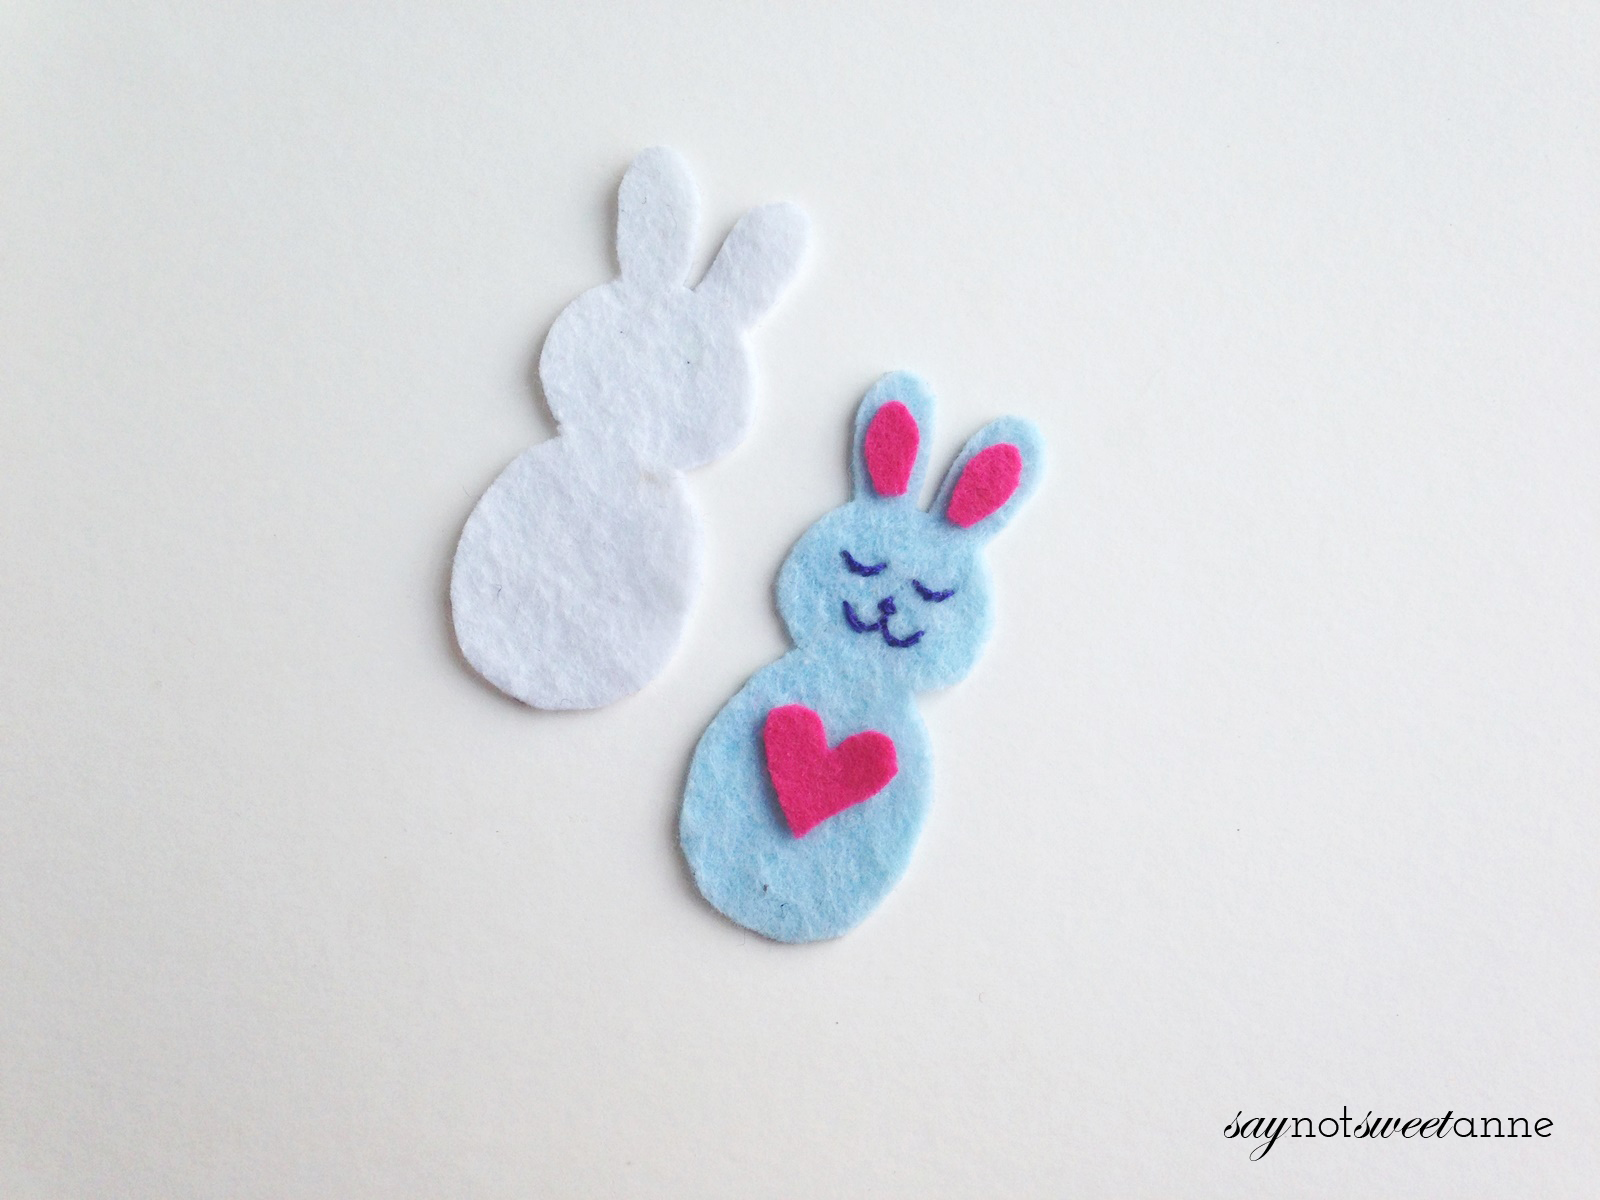
- Place the 2 body parts together (one on the top of the other one), with the bunny’s face on top. Prepare needle and thread to stitch around the sides of both parts to join them. Start the stitch from anywhere but make sure to keep a small opening for stuffing. You can use the left over felt pieces for the stuffing. Cut the left over felt pieces into small bits. And tuck them inside.
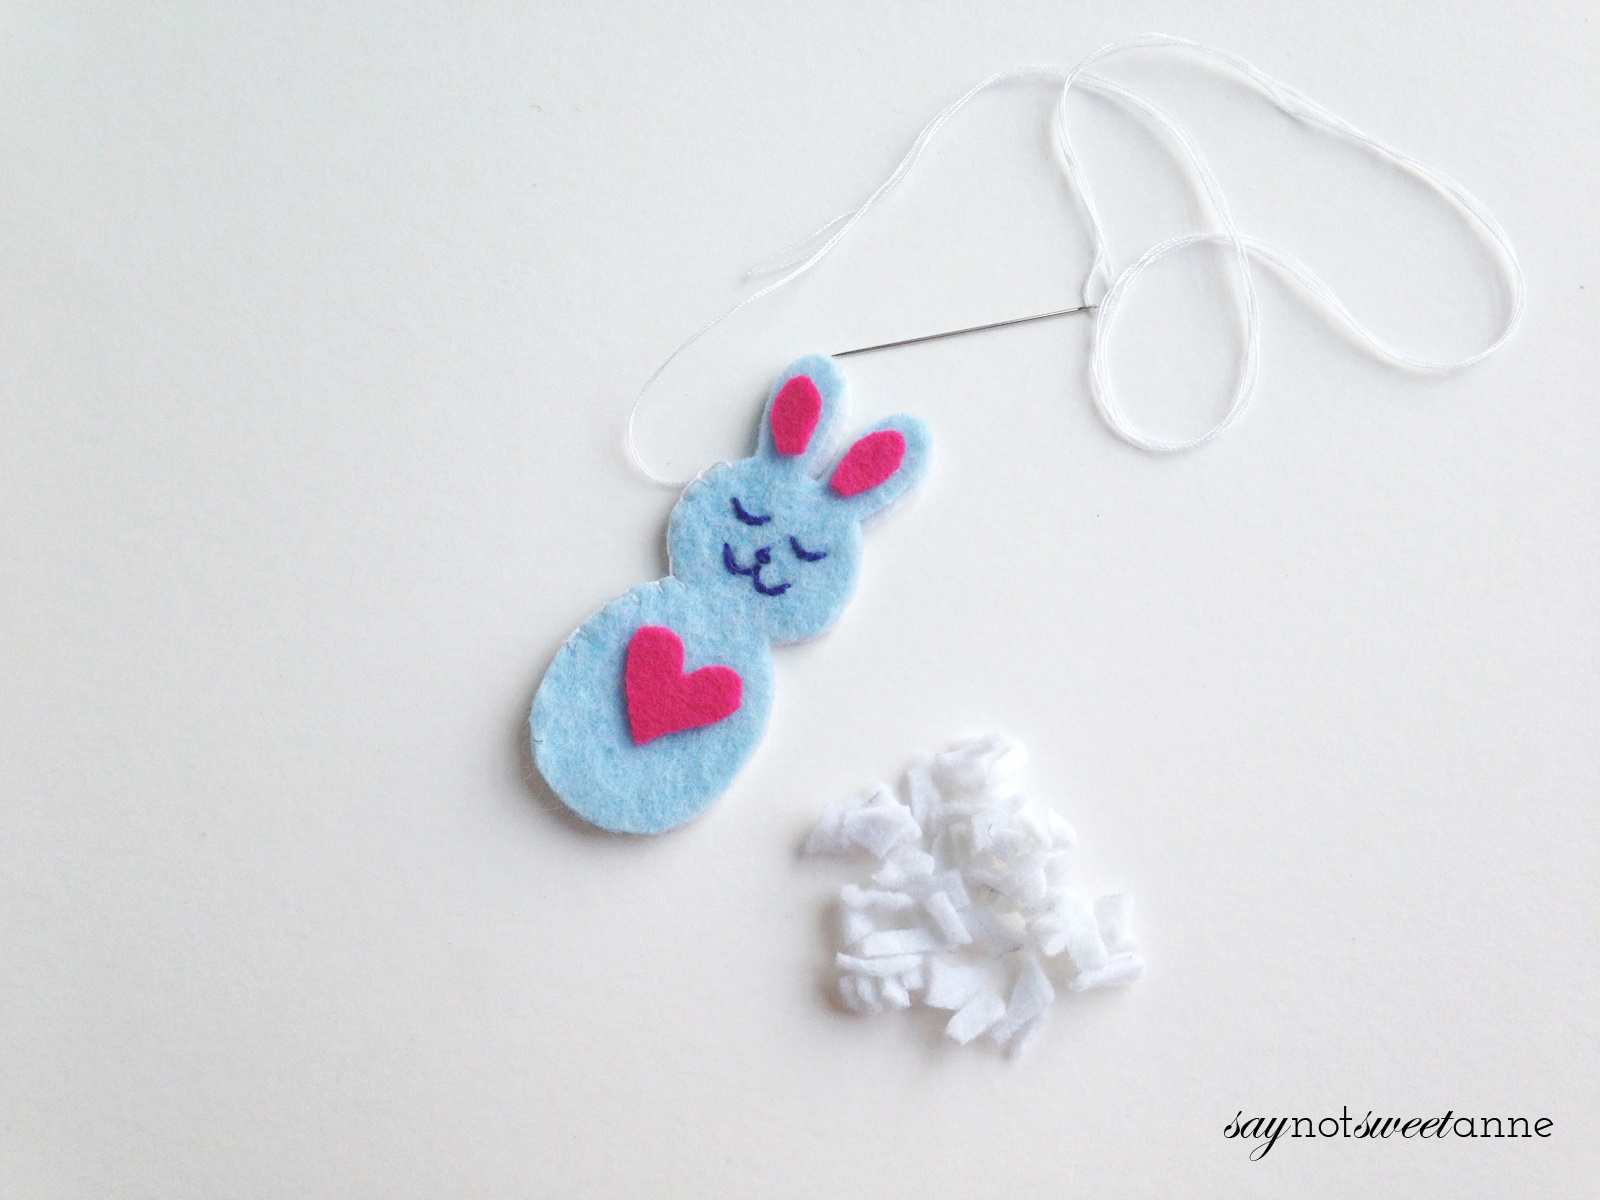
- Fill the bunny pattern with the felt pieces, use something thin and pointy (pencil should do) to push the stuffing towards the head of the bunny.
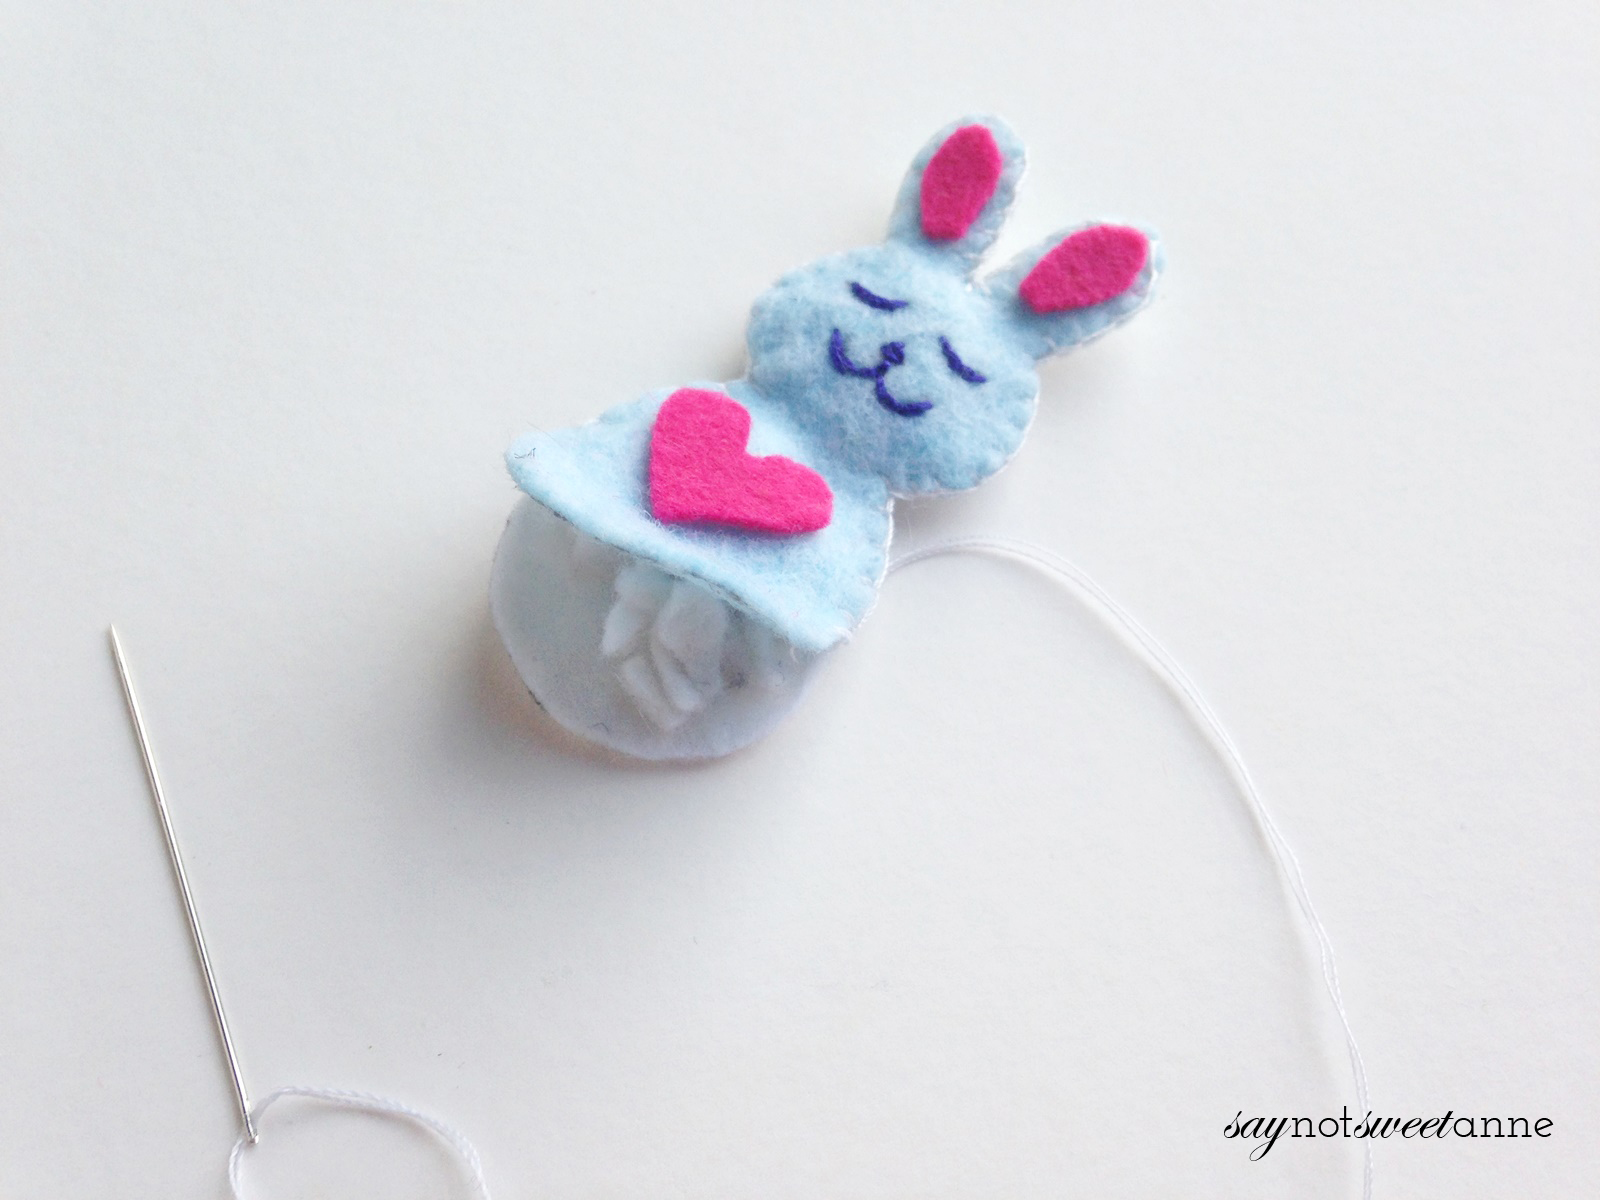
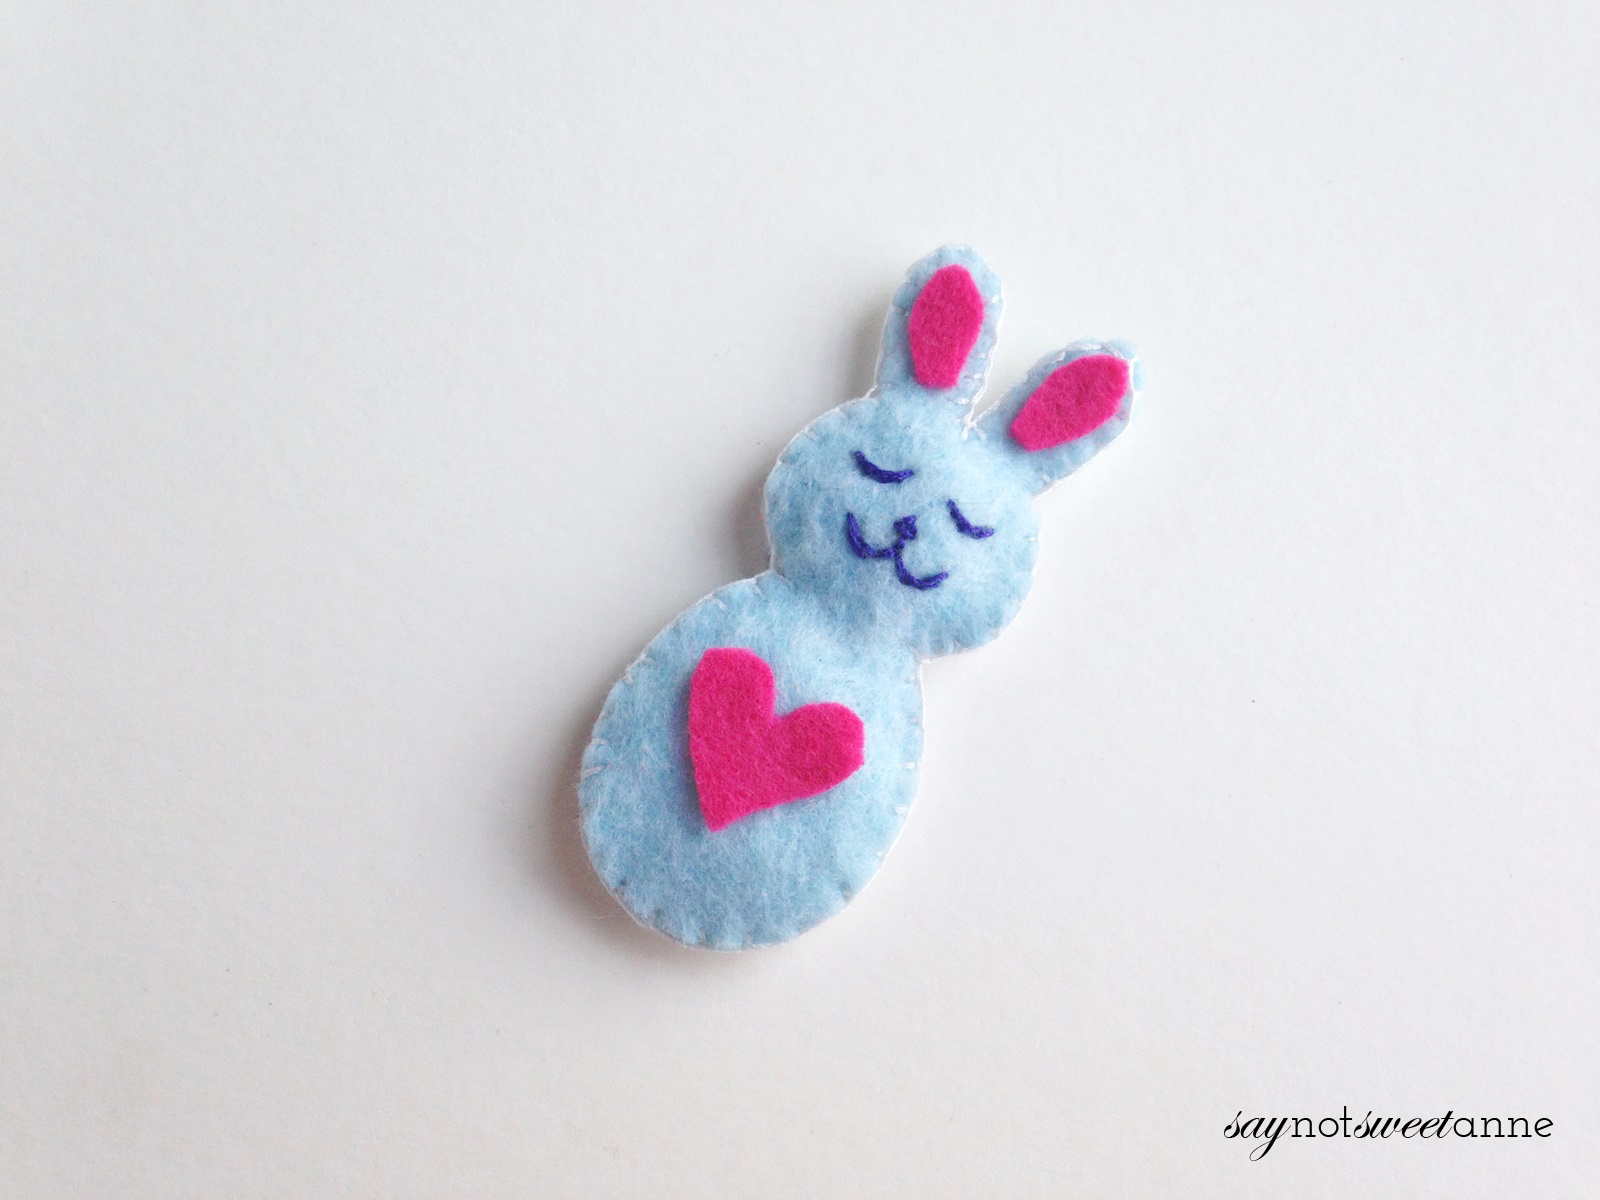
- When you are finished stuffing, close the open end to secure the stuffing. Tie 2 tight knots and cut off extra thread.
- Take the 2 carrots pieces and place the short one on the top of the taller one; match the bottom ends of both pieces.
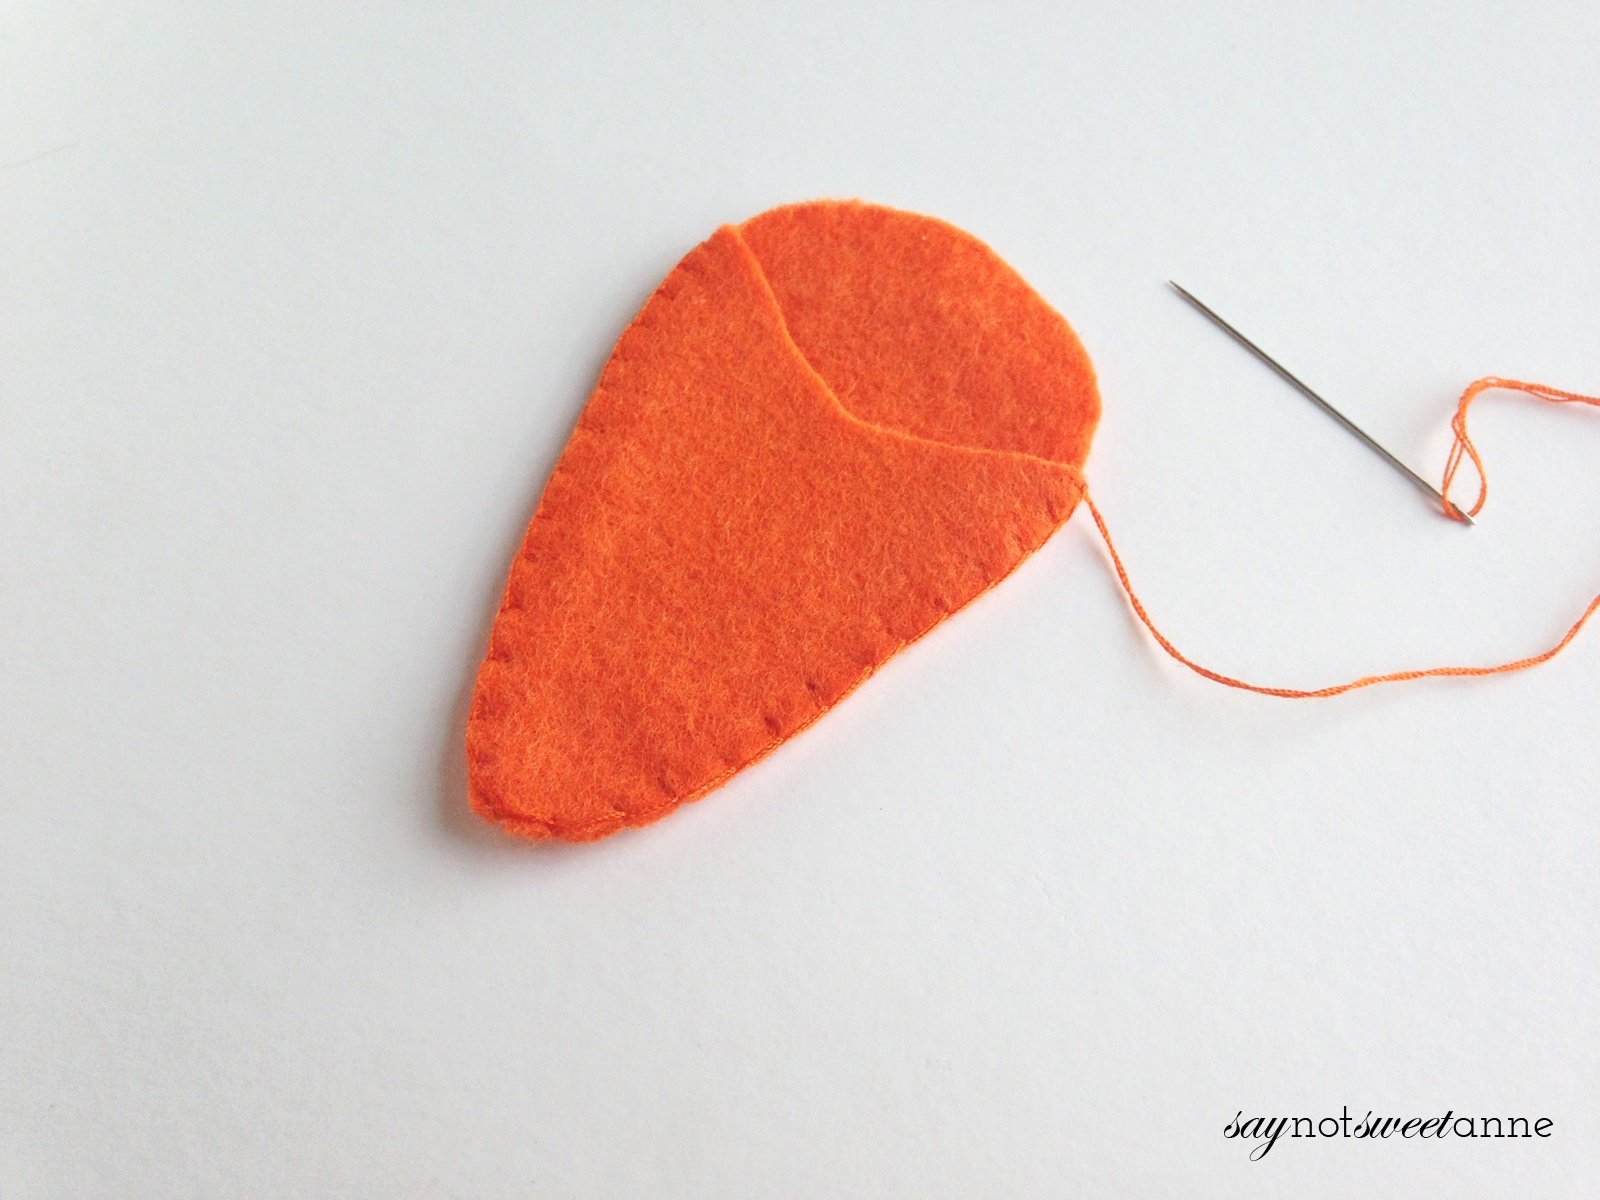
- Prepare matching thread and needle and stitch around the sides to join both pieces. Keep the top side of the smaller part open. When done stitching tie a tight knot and cut off extra thread.
- Finally, stitch the 2 green leaf patterns on the top side of the larger part of the carrot. Place the larger leaf at the back and the smaller leaf on the front. Tie a knot at the end and cut off extra thread.
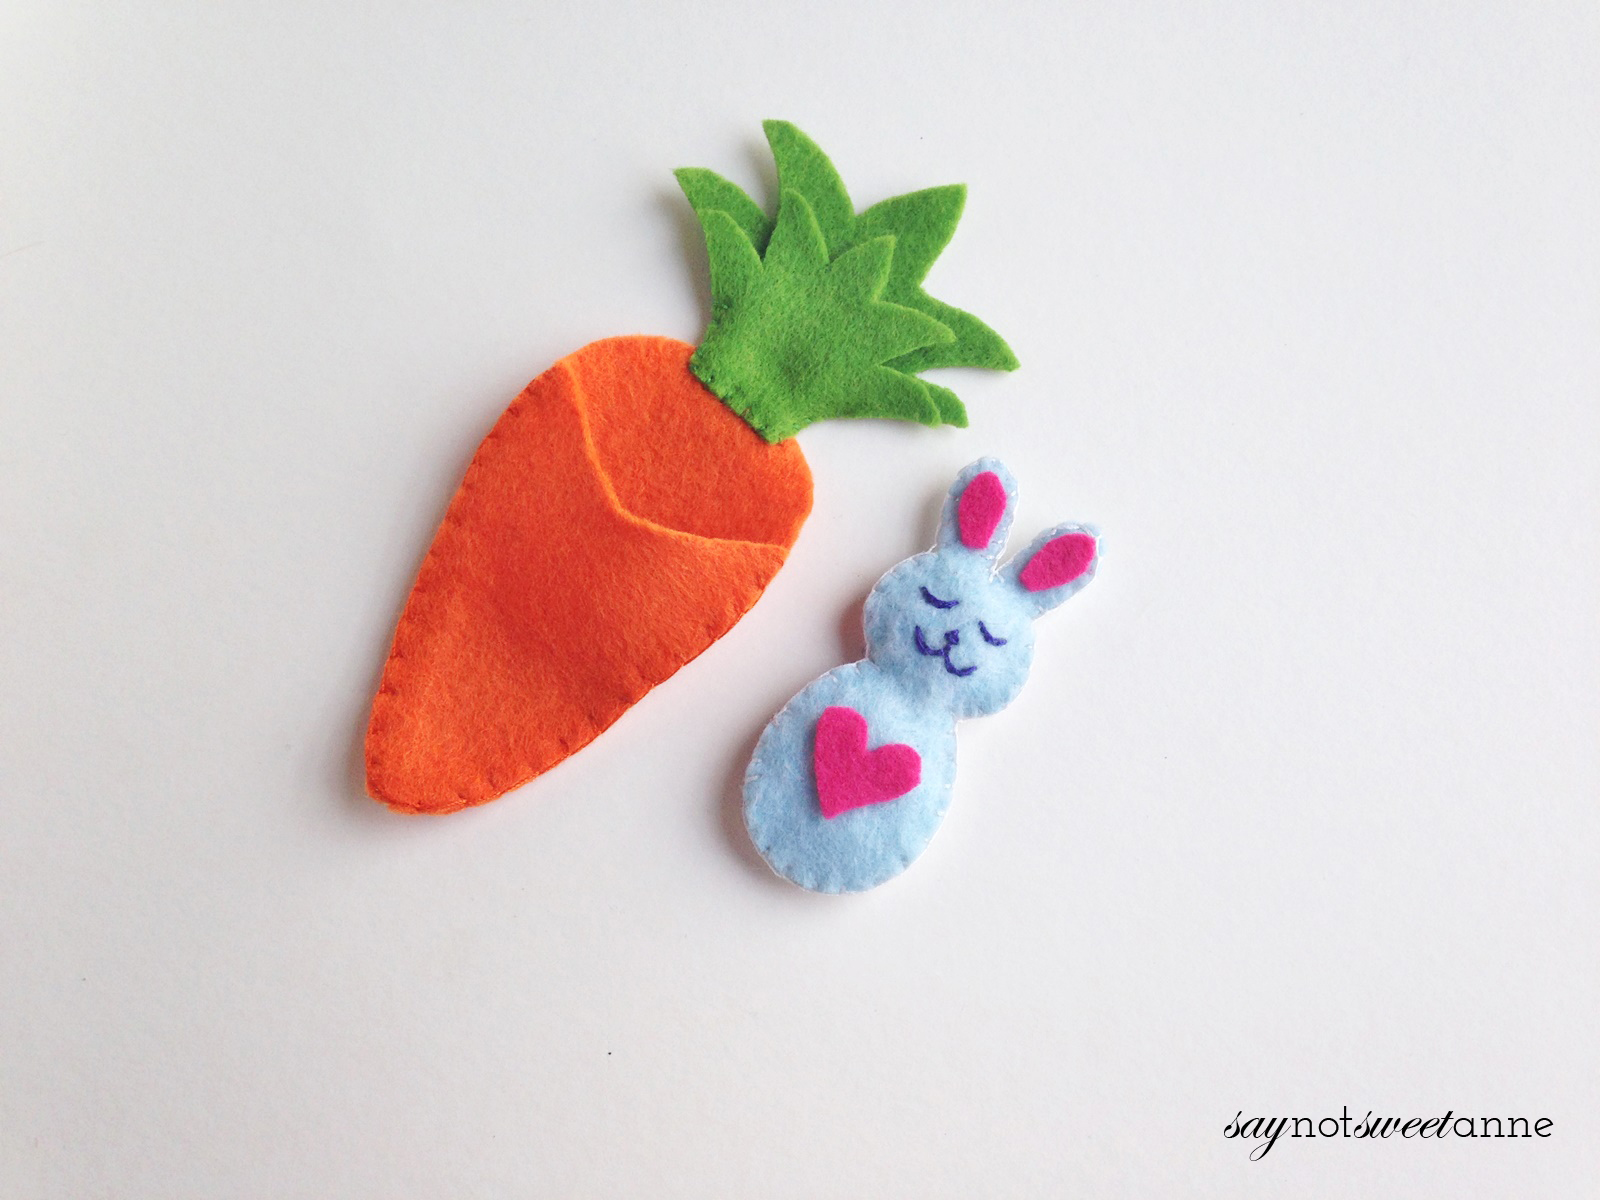
- Place the bunny inside the carrot pouch and enjoy your Happy Bunny!

Kayla Domeyer
Latest posts by Kayla Domeyer (see all)
- Miniature Bohemian Style 1:12 Dollhouse Rattan Shelf - August 24, 2023
- How I made a DIY Prop Dragon Book (Twice!) - March 20, 2023
- How to Solve Stress with Princess Bathtub Melts - June 2, 2020

Thanks Kayla loved the little rabbit inside a carrot off to make one for my Grandson for Easter really missing him right now.
kind wishes Lynne from the UK
I’m glad it could bring you a smile Lynne!
Such a cute pattern!