 My father left me a legacy. When I was a teenager he built me a dunebuggy. For those of you unfamiliar with this term, the traditional dunebuggy, or sandrail, is a sparse, frame only vehicle built mostly of Volkswagen Beetle parts, engine included. Mine happens to be street legal as well- which is rather rare. It sat for a number of years after my father’s passing, but eventually hubby and I tried to get it working again. My dad had a gift with mechanics, and I often wish he was still around to teach us. As is, we have learned everything we can from the internet, videos, manuals and books, and plain old trial and error. I’m proud to say that Mandy (that’s the buggy’s name) now runs and it a favorite past time of ours.
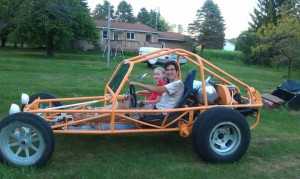
My dad loved the buggies, but wasn’t too interested in Beetles. My husband and I, however, have found the comforting fold of VW fanatic clubs have been the best sources of advice, support and information for us. So, we now go to all of the classic VW meet ups, and one day aspire to have a restored Beetle of our own.
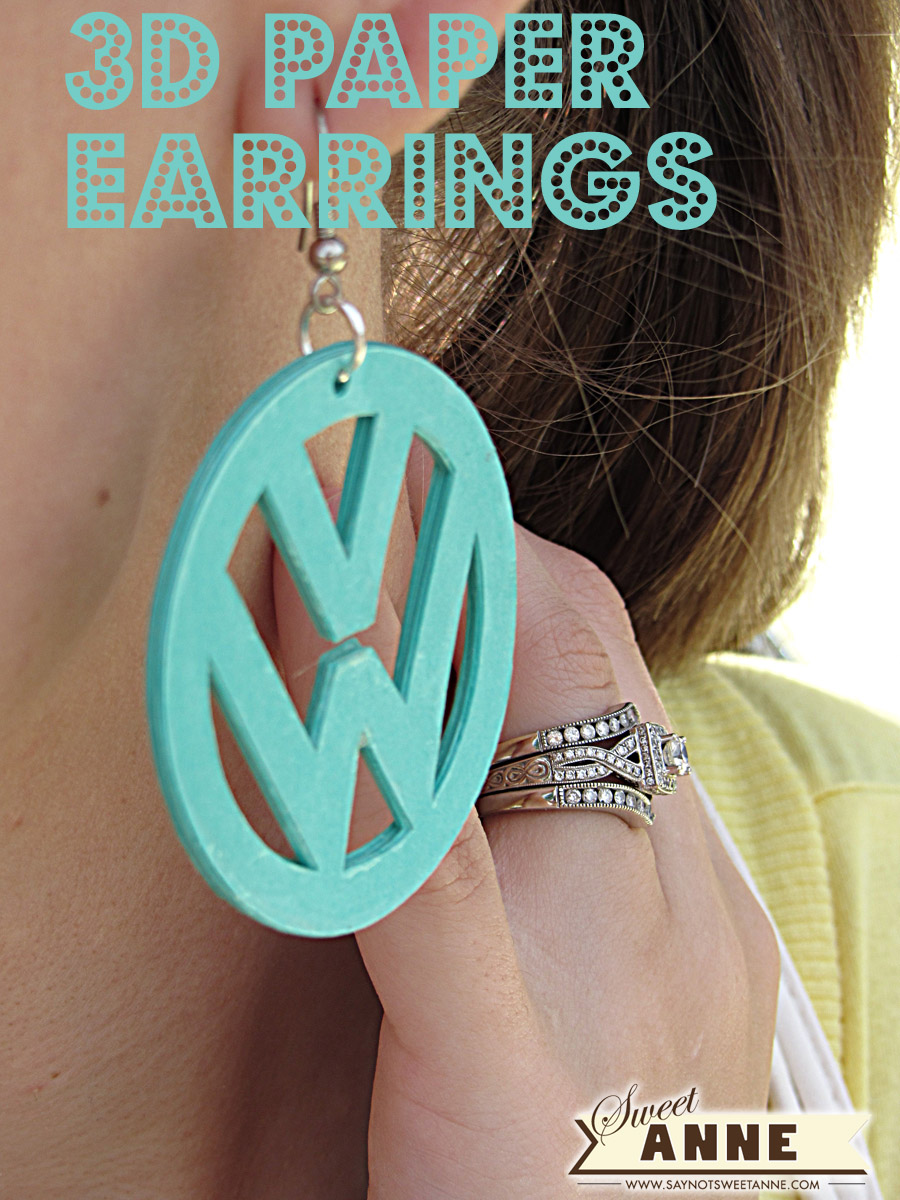
The last Classic VW meet was in early May- and I just *had* to have some VW earrings to wear! I scoured the internet, and while VW earrings exist, they are pricey and just not that pretty. So, I devised a way to make some 3D chunky CUSTOM earrings. What do you think? Would you believe that’s all just PAPER? Oh yeah, this project is as easy as can be and has SO MANY possibilities it’s ridiculous. =D
What You Need:
- 12in scrapbook card stock of your choice
- Silhouette Cameo, Cricut, paper punches, or exacto-knife
- Mod Podge
- Earring hooks x2
- jumper rings x2
How To Make It:
- My version was easy peasy since I have a Silhouette machine. However, simple designs could be done with a craft knife, paper punches etc. So, step one is decide on your design and cut out about 12 of them. I copied the VW logo in my Studio software and the Silhouette did the work. =D
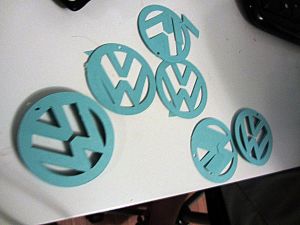
- Make sure each of your designs has a hole for the hardware. Line them up so they are all in the same place.
- Stack 6 of the cut outs together and line them up so they look like a solid block. Hold tightly with one hand, and with the other paint on mod podge around the edges. Try to push the mod podge into the space in between layers. This will act as the “glue”. Repeat with the other 6.
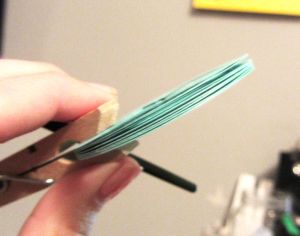
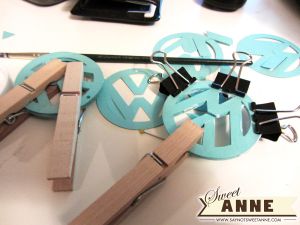
- Once you’ve mod podged all around the design and inside any nooks and crannies, use binder clips or clothes pins to hold it together while it dries. Wait overnight. Repeat for the other earring.
- Once your cut-outs have dried and now make up one solid looking charm, use a jumper ring to attach an earring hook.
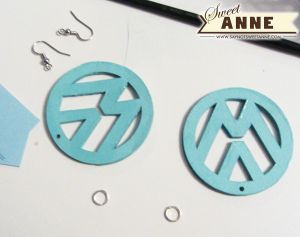
- If desired, mod podge the rest so that it looks shiny.
- That’s it! I think they turned out GREAT don’t you?
Kayla Domeyer
Latest posts by Kayla Domeyer (see all)
- Miniature Bohemian Style 1:12 Dollhouse Rattan Shelf - August 24, 2023
- How I made a DIY Prop Dragon Book (Twice!) - March 20, 2023
- How to Solve Stress with Princess Bathtub Melts - June 2, 2020

Kayla, those earrings are absolutely fabulous, and I loved hearing about your memories of your father and your and your husband’s passion for VWs!
Featuring your post on Facebook today.
Jenn
P.S. Mandy rocks!
Jenn/Rook No. 17 recently posted..The Perfect Summer Dress~The SUNSHINE Dress from Fresh Produce
Wow, I can’t believe they’re just from paper. They look great!
Just wanted to let you know that I am featuring you today! Come on over and grab the feature button, its at the bottom of my blog 🙂
xoxo
Heather
http://www.heatherlyloves.com/2012/05/sunday-round-up-11.html
That’s amazing! I can’t believe it’s paper. I’ll be keeping this in mind this summer. Maybe my daughter will want to make some with me. Thanks for sharing at Terrific Tuesdays.
Rachel
adventuresofadiymom.blogspot.com
Rachel recently posted..Orange Surprise! and my Smoothie Recipe
They turned out awesome! And I can’t believe they are paper! How lucky are you to have a street legal sandrail? What an awesome connection to your Dad 🙂 Mandy is super-terrific, brings back memories of Pismo Beach, never was lucky enough to ride in a sandrail though…
This is a smart and fun idea! I’m going to have to try it with my Silhouette! Pinning now!
Just Jaime recently posted..Tea Party Birthday
Love these earrings! Love the how you did them 🙂 Thanks for sharing. I saw this on Adventures of DIY Mom.
Amanda recently posted..Shabby-Romance Mock-Quilted Mat
wow! they look awesome.