The house I currently live in (I’m home shopping. More on that later I’m sure.) has a massive combined living room dining room. The house was built in 1897 and is blessed with 5 massive windows and 10ft ceilings in the space. Its gorgeous. I love the light it gets in there, and the open feeling.
But- I need practicality too. Hubby and I both spend a lot of time at our computers. So, we decided we would use part of the space as a living room, and part as an office. We wanted the office space to be sort of self contained, so that it didn’t detract from the living space for us or our guests.
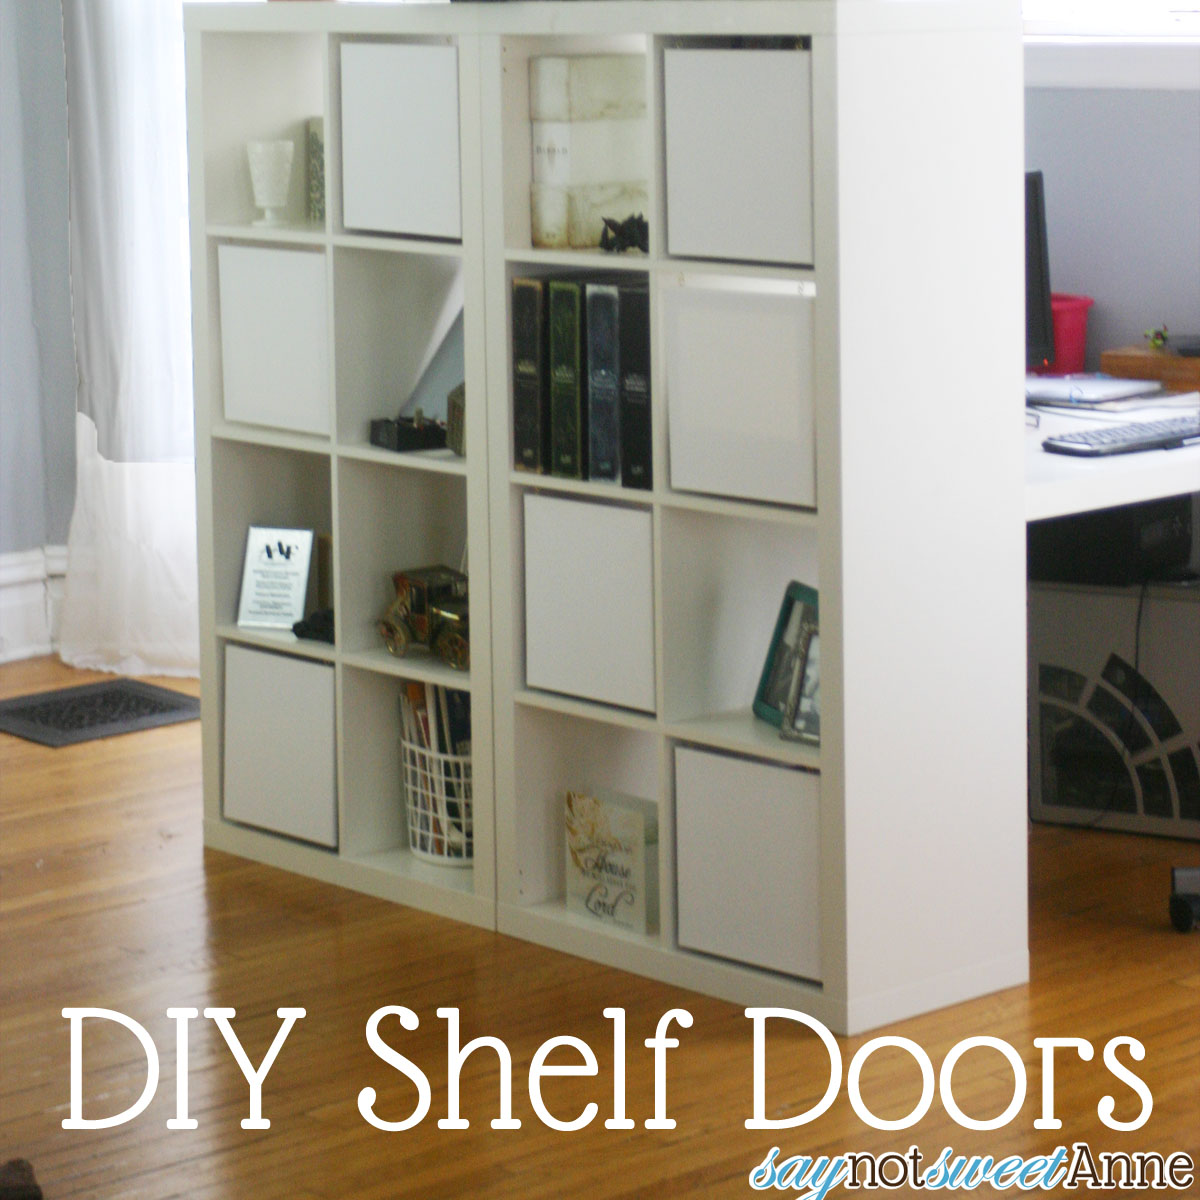
We decided on 2 Ikea expedite shelves and the attachable desks. The desks butt up against the wall, and the shelves act as a sort of room divider, keeping the office space in check.
The only trouble was, I needed the shelves for storage also. Crafty storage isn’t all that chic to look at.
So, I looked into doors. They range from $15-$30 A PIECE! Yeah, so not going to happen. So, I scoured the internet.
It took me a long time to hit on anything concrete. Then I stumbled upon this post by Dans le Townhouse. Basically she used painted canvas as doors. I didn’t really like the idea of paintings- but the concept was perfect!
So, I headed off to JoAnn with coupons in hand (that rhymed!) and I bought a 6 pack of 12 inch canvases for $7. Then, I got some picture hanging hardware kits from the Dollar Tree – $3.
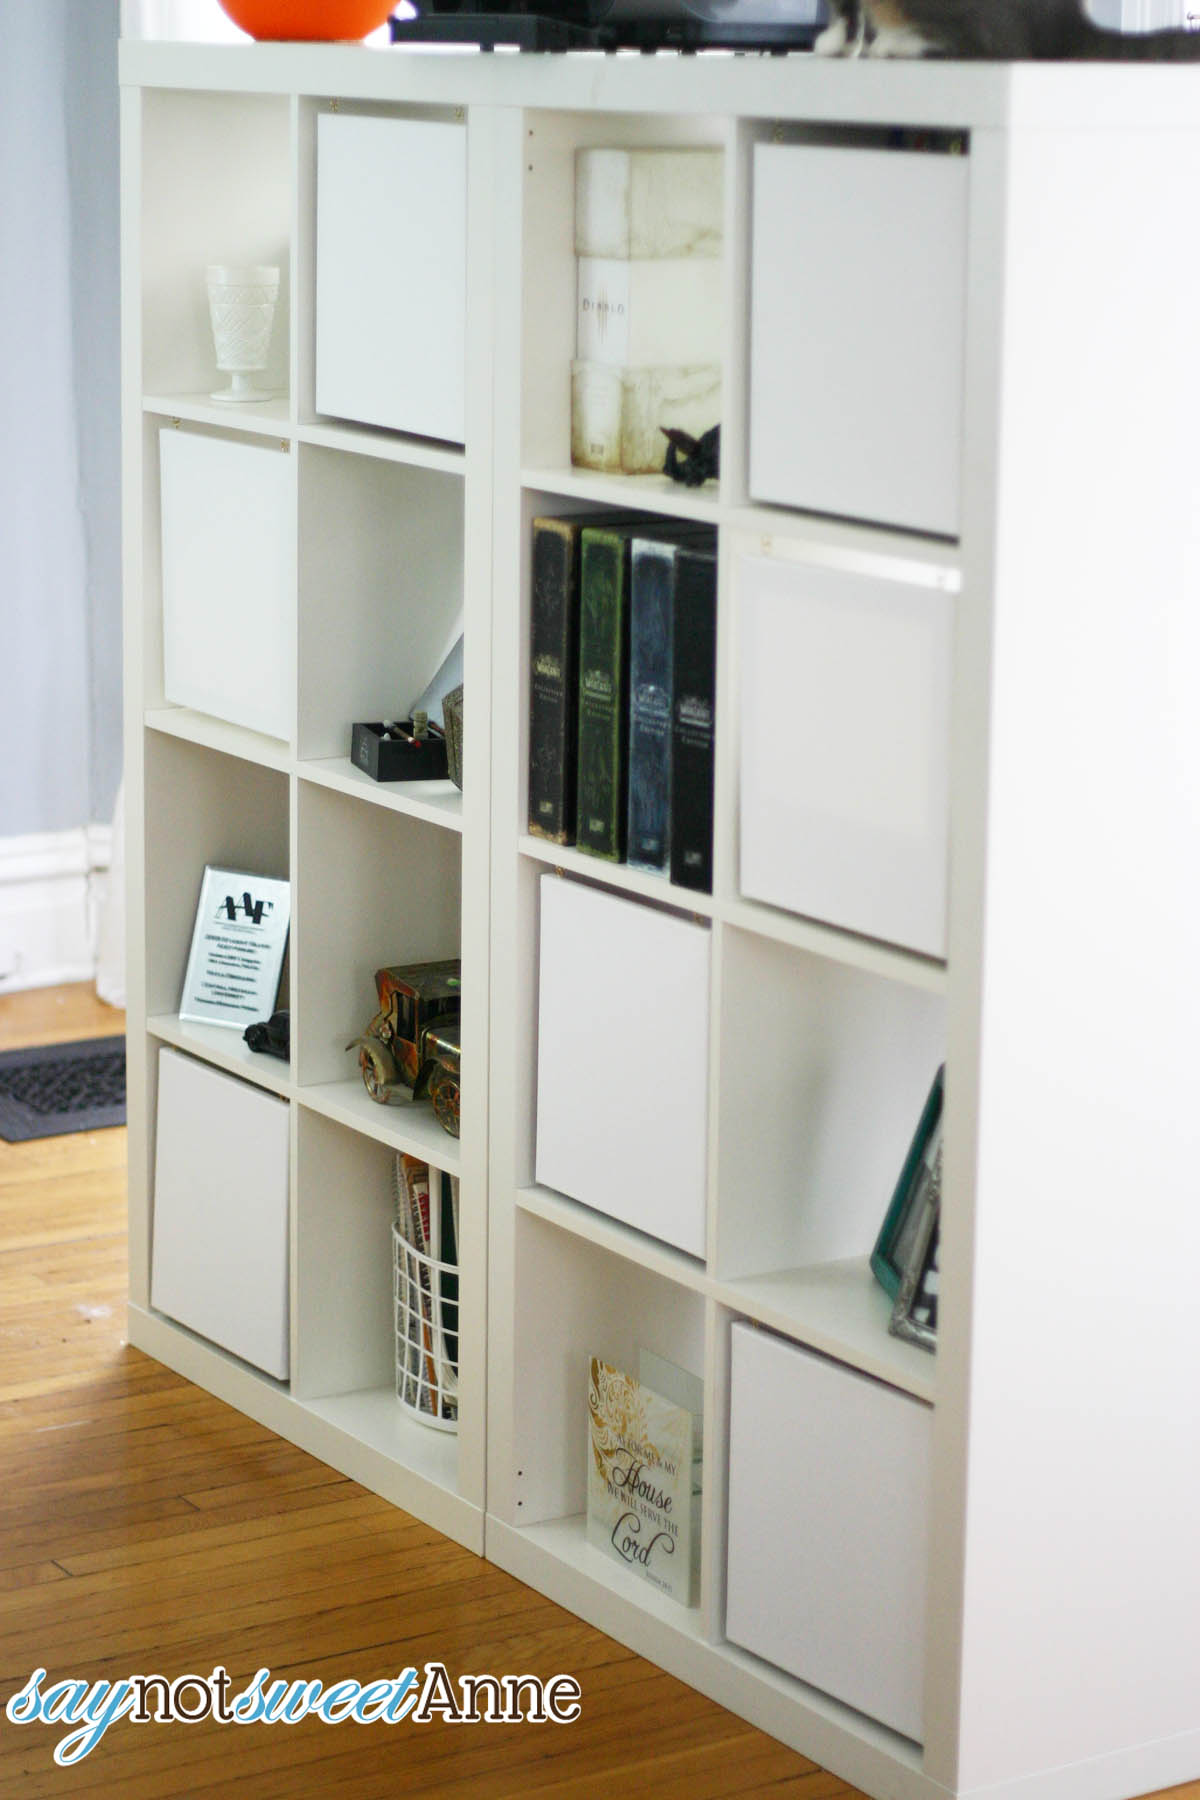
20 minutes later I had this!
This project is SO simple, and I’m certain there are a lot of other shelves that would fit a 12inch canvas as a door. Additionally, if you’re handy, you could cut wood to fit your particular shelf and use the hanging method described here.
These doors easily swing up to get at the stuff underneath, and for bulkier things I just take the canvas right off until I’m done. Couldn’t be easier!
What You Need:
- Canvases to fit in the cubbies of your shelf.
- 2 eye hooks for every canvas.
- 2 hooks for every canvas.
How To Make It:
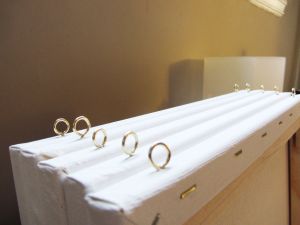
- Measure 1 inch from the left and right edges of the top of each canvas. Make a mark.
- Screw in the eye hooks in where you just marked.
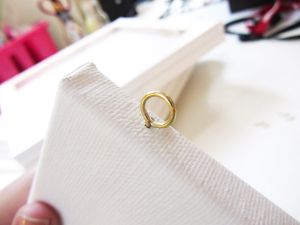
- Repeat for each canvas.
- Hold the canvas up to your cubby. Once centered, mark the holes about 1/2 inch from the front of the bookcase, so the canvas sits in a little.
- Screw the hooks into the bookcase. Be sure they face out.

- Hang canvases. Done!
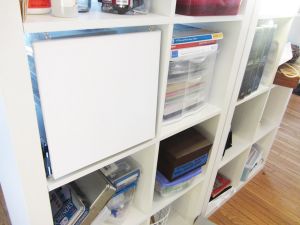
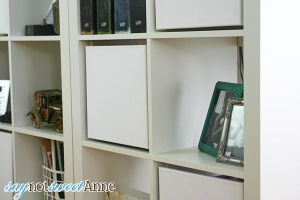
Now, Tanya at Dans Le Townhouse painted her canvases and some of them are really cool. But, I felt that the brick a brac on the shelf was clutter enough, and the plain white helps to break it up. If you were doing this in a craft room, you could label the canvases with what is behind them!
My kitty Sophie thinks it looks better with her on top of it.
Kayla Domeyer
Latest posts by Kayla Domeyer (see all)
- Miniature Bohemian Style 1:12 Dollhouse Rattan Shelf - August 24, 2023
- How I made a DIY Prop Dragon Book (Twice!) - March 20, 2023
- How to Solve Stress with Princess Bathtub Melts - June 2, 2020


Hi!
This is a pretty cool idea! I was talking to my 8yo son about moving his furniture around to make more room for him. I mentioned to him that I was also thinking of adding doors too…. I asked him what he thought of using up photo frames to put his favourite photos/pictures in them for some of his 16 cube shelves….. he loved the idea! & then he suggests something else, because he always has to go that extra mile, lol
He wants to have lockable doors to put Legos in to stop his 6yo brother from taking them out of the room & then leaving them on the floor all over the house for our dog to chew on, lol
Of course, I was not to be out done by an 8yo, I suggested that I might see if I can install a finger scanner, lol Well, he’s pretty excited now, lol
Anyway…. this article has given me ideas to space save in another room with 16 cube shelving 😁
Thank you!
My dog has moments when she freaks out and attacks the books on my expedit. This project is exactly what I need and I never would have thought of it. Thank you so much.
Don recently posted..Story Slam: Free
That is sad and also kinda cute. I bet these would help!
Insanely clever. (Also, do I spy World of Warcraft Collectors Editions there?? I THINK I DO. Yours or hubby’s?) I love the idea of using this in a kids playroom/homeschool room or a craft room. Could do an ever changing gallery, then!
Michelle recently posted..The IT Mom… not so much
Brilliant idea, Laura. We have these shelves and I will try your idea to make these doors. Thanks for sharing.
Good hack. I have some open shelving that could use this solution.
Rebecca@MidCenturyModernRemodel recently posted..one man’s trash, that’s another man’s come up
interesting!
Carissa recently posted..guest feature: A little knick knack
I like the plain white too! Great idea for hiding all that necessary clutter — the kitty on top is a bonus feature! Thanks so much for sharing on Busy Monday!
Charlene@A Pinch of Joy recently posted..Change
that is not a bad idea my friend! love it!
katie recently posted..Announcement + Survey
Hello!
Show and Tell Saturday at Sassy Little Lady is LIVE! I’d love to have you share your post!
http://www.sassylittlelady.com/blog/show-and-tell-saturday/show-and-tell-saturday-2
Kathie
Kathie recently posted..Show and Tell Saturday #2!
This is just the sort of thing I could never have thought of myself, but can definitely do! Thanks for sharing!
Laura and Valerie recently posted..Make it Work- Crafting with your leftovers!
Very cool. I love Ikea hacks. I have done several myself. I am looking to put “doors” on my Expedit. Maybe I will do this instead. Way easier than what I was going to do. Thanks for the inspiration. I am hosting a link party and would love it if you would link this up.
http://www.ifitsnotbaroquedesignblog.blogspot.com/
Lauren recently posted..Tuesday Link Party #4
What a smart idea! I agree, craft storage isn’t always the cutest thing to look at. You did a great job disguising it. Gonna have to keep this in mind. Thanks for sharing!
Melissa
Melissa recently posted..Perfect Lemon Bars
Such a clever idea! And Kitty is right, everything looks better with a cat on it!
Magali@TheLittleWhiteHouse recently posted..Into The Blue
Very cook, Kayla! Do the canvases swing up so that you can access the stuff underneath, or do you remove them when you need to?
Both! For most things I just swing them up, and I usually can reach them from the side that faces my desk. For some of the bulkier things like my stacks of paper, I just take it off, get what I want, and put it back on. =D