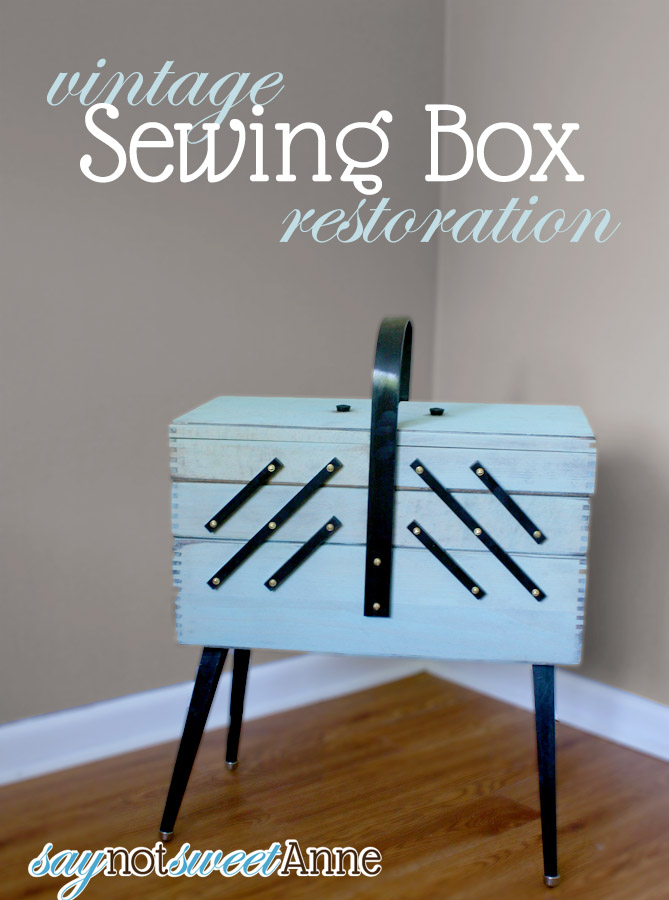
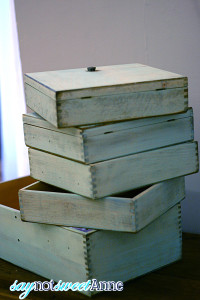
So a couple of months ago I dug out this sewing box. I bought it when we first moved to GR for $8 at a Goodwill. It was falling apart and I didn’t really have space for it, so it got tucked away until dreams of the New House started floating in my head. For a while there I was a non-stop crafter, trying to keep my mind off of the wait in the home-buying process. Plus, I have a craft room in my new house! That means I need a fancy new sewing box to match!

Well, after disassembling the thing I decided to Google it. It was then that I found out the same box has sold repeatedly on eBay from $60-$90. That put me in a quandary. Do I tear it apart and make it my own or just restore it in hopes of someday selling it? So I took to Facebook and you guys reminded me that its mine. Its mine and I’m going to love it and it doesn’t matter what it would sell for!
With that, I was up and running! Now, most of the steps I took are TOTALLY transferable to any sort of vintage/non vintage box you might have laying around. I’ve seen a couple other boxes similar to this one around, so I’m betting they’re pretty common. Grab one for yourself and follow along!
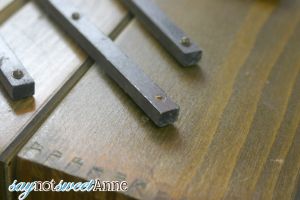
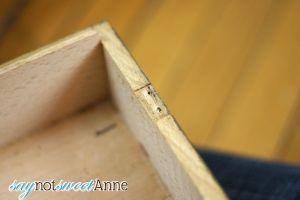
The box was missing quite a few of its original screws, making it really difficult to open and close.
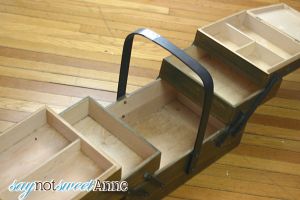
There is so much space in there! Not to mention the SUPER cool retro legs that came with it. Its obvious why I thought this was a treasure!!
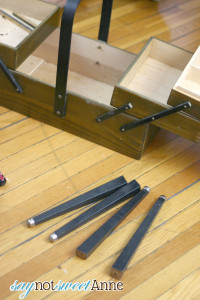
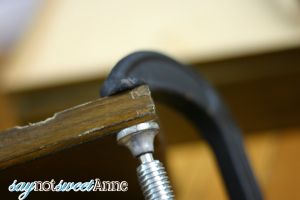
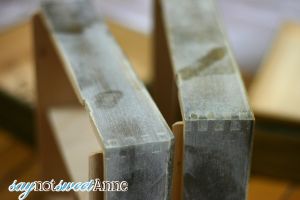
The first step in refinishing this Vintage Sewing Box was taking all the old hardware off. Then I reglued and clamped some of the dove tails that were coming apart.

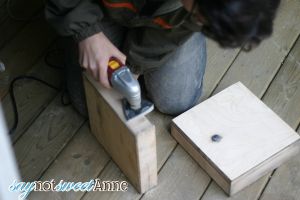
Next up was A LOT of sanding. Like, so much so that I had to hand it off to Hubby (who takes this sort of thing as a challenge). If you’re refinishing your own box, be sure to buy an random orbital hand sander. Its worth it!

Once I had all the pieces sanded, I had to decide how I would finish it. I knew I didn’t want to just paint it. There were some really pretty details in its construction that I just couldn’t bear to cover up. I also knew that I wanted it to retain its retro feel- but not to look dated. So, that ruled out most stains. So, I broke out the acryllic paints and came up with this!
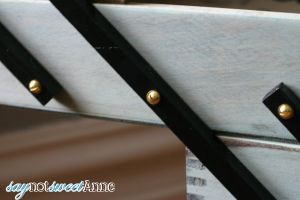
I added a little bit of my favorite color paint to some water, until the water was just barely opaque. Then, I slathered it on. The bare wood absorbed it readily, and two coats later I had this semi opaque light blue stain! I LOVE how the dovetails stand out. That might be my favorite part!
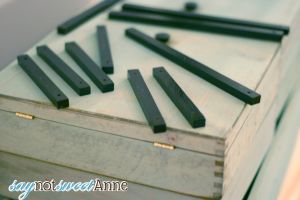
I gave the black bits a brief sand and then a new coat of black, followed by some poly. I wanted them to have a different sheen than the rest of the box.
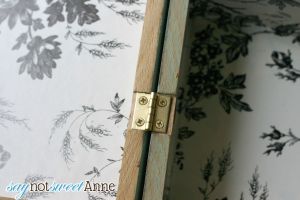
Then it was new hardware and some pretty dollar store shelf liner. That’s it! All in all the project only cost about $10 (not including the box) because we had the power tools already.
Now that we’re finally in the new place I am just SO excited to get my craft room painted and all my junk craft supplies moved in. My pretty little box is like an oasis in a room crowded with half unpacked boxes and remnants of ugly floor. Its functional, lovely and I AM SO GLAD you guys told me to do it! Internet high-five! Yeah!
Kayla Domeyer
Latest posts by Kayla Domeyer (see all)
- Miniature Bohemian Style 1:12 Dollhouse Rattan Shelf - August 24, 2023
- How I made a DIY Prop Dragon Book (Twice!) - March 20, 2023
- How to Solve Stress with Princess Bathtub Melts - June 2, 2020
Hi Kayla! Beautiful finished product 😍. I have it’s identical twin from my Granny. Also missing several necessary screws for the opening and closing of it. What type of screw did you use? I have been looking at it for 3 years now, and it’s definitely time to get a move on, lol.
Thanks!
Lorri
Oh man Lorri – I wish I remembered! I took one of the old screws and went to my local Ace Hardware and just… found the closest match. I hope that helps!
Hi Kayla. It appears in photo the curved handle was cracked? I have a similar box and my Singer box handle was cracked during a move. How did you repair yours? I am debating changing design of handle from curve to 45 degree angles. I am original owner of box so I am undecided. Karen
Hello Karen! No, mine wasn’t cracked on the curve part. If yours is, I’d recommend glue and clamps to get it back into shape, then lots of sanding to make sure the glue line isn’t showing. I hope that helps!
Where did you get those lovely screws?
I have one next line that, but missing a lot of the screws. Would like to refinish it, but for now I will be happy to find nice screws for it!
Hey Jay! I got mine from our local Ace Hardware. I hope that helps!
I have a sewing box very much like your’s. My husband found it years ago in a garbage dumpster. It was in good shape accept that the legs where off it. Now here I am years later after much use, and I want to refinish it. What your directions do not show, is how you attached the legs. So how did you attach the legs?
Hey Jeannie! The legs already had a screw-in area on the bottom, and a threaded post on the legs themselves. We just twisted them off and on again. Hope that helps!
Nice! This reminds me. I need to restore my tool box.
Beautiful!!! Now I just need to trawl London to find one for me to do 🙂
I hope you find one!
Kayla, I love this! I had been search for a sewing box like this for years and just found one at a flea market a couple weeks ago. I am so excited to see yours, it is beautiful. Mine just might be getting a makeover soon.
Done a great job with the box. Need to have skills to do something like that.
I love this! The liner is extra pretty. 🙂