 With Halloween right around the corner (Hello!? What happened to August!?), Renaissance Festival season in full swing, and our DnD adventures winding up, hubby asked me for some aged paper.
Now, “paper” has a long history. Papyrus was made in Egypt from the cyperus papyrus plant found along the Nile. Its use dates back to about 3000 BCE. Then came parchment, which was made from thin animal skins which dates back to around 250 BCE. Finally, paper as we know it, made from wood and fibers, was invented in China around 206 BC.
Now, since I doubt anyone dressing up as Ceasar for Halloween is going to go so far as to track down some papyrus or make parchment- we’re going to stick with the regular paper variant for this DIY.
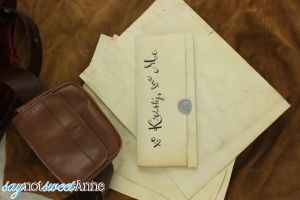
Making the paper is easy, and the bonus is that this version is usable in ink jet printers, so invitation are a breeze. It does take a little bit of time and some space to work in, but the results are fun and add a new dimension to any note, invite, book or poster!!
What You Need:
- Brewed, strong coffee with grounds reserved
- Instant coffee grains (optional)
- Thick white copy paper (not card stock)
- Tray or pan to fit paper
- Area to hang or lay out sheets to dry
How To Make It:
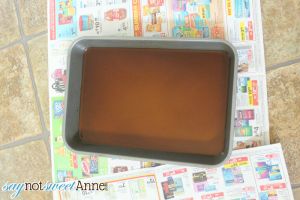
- Start by brewing some extra strong and dark coffee. Pour this into your tray and add in a couple of tablespoons of coffee grounds.
- Grab some sheets of paper. You can crinkle it a bit, hit and scratch it with your car keys, fold it etc. Anything you do to the paper will add character to your finished sheet.

- Take the paper one at a time and dip it into the coffee tray. Scrub some areas with the grounds. Let it sit for 2-5 minutes.
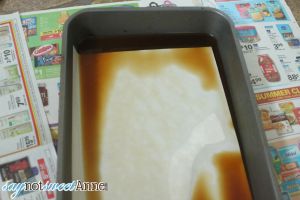
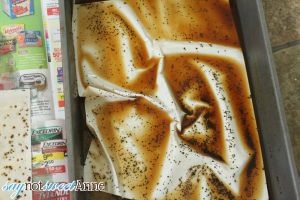
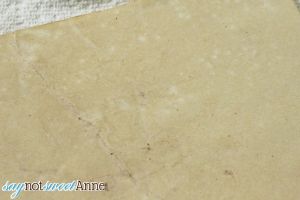
- Remove from tray and lay flat to dry. Be careful to retain some pooling in areas to add to the character of the sheet.
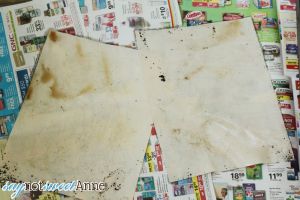
- OPTIONAL: if you sprinkle the wet paper with instant coffee granules, each grain will leave a dark spot. Good for making the paper look dirty.
- Once the paper is dry, you can use it as is for drawings, hand writing etc.
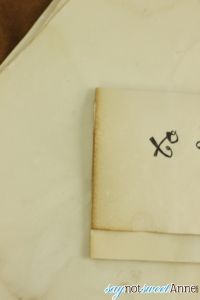
OPTIONAL: Deckled edge
- While the sheets are wet, you can make a “deckled edge” by tearing the sides in a straight line using a ruler or a table edge as a guide. Simply press the ruler down hard where you want your edge and then gently pull the wet paper apart at that line.
OPTIONAL : Paper to Print on
- Once paper is bone dry, wipe both sides of each sheet with a dry cloth or paper towel. This will remove any coffee grounds or residue left on the sheets.
- Using an iron on low, iron the sheets flat one at a time. It only takes a minute for each sheet.
- Now your flat, clean sheets should run through your printer without issue!
Kayla Domeyer
Latest posts by Kayla Domeyer (see all)
- Miniature Bohemian Style 1:12 Dollhouse Rattan Shelf - August 24, 2023
- How I made a DIY Prop Dragon Book (Twice!) - March 20, 2023
- How to Solve Stress with Princess Bathtub Melts - June 2, 2020
I like this idea. I just found some old music sheets in a book. I was trying to think how I could make old looking paper. Thanks
I remember doing this as a kid – thanks for reminding me! I need to frame some old family photos and I think this “old” paper would be great to put under the pictures, instead of a matt board, to add character! Ooo… I need to get started! 😀
Vickie recently posted..Dear Friends, We Aren’t Crazy!