Candle making for me is right next to soap making. There is artisan level soap and candle making that involves a lot of equipment, investing in scents, colors, space etc. And then there is quick-and-dirty soap and candle making which is far more accessible to people like me.
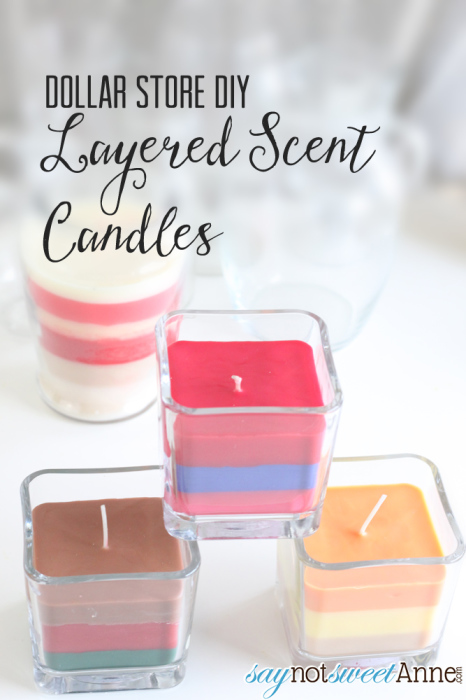
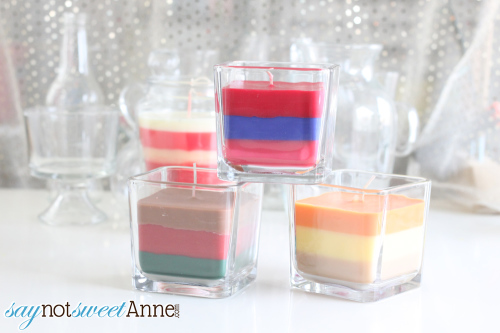
This is a quick and dirty candle. I love the layered scent candles, and my local dollar tree had a bunch of Starburst candy scented candles in. One thing led to another and I made these beauties! Each one was under $5 ($3 in candles, $1 for the jar and a few pennies for the wick) and while they took a bit of time, they were easy.
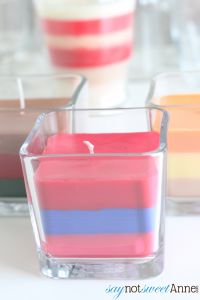
I love how they turned out and I am now constantly on the look out for new dollar store candle scents. The berry candles I made are divine and I even did some using the Christmas scents like Gingerbread, Cookie and Vanilla. What a bargain for an 8+ hour burning soy candle with custom scents!
What You Need:
- 4inch square jar (or really anything you like) for the candle.
- 3 or 4 dollar store candles (the kind that are already in their own glass holder). Try and coordinate scents.
- 1 package of 4inch candle wicks. I got mine at a craft store $2 for 10.
- A small sauce pan with about an inch of water
- Tongs
How To Make Them:
- First, open your bottom-layer candle and place it in the sauce pan. Add about an inch of water so that the water is nowhere near the top of the candle jar, but does go up the side a bit. Then set your sauce pan tot he lowest simmer you can. It’ll take some time to melt the candle.
- Once the candle is melted, dip the anchor end of the wick (the one with the metal plate) in the melted wax and then quickly position it into your 4inch jar. The wax should melt and stick the wick down. If not, try again. You might also want to use a pen or something similar to tape the top of the wick to. This will prevent it from falling down once you pour the hot wax in.
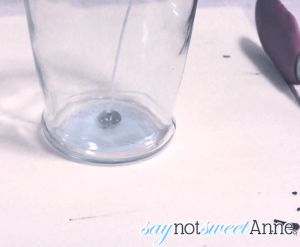
- When the first candle layer is all melted, take it out of the water using the tongs. pick out the old wick that was originally in the candle and throw it away. Wait about 1 -2 minutes for the wax to get cooler, but not solid.
- Carefully pour your wax into the jar. Let this solidify until room temperature. If you don’t wait long enough between layers, you’ll get a lumpy result.
- Repeat steps 1, 3 and 4 with your next two layers! Here you can see three candles in three different stages.
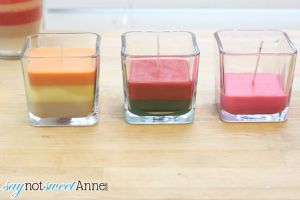
That’s it! See? I told you it was easy. The hardest part it not forgetting about the wax while it simmers for 30 minutes melting. The bonus is I got a bunch of adorable little jars and votive holders from the candles I melted down! I don’t know what I’m going to do with them yet… but some of them are a beautiful frosted glass color. So worth it!
Kayla Domeyer
Latest posts by Kayla Domeyer (see all)
- Miniature Bohemian Style 1:12 Dollhouse Rattan Shelf - August 24, 2023
- How to Solve Stress with Princess Bathtub Melts - June 2, 2020
- 25 Valentines Even a Toddler Can Make - February 11, 2020

I LOVE candles and these are very cool! Great job and Merry Christmas!!!
Thank you kayla for this awesome illustration am Gertrude from Uganda Africa cant wait to try this at home . but how do i make it scented
thanks Gertrude I’m glad you like them! The candles I started with were scented – so when I put together the layered candle it was scented too!
I absolutely love all the wonderful ideas and projects.
I Love this & Can’t wait to try it,Thank You soo much for all the Wonderful Ideas Kayla! 🙂