This post has been sponsored by fontbundles.net, all opinions are my own.
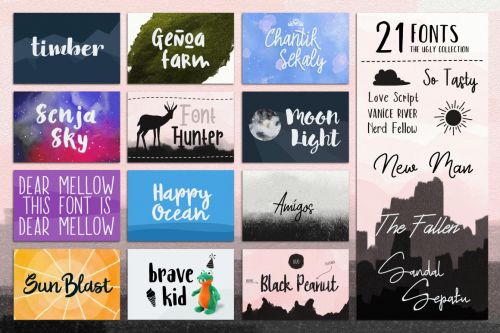
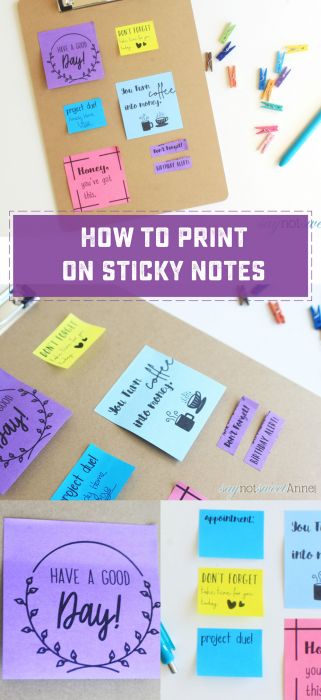 As a graphic designer, there are a few stereotypes that are often attributed to me. That I love coffee (sorta true. I love coffee + chocolate), that I love Apple (not true – gasp!), and that I love fonts (definitely true). While I might not be geeking out over seeing Helvetica (the film) for the 1000th time, I’d be lying if I said I didn’t acquire beautiful fonts like some women acquire beautiful shoes. Most recently I acquired the Design Font Box from FontBundles.net. I’m a member of a LOT of font sites, including this one and I totally love all the bonuses this bundle had. Did I mention they also have free fonts and gorgeous bundles? It’s almost better than shoes!
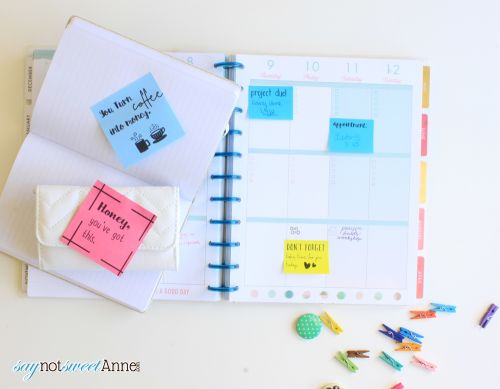
Another well known fact about me is that I love planners. So, with all my pretty new fonts, textures and designs swimming in my head, I set out to find an easy way to incorporate them into my planner happy life.
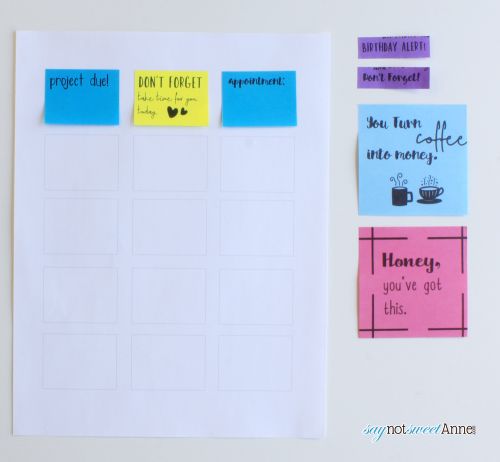
Printed Sticky Notes. Guys, I have literally over 20 colors and sizes of sticky notes, but it had never occurred to me to make printed sticky notes until now. The result is so exciting I might have sticky noted a diaper. Yup. I left a pep-talk sticky note in a beautiful font on a clean diaper to perk up my morning baby routine. I even printed on the teeny tiny flag type stickies!
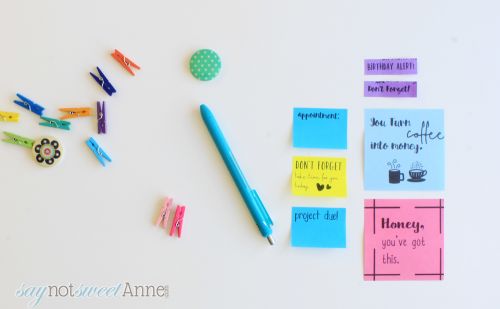
Printing on sticky notes is so easy I can’t believe I haven’t done it before. I broke out my new Design Font Box and made several notes just for me. It was a ton of fun pairing the scripts with the block fonts, especially the hand-drawn effects. I even used the designs from the bundle to add check boxes, flourishes, coffee clip art (see above stereotype) and more! Between the Font Bundle and this printable Sticky Note method, my planner is a wash of beautiful typefaces and colors!
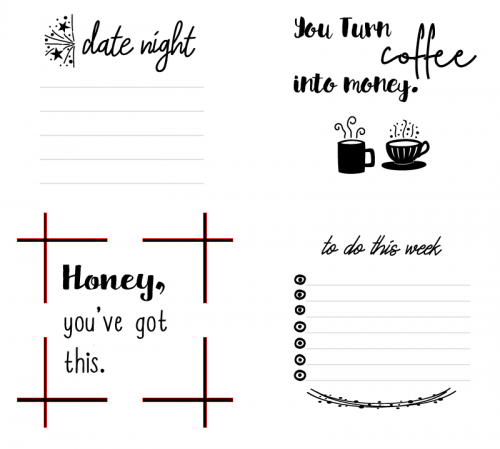
What You Need:
- Sticky Notes, Large, Mini or Flag sizes
- The Free Printable templates
- Word, Google Docs, or something similar
- Printer

How To Do It:
- Start by opening up the template. Print it as is (don’t write in it!) and save that paper.
- Next, write in the text boxes using your fonts. Add clip art, pictures or whatever you want.
- Delete the border from the boxes on the template, or change the border color to white (otherwise, it would print onto your stickies)
- Stick your notes onto your printer sticky side toward the printer. If you do it the other way around, a sticky might come off and get jammed in your printer.
- Print! It really is that easy. You might have to experiment with facing the paper up or down depending on your printer, but it is the simplest way to get pretty fonts all over your planner that I’ve ever seen!
Kayla Domeyer
Latest posts by Kayla Domeyer (see all)
- Miniature Bohemian Style 1:12 Dollhouse Rattan Shelf - August 24, 2023
- How to Solve Stress with Princess Bathtub Melts - June 2, 2020
- 25 Valentines Even a Toddler Can Make - February 11, 2020

Ok you have me stumped.
Ok I get printing it out first,
I am stuck here.
Next, write in the text boxes using your fonts. Add clip art, pictures or whatever you want.
and in word how do i remove border?
Hey Renee! In the template, the boxes are separate objects. So you can just delete them! The text boxes stay where they need to be. I hope that helps!
What a wonderful idea! I’m always using sticky notes (in my planner, around my house), but they always look kind of drab. This is the perfect way to add a little bit of style and fun into my everyday routine. Thanks, Kayla!
This is fantastic! Thanks for the how-to and the template!