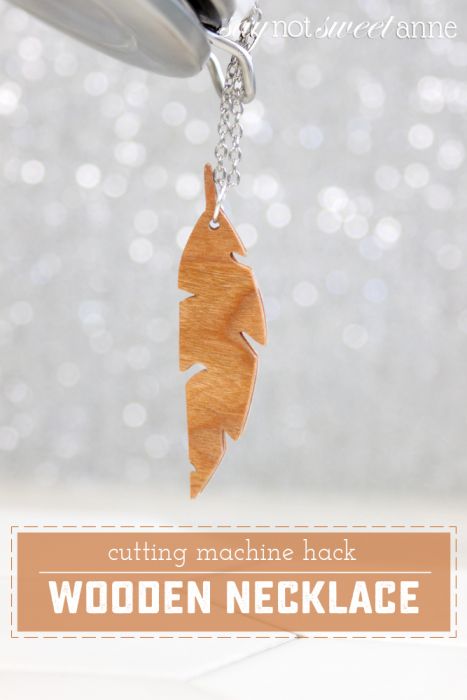
From Cricut to Silhouette to Cut N Boss, cutting machines have become a staple in the paper crafter’s workshop. Why not? They do amazing things with paper and vinyl, like adorable Peep Birdhouses for Easter, or high-end looking foil artwork. I’ve even used mine to make tabbed dividers for organization. And you can add this amazing trick to the list! Wood veneer cut outs for DIY wood pendants.
I can’t believe it’s been about 4 years since I first stacked layers and layers of paper into my Silhouette Cameo to make beautiful 3D custom necklaces. My Helvetica necklace is still one of my absolute favorites, and it has held up extremely well. So about 2 years ago I stumbled upon some real Wood Veneer cardstock, and quickly snatched it up with dreams of lacquered custom text jewelry dancing in my head. And then I had a baby.
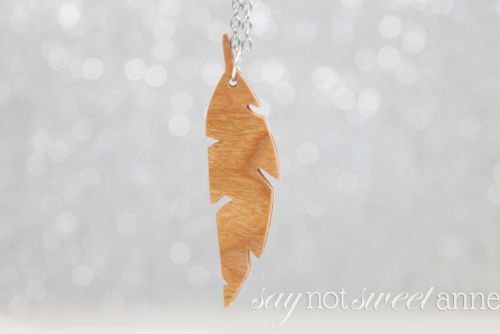
Don’t get me wrong – I still craft like a maniac, but since The Squish I tend to favor baby related crafts and steer away from items that are bound to be destroyed by my now 2 year old. So the paper sat in a dark corner of my craft room until recently. The Squish is old enough now that he doesn’t destroy my necklaces (he does pet them and say “mama nice!” which is heartbreakingly sweet) so I went at it!
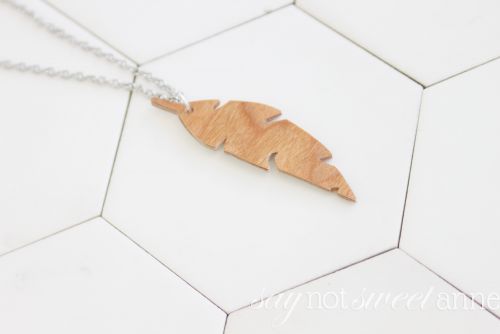
Don’t ask my why I chose a feather, I’m not sure. Something about it felt right and it looks gorgeous with the wood grain of the veneer showing through. I’ve got plenty of the cardstock left, so you can be sure I’ll do some lettering too. The veneer takes to laquer really well, and I’m going to try to stain it too. Or maybe give it an aged patina using my Instant Weathered Wood stain. I’ll report back on my findings!
What You Need:
- Wood Veneer cardstock
- Silhouette Cameo (or any other cutting machine. I think the cardstock would even work in a die-cut machine with a deep plate.)
- Wood Glue
- Small paintbrush
- Necklace chain
- Jump Ring
How To Make It:
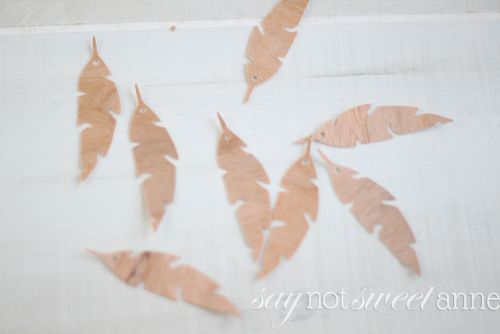
- Choose your design in your cutting machine software. Try to avoid really intricate designs, or things with really small points. You’ll end up stacking each peice together and those features make lining them up really hard. Don’t forget to cut a hole for the jump ring.
- You’ll need to cut 10-15 depending on how thick you want your pendant, so arrange you designs in the software to cut as many out of the veneer as you need.
- Cut it! My Silhouette had no trouble at all with the veneer, but you might have to experiment with blade depth and double cutting.
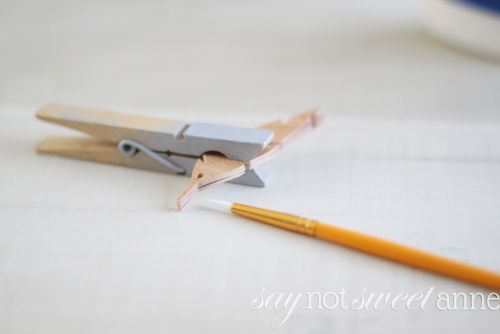
- Stack your pieces. Be sure to put the prettiest one on top. Use a clamp, clothespin or binder clip to hold the stack tightly together.
- Use a paintbrush to push glue into the space between pieces. This part is the most important. Work slowly, and make sure you’re getting glue between every piece and that you aren’t moving them around too much. Work your way around the perimeter.
- Let the glue dry, and then seal the whole thing with a water based polyurethane, or some Mod Podge.
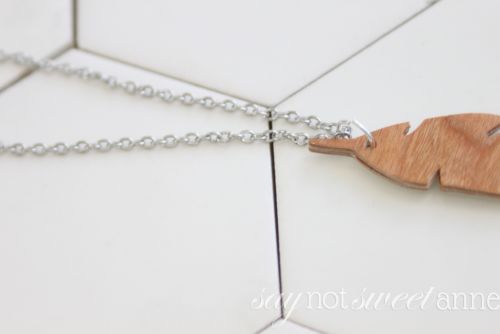
- When totally dry, attach your pendant to a necklace chain!
Kayla Domeyer
Latest posts by Kayla Domeyer (see all)
- Miniature Bohemian Style 1:12 Dollhouse Rattan Shelf - August 24, 2023
- How to Solve Stress with Princess Bathtub Melts - June 2, 2020
- 25 Valentines Even a Toddler Can Make - February 11, 2020

when you say reflective or dull paper, it is included glasse paper type? .. I have many problems with my cricut to print and cut and if not for the type of paper
Frankie Hamilton recently posted..The ultimate guide of laser-cut metal signs
I’m sorry Frankie – I’m not certain what Glasse paper is. :C