Before we get into my DIY stamps, let me say I can’t really convey exactly how much I love the dollar store. Nor can I accurately express how much my hubby hates it. Why? Because every time I go in there I end up taking forever and spending WAY more than a person should spend at the dollar store. But still, he prefers it to the vastness of Hobby Lobby, so every now and then we go. =D
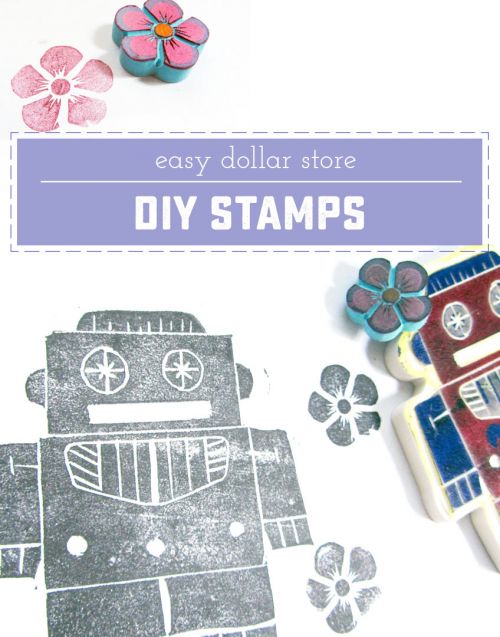
This week I stumbled across these babies. Yeah, those are super big erasers! I’m guessing most people won’t get as excited as I did about this- but erasers are a secret medium I like to keep around…FOR STAMPS! You see, in High school we had a little printmaking expedition in art class, which consisted off carving designs and then making prints from a giant slab of rubber. Once the class was done with those slabs, they were chopped up and distributed throughout the school. Why? Because they were nothing more than giant white erasers. I’ve kept that little tidbit of info locked away in my brain for years. When I saw these giant erasers- It clicked! These are especially nice because the larger sized stamps can get REALLY pricey in stores!
What You Will Need:
- Giant eraser
- Some sort of carving tool. (Mine is a linoleum cutter from a craft store ~$6)
- Stamp pad
How To Make It:
- Firstly, gather your erasers. I found these fancy printed type to be EXTREMELY nice because you can just follow the printed design! No need to plan out or create your own!

- Now, using your carving tool, begin to trace your design. There may be large areas that you will want to carve out later- but for now just do the outline.

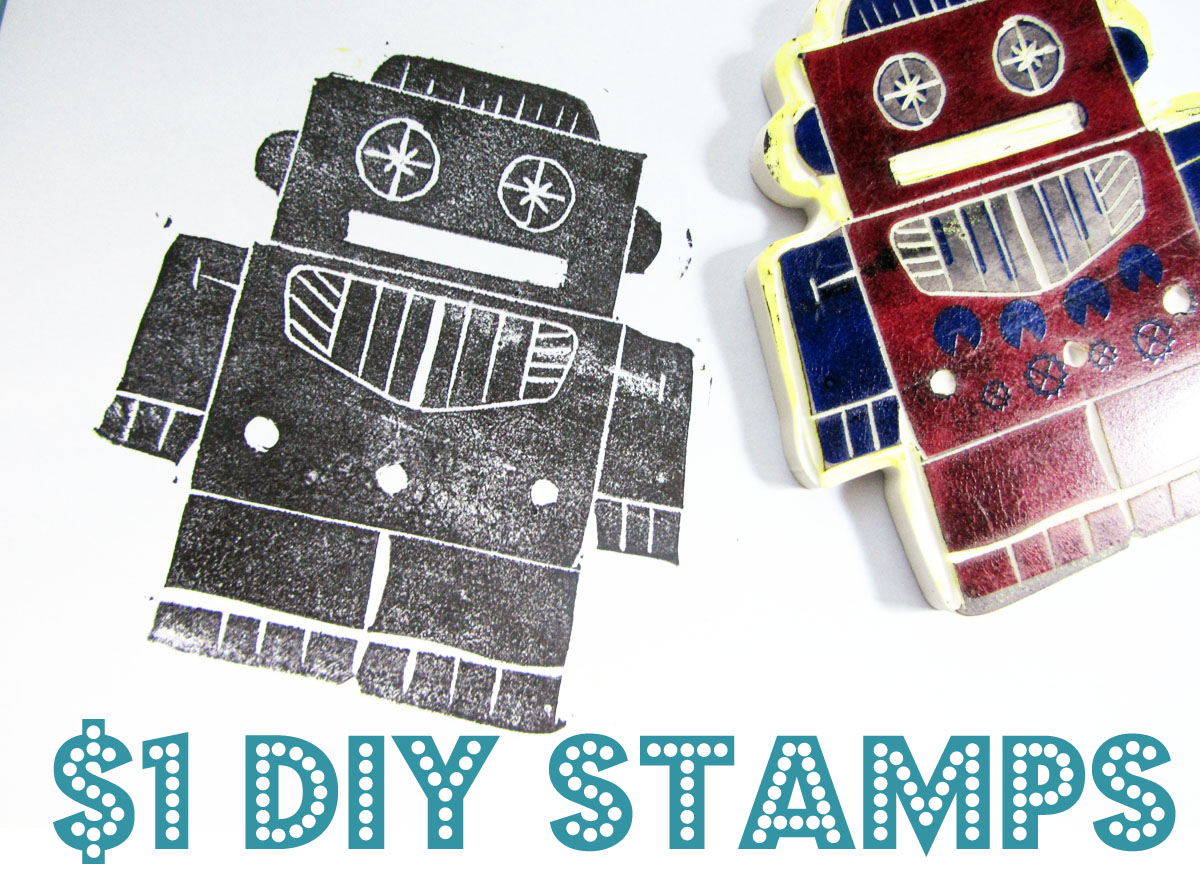
- Once the outline is done, you can go back and remove larger areas. (For me, it was the background behind the robot.) Keep in mind that you are carving away what you DON’T want to appear on your stamp. You carve away what you want to be blank, and leave what you want to pick up the ink.

- Um. That’s it. Man, I really feel like I should make up a couple more steps… but there aren’t any! Ink that bad boy up and press it down on some paper! Be sure to put pressure all over the stamp!

- Try it on some littler erasers too! There were probably 15 different illustrated erasers at the dollar store when I went. I just outlined this pretty flower one and its so cute!


- Oh, and you can of course start on a blank eraser and make your OWN design!


Kayla Domeyer
Latest posts by Kayla Domeyer (see all)
- Miniature Bohemian Style 1:12 Dollhouse Rattan Shelf - August 24, 2023
- How to Solve Stress with Princess Bathtub Melts - June 2, 2020
- 25 Valentines Even a Toddler Can Make - February 11, 2020
Thanks for this great idea. I would have never thought to do this. I’ll be sharing this on my blog this Friday.
Christa recently posted..Road Trip – part 2 (eating in the car)
Great idea! I’ve heard about carving erasures to make stamps but have never done it. Finding an already shaped erasure to start out with sounds easy. I have the same love for dollar stores! Thanks for sharing!
Blessings,
Carrie
Carrie recently posted..Playing at my husband’s office
So cute!
I’d love it if you shared this with the Fun Family Crafts audience.
FFC is similar to Craftgawker but it only features kid friendly tutorials.
Looking forward to seeing what fun crafts you submit!
http://funfamilycrafts.com
Hey, just wanted to stop by and let you know that I featured you over at Sugar Bee Crafts! I think I need to hit the Dollar Store this afternoon…. 🙂
Lori @ EclecticMamma recently posted..Oh So Innocent…
Oh my gosh Thanks so much!!!
So cute! I love inexpensive with a great payoff.
Niki {Hello Paper Moon} recently posted..Favorite Vegetarian Meals: Asian Veggie Wraps with Garlic Ginger Dressing
I totally remember doing this with erasers at school! What a fun little flashback to elementary school 🙂
Claire recently posted..Summer Pinterest Challenge: Tea Tin Planters
I LOVE it! What a brilliant idea!
Kate @ A Creative Cookie recently posted..Pretty Pictures: Beds
How fantastic an idea is this?! LOVE IT! That robot is just the cutest stamp ever. I am going to have to try this. Thanks for the tutorial.
:o) Hope
Hope recently posted..LEGO Storage Sollution