Hey there email subscriber! If you are here, that means you’ve got your freebie and you are ready to make your first SayNotSweetAnne project. I hope its just the first of many!
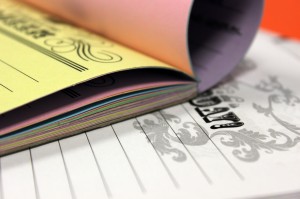 I wear a lot of hats in life, which means a lot of “juggling the panic” and staying on top of a bunch of things at once. In order to do that, I write lists. They’re on envelopes, post-it notes, scraps of paper- anything I can reach when I realize I have to jot something down. Lately, I’ve been trying to organize a little better, and I’ve come up with this little doo-dad that seems to do the trick.
Try it out and let me know! This tutorial will walk you through creating your own to-do list tear off paper pad. Its super easy, and no one will guess you made it yourself. Think of the gift possibilities for all the busy women in your life!
What You Need:
- Letter sized paper (try a colored variety!)
- Printer
- Way of cutting paper in half. (I used a rotary cutter, but you could use scissors carefully, or try a local copy shop. They usually offer cutting services for around $2.00)
- Backing material. (This can be the back of an old notebook, the wall of a cereal box, or chip board from your local scrapbook store. Mine came as packaging from a recent shipment of paper I ordered. )
- Modge Podge
- Paintbrush
- Clamps or clips
How to make it:
- First, , about 10 copies. (Remember to set your print to “range: 2-3” so not to reprint the instructions each time.)
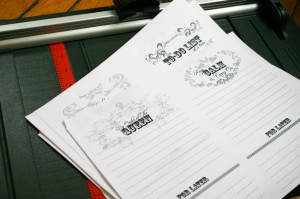
- Cut the pages in half, so the finished product is 8.5×5.5in.
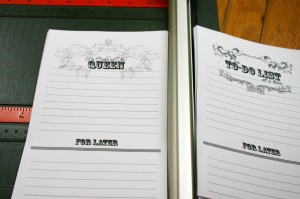
- Separate the different designs into stacks. (“What a day is today,” “Keep calm, carry on, ” “By order of the Queen”, “One to-do list at a time”.)
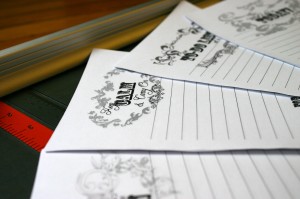
- Arrange the pages in a pleasing order. I did one of each, then repeat so there weren’t two of the same next to each other.
- Cut the backing material to 8.5×5.5in.
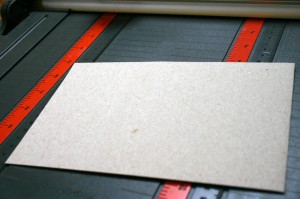
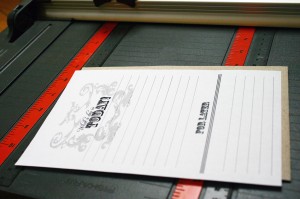
- Stack the pages on top of the backing paper. Be sure to tap the stack onto a flat surface until the sides and top of each page are flush. Clip or clamp in place near the top.
- At the top of the pad, spread a medium coat of Modge Podge, careful not to get any on the sides. Let dry.
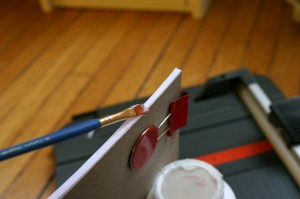
- Repeat step 7 three or four times.
- Allow to set for 24 hours to be sure its dry!

The following two tabs change content below.


Kayla Domeyer
My name is Kayla and I am a Graphic Designer. That means that I love pretty things, and also that I like to make free printables! I'm so happy that you've stopped by to visit my blog, and I hope you will follow me on Facebook, Twitter, Google +, Pinterest or Instagram!! (Yeah, and I'm totally addicted to the internet).
Latest posts by Kayla Domeyer (see all)
- Miniature Bohemian Style 1:12 Dollhouse Rattan Shelf - August 24, 2023
- How to Solve Stress with Princess Bathtub Melts - June 2, 2020
- 25 Valentines Even a Toddler Can Make - February 11, 2020

Love this paper and it’s printer friendly also. THANK YOU!!!!
LOVE THIS! Thanks for sharing!
What do you call this font?
Chris,
I’m glad you like it! There are a couple of fonts in use there- which ones are you referring to?
Love these lists. thanks for sharing 🙂
Just found your great free download. Many thanks for sharing this, I will be making mine soon Hugs Vee x