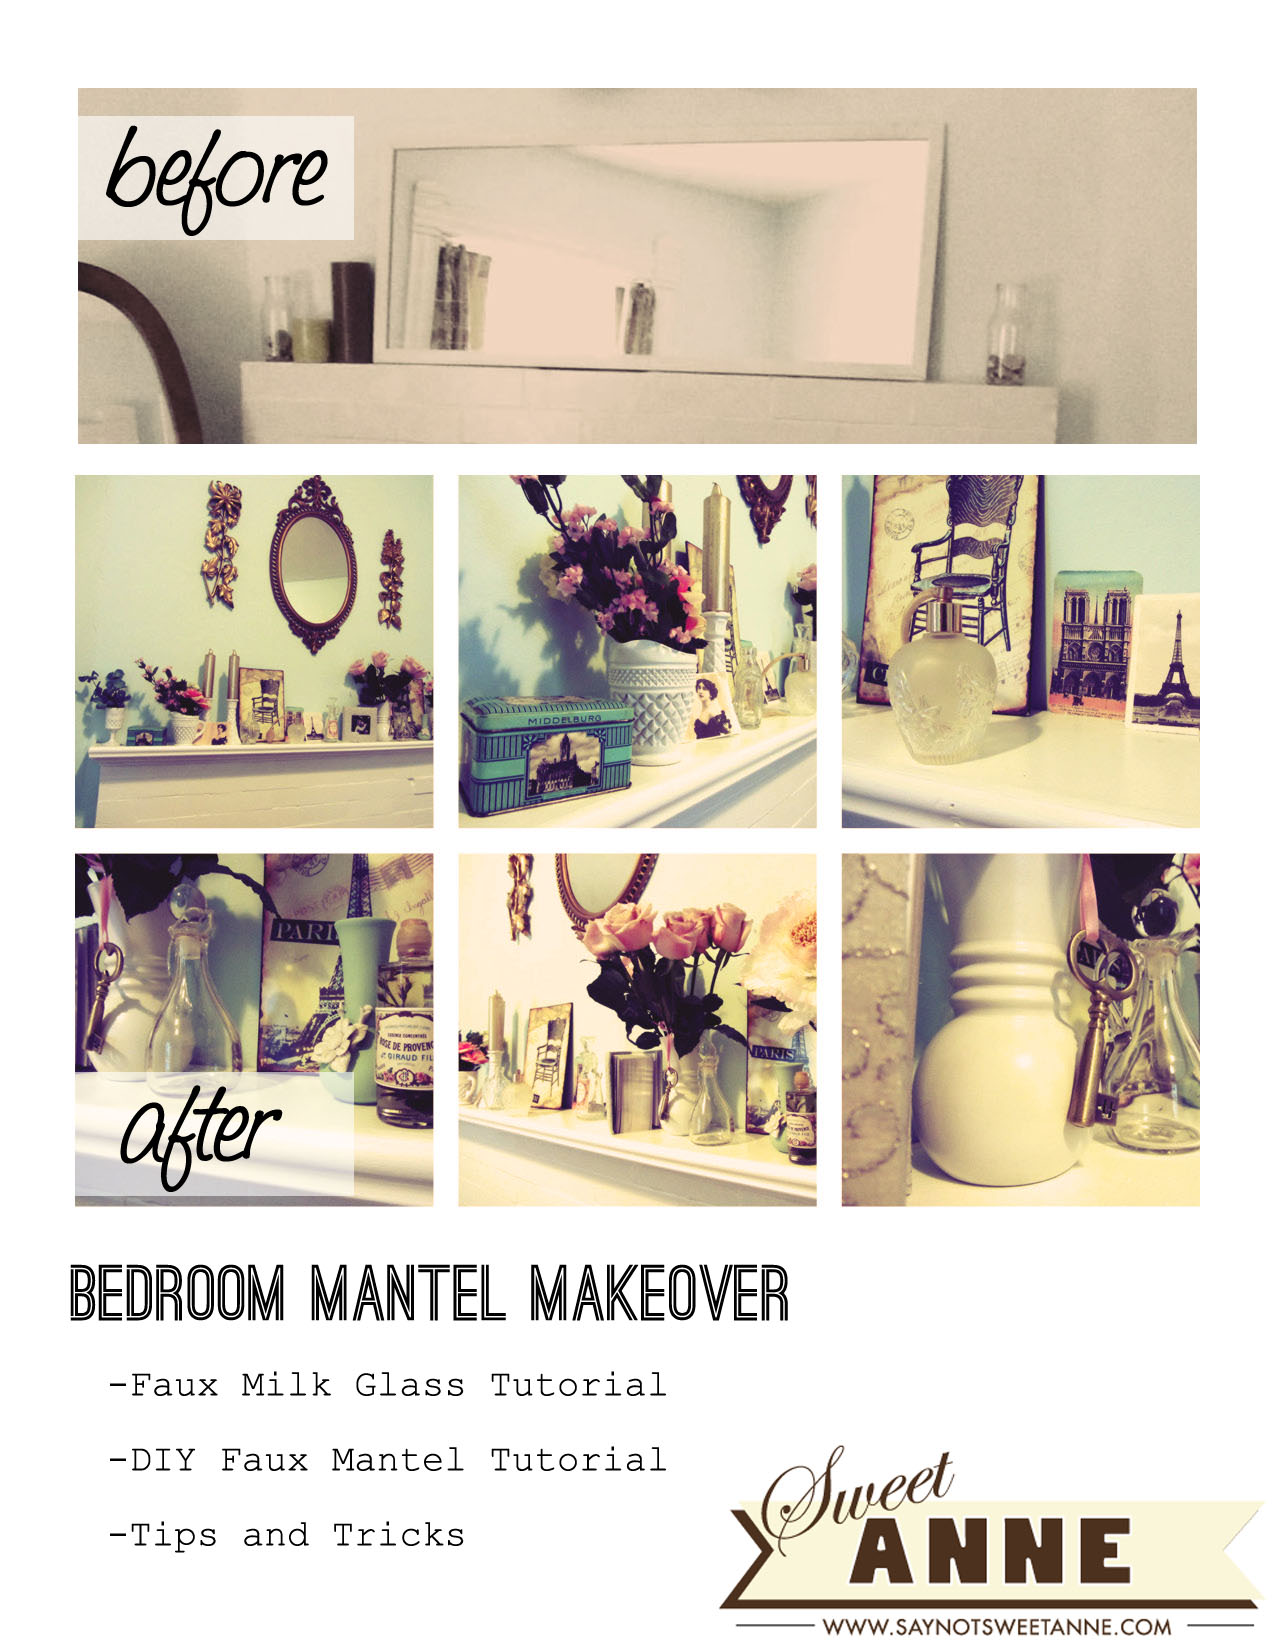
I love pinterest. I do. But lately, it had been getting me down. There were all of these beautiful rooms and bedrooms, with soft colors and classy decor that kept catching my eye. Why is that sad? Because my bedroom is sad in comparison. My hubby and I moved in to this rental house built in 1897 almost exactly a year ago. And we have done precious little with the bedroom. ITs small in floorspace, but has 12 foot ceilings. The walls are all plaster so hanging most things is impossible. There is an exterior door that leads directly outside (left over from a time when this room served as a mudroom, long before it became a rental) and the fireplace is nothing but a slap of white painted bricks.
As I got more and more depressed about the state of the bedroom, I pinned more and more beautiful and inspiring bedroom photos. (Check out the PinBoard) I was living vicariously through whomever might be so lucky as to live in one of those rooms. Then, one day in Micheal’s I wandered into a aisle that was filled with lovely french/cottage type decor. It looked like my pinboard exploded in this aisle! I was giddy! That is, until I saw the pricetags. To re-do my bedroom in this style with these items would have cost me a month’s rent at least! So, pouting, I went home and told my hubby all about it.
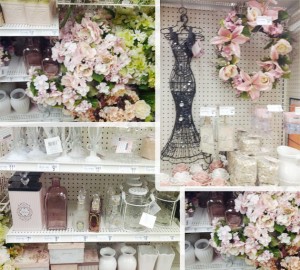
My hubby took a look at the items I had fallen in love with, and then told me I could make them myself. At first I sputtered some sort of “But not THAT pretty!” But then his sugegstion took hold. By golly I CAN make these! And so I did. =D
The bedroom is finished, but there were so many little projects involved that I’m going to have to split them up. Today, I will focus on the Mantel. The whole mantel section cost about $60.
Check out the other projects from this room: $3 Jewelry Holder, Faux Window Wall Art
What I wanted:
- A sweet, pink, cream and blue themed mantel.
- Flowers in french/country vases.
- French/country clutter. (Photos, small bottles, keys, books.)
What I started With:
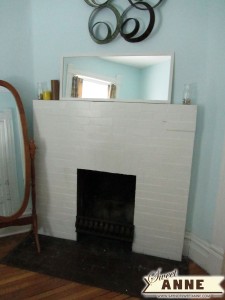
- Plain Vases from various thrift stores/antique shops. Totaling around $10.
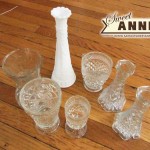
- Some smaller Items from the dollar store. ($3)
- A piece of 1×6 pine lumber, as long as my fireplace is wide. ($6)
- Equal lengths of cheap crown moulding and a trim moulding.($18)
- Wood glue, nails, white paint in a can, white gloss spraypaint, various craft materials. (on hand)
- Silk flowers in my desired colors. ($8)
- A VERY LIGHT plastic mirror and coordinating plastic wall hangings from a thrift store ($15).
How I did it:
- The wooden Mantel.
- First, prep your mantel. Since we are renting, we built our add-on to be held in place purely in the snugness of its fit. If you want a permanent add on, you might use a construction adhesive that is meant for brick to wood.
- Measure the length that you want the mantel. We only had so much space, so we extended it out by 2 inches on either side of the existing brick. Cut your 1×6 to that length. Mount it to the brick with your adhesive. If you are renting, like us, secure the board by using tacks on the wall above it, to cantilever it in place. (See illustration below for clarity).
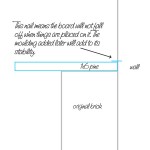
- Now, cut your mouldings to go around the board. The lip trim will go around the lip of the board, while the crown moulding will go around the underside of the board.
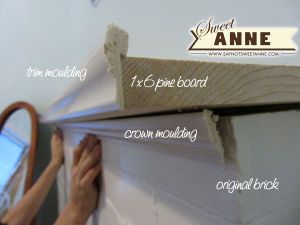
- Use a miter saw to make the angled corners that join the front moulding pieces with the side pieces. (My hubby helped with this.)
- Attach your mouldings with a combination of wood glue and finish nails. Use wood filler to fill in any gaps you might have in the corners where pieces meet. Let dry.
- Then, paint it white!
- The “clutter”.
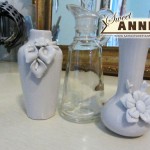
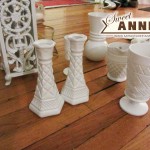
- Firstly, take all of those vases and rub them down with alchohol to remove any residue. Then, spraypaint them white using light even coats with dry time in between. Tada! Faux milk glass.
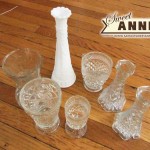
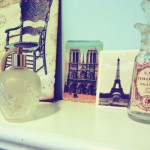
- Next, take those little bottles that were so cute ans spruce them up! I painted one with gold, one with blue, and added french-looking labels to two others. (Labels from the Graphics Fairy).

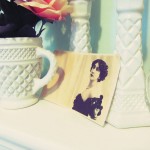
- I like old photos and post cards, so I found some great ones at the Graphics Fairy and printed them out on matte finish card stock. Then I took some sand paper to the edges and added a few creases to make them look worn.
- Almost done! I trimmed the stems off of the silk flowers I had, and arranged them in pleasing bunches.
- Hubby hung up the mirror and its accompaniments. It was very lucky for us to find something that we liked that was plastic. This made it light enough not to pull out the plaster of our 100+ year old wall.
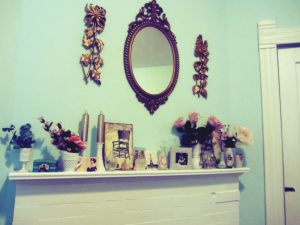
- Finally, putting it all together. I wanted to avoid direct symmetry on my mantel, because that looks to perfect for my taste. So, I grouped things together as I saw fit, adding the photos and smaller bottles in clumps as well. The goal was for there to be uneven spacing, with an overall look of “fullness” (ie: no bald areas.)
- Firstly, take all of those vases and rub them down with alchohol to remove any residue. Then, spraypaint them white using light even coats with dry time in between. Tada! Faux milk glass.
I couldn’t be happier with my results. After the mantel, I tackled several other projects. But you’ll have to keep checking back to see how they turned out!!
Kayla Domeyer
Latest posts by Kayla Domeyer (see all)
- Miniature Bohemian Style 1:12 Dollhouse Rattan Shelf - August 24, 2023
- How to Solve Stress with Princess Bathtub Melts - June 2, 2020
- 25 Valentines Even a Toddler Can Make - February 11, 2020

You did a great job! I know some things can be so expensive!!! Yicks.
Thank you so much for linking to the French party!
Isabelle
Wow, Kayla! Gorgeous, as usual! Can I have one in my bedroom? Thanks for sharing at our linky party!