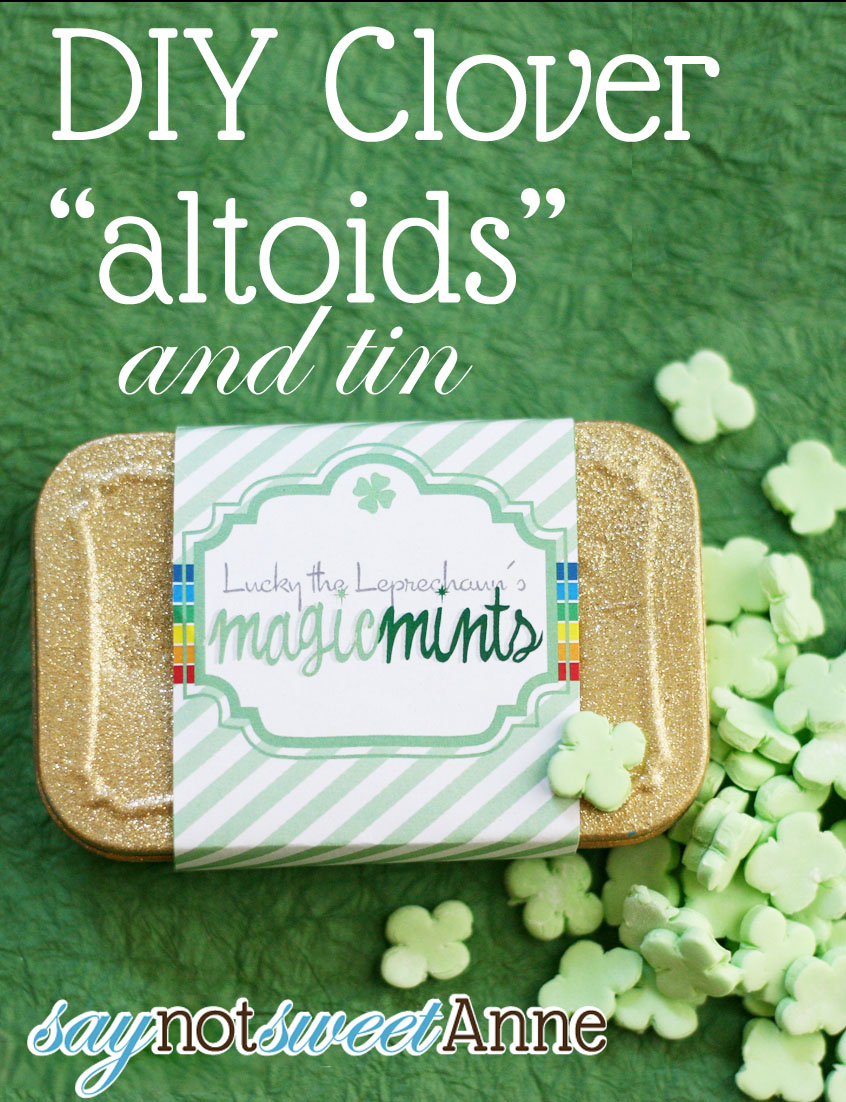
 This project has to be one of my favorites in a long time. It was one of those things where almost everything came together as I planned it. Also- I did it over a period of days and didn’t feel to stressed about it. In this era of home-buying-madness, there is little that I don’t feel stressed about.
It all started on Pinterest. (find me there!) With this pin. I thought those little home made mints looks adorable! Then- inspiration hit me. What if they weren’t circles? What if they were clovers!? And green! For St. Partrick’s Day!?
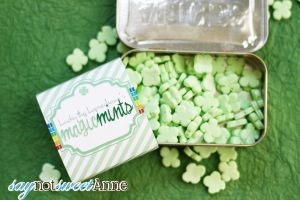
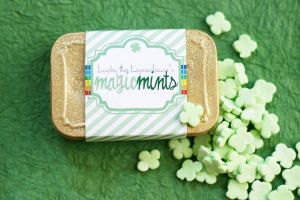
So, I went at it. I couldn’t find a clover cookie cutter that small, so I made one. I decorated a tin made a free printable and voila! Lucky Leprechaun’s Magic Mints! Oh, and do you recognize that font on the label? It was chosen by my amazing Facebook fans!
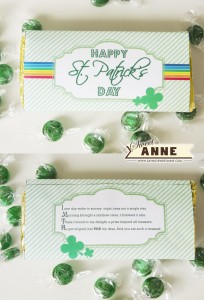
This goes PERFECTLY with my St. Patty’s day candy wrapper. I think both make great gifts for kids, teachers, co-workers, or hubbys. You don’t have to be Irish to eat candy!
What You Need:
Mints:
- Fondant or Gum Paste. In my experience gum past gets… gummy as you eat it and I don’t really love that. Anyhoo, you can find both in the cake section of Walmart, Micheal’s, Hobby Lobby etc.
- Mint flavored oil. I used Creme de Menthe
- Powdered sugar to help roll
- Food coloring
- Straw
- Tape
Tin:
- Altoids tin
- Paint
- Glitter spray paint (optional- but awesome.)
- Printer to print label
- Free Printable Magic Mints label
How To Make It:
The Mints
- These couldn’t be easier. The most complicated part was making the cutter- and that was pretty easy too! Cut a straw into 4 equal lengths. Tape the 4 lengths together so that looking down them you see a square.
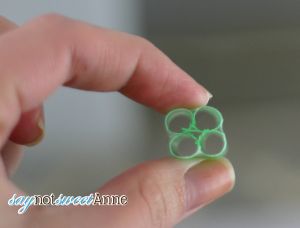
- Use sharp scissors to cut away the center part of your tube- square. Tada! Clover mints made from straws!
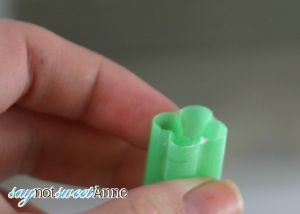
- Now, take you gum paste/ fondant and put a blob of food coloring into it. Knead until the color is even.
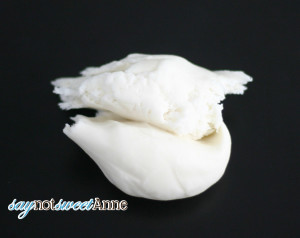
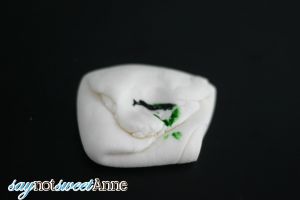
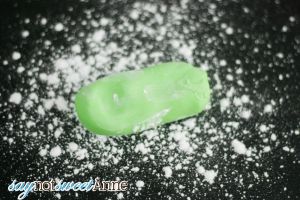
- Add a few drops of your mint oil. Taste as you go to find out how strong it is. I used 5-7 drops for the lump pictured here. Knead until well distributed.
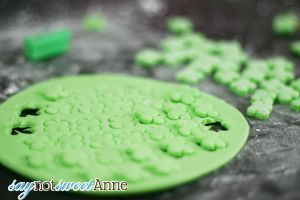
- Roll out the paste and use the straw cutter to cut out your clovers. Uh… done! Let them sit out to get hard over night, turn them a couple times to be sure the bottom dries too.
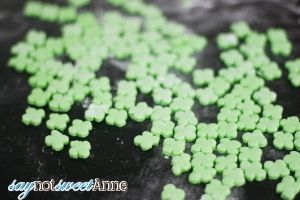
The Tin
- I prepped my tin with a quick scuff sanding. I’m not sure it was needed though.
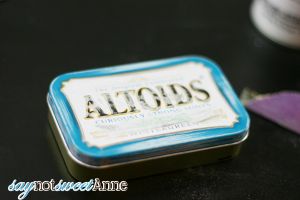
- Paint your tin with you paint of choice. I used Martha’s multi-surface paint, because I’ve had good experiences with it on metal before. (Like in Sweet Candy Bottles) The bottom of my Altoids tin was gold, so I didn’t bother to paint it. I focused my efforts on the lid.
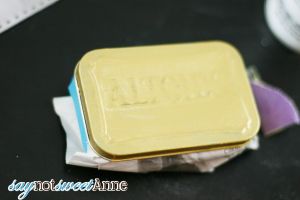
- Mask off the bottom of the tin and spray the top with a light coat of glitter spray paint. This stuff is awesome. Let dry 24 hours.
- Print The Magic Mints Label on regular paper. There are 3 versions in the download, so choose whichever you like best!
- Cut out the label and wrap it around the full tin, taping it in the back. Done!! Happy St. Patrick’s Day!
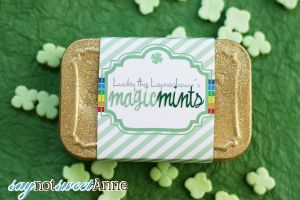
Kayla Domeyer
Latest posts by Kayla Domeyer (see all)
- Miniature Bohemian Style 1:12 Dollhouse Rattan Shelf - August 24, 2023
- How I made a DIY Prop Dragon Book (Twice!) - March 20, 2023
- How to Solve Stress with Princess Bathtub Melts - June 2, 2020

Hi Kayla:
This is a super cute idea! Fun to find you through The SITS Girls FB Group! I agree- the background paper really adds pop to your pictures! Nice work!
Amy @ItsAMindfulLife recently posted..It’s A Mindful Life: Unique and Fun Wedding Ideas
That is ADORORBS and so clever!
Thank you sooo much for sharing this amazing DIY. This is perfect for my irish themed wedding I have been planning. Too perfect, thanks again 🙂
What a super-cute idea, I LOVE it!
How fun, Kayla! I absolutely love these!!
Tracey @ The Kitchen is My Playground
What a cute idea! And what a smart idea to use a straw as a cutter 🙂
Megan @ The Pink Flour recently posted..17 Irish Cream Desserts
This is such a smart idea and a great way to use up left over fondant!
Joan@Chocolate and More recently posted..Key Lime Tartlets