There are literally hundreds of tutorials out there for using an ink jet printer to transfer images and text onto fabric. And I swear, I’ve tried them all. Many of them are based on the premise of using freezer/wax paper through the printer so that the ink beads up and then can be transferred to the fabric. I even did my own how-to of that method in the DIY Jewelry Organization post. Over the years I’ve fallen out of love with that technique. Mostly because I’ve had 3 printers in that time, and each of them was a headache of paper jams and ink messes from the wax paper bunching, crunching, or getting stuck inside.
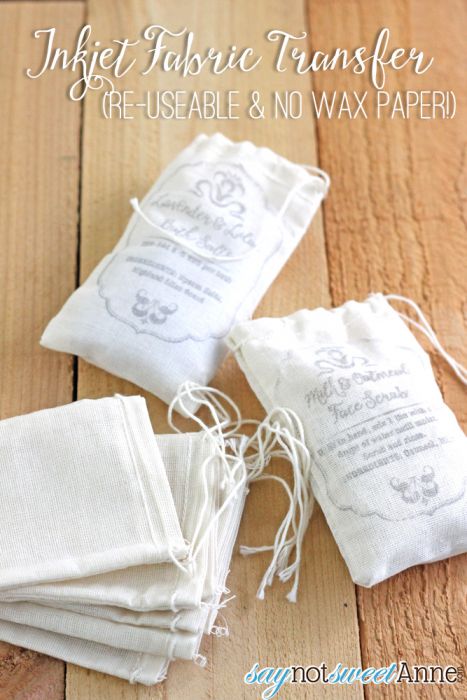
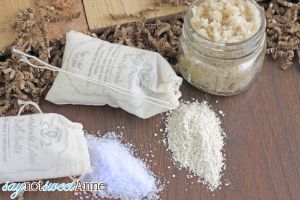
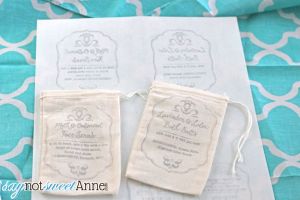
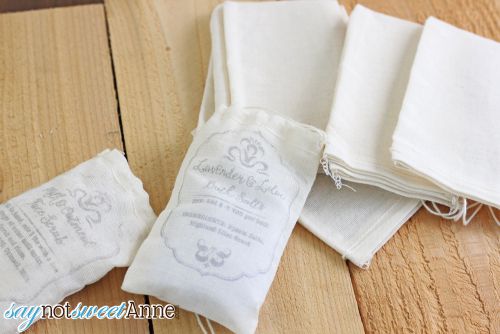
Not anymore! I have no idea why I didn’t think of this before. It was days before Christmas, and I was diligently working on my gift set of Three Easy Bath Treats (Which I gave to my mom – and she loved!). I had tried the freezer paper method for the umpteenth time that day, and ended up with two hands full of ink, a smudged design and two ruined muslin bags. Not good for stress.
Then, like a ray of light through an open window, I spied a used label sheet in my recycle bin. You know, the waxy type of backing that they stick the labels to? Oh yeah. THAT stuff. Stuff that is meant to go through the printer. Stuff that has a dense, smooth water repellent surface that doesn’t grab the ink jet ink, but lets is spread smoothly without creating giant beads. Do you see where I am going with this?
What You Need:
- Used sheet of labels, all the labels removed.
- Inkjet Printer
- Masking tape
- Fabric to transfer to
How To Make It:
- Start by peeling off any excess paper that might be on your label sheet.

- Place your sheet in the printer so that it prints on the glossy side of the label sheet.
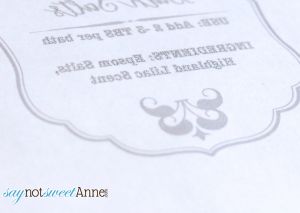
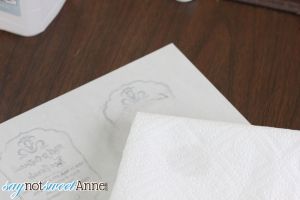
- Print your design (be sure to reverse it!) using the “high” or “best” quality setting of your printer. Keep the paper type at “plain paper”. This makes the printer use more ink than if you had selected “glossy” or “photo paper”. You can see the tiny beads of ink in the photo below.
- Grab your design and the fabric you plan to add it to. Use the masking tape around the fabric or the label sheet to make sure once you’ve got everything lined up, that it sticks.
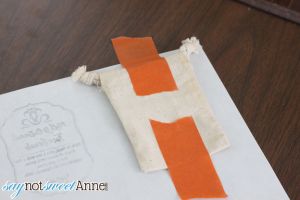
- Rub the back of the label sheet or the fabric hard with the back of a spoon. Be careful to get everywhere in the image area and take your time so not to move the image (that results in blurring).
- That is it! You can wipe the label sheet with a damp towel to remove any ink residue and use it over and over!
Kayla Domeyer
Latest posts by Kayla Domeyer (see all)
- Miniature Bohemian Style 1:12 Dollhouse Rattan Shelf - August 24, 2023
- How I made a DIY Prop Dragon Book (Twice!) - March 20, 2023
- How to Solve Stress with Princess Bathtub Melts - June 2, 2020
There are print shops (aka graphics shops) that have the equipment to print photos or other graphics onto fabrics. They often print high resolution photos of paintings onto canvas to make a print that’s called a “giclee.” Look them up in your city, and they can probably do anything you need done.
Hi, Kayla..
Thanks for sharing the instructions to print on fabrics.
I noticed this is a slight different technique from that of using sublimation / transfer paper.
I suppose, these two are different types of paper.
I have not tried any of these. I have only started to read, explore and get some understanding on these methods.
I don’t understand your instructions where is the fabric? Are you using the blank label sheet for what?
Yvonne, I print onto the blank label sheet, then press my fabric onto it. Checkout steps 4 and 5. I hope that helps!
Amazing!! Thank you
Great instructions but the print on my fabric was very light and not really readable.
I used the glossy blank label sheet and an inkjet printer (with one new large black cartridge).
Any ideas or suggestions?
Hey Andrea! Did you make sure you had set your printer for photo settings? That usually helps me. Also, if your fabric can be, pre-wash it. Sometimes there is residue on the fabric that sort of resists the ink.
Thank you for a great explanation. I was looking online for a similar idea and really appreciate it you solved my problem which i am facing by inject printer now i find the problem quiet easily after reviewing your blog.
Awesome idea! It’s comparatively easier than other methods that I have tried.. But if the print was darker, it would have been better.. Thanks for the tutorial though!
hi this is just brilliant! but i was wandering is it safe to wash? thank you!
Thanks Maho, and No, definitely not! Since its made with an ink jet printer, it is water soluble. You can try my DIY Flexible and Soft Fabric Transfers, which are safe in cold water.