I’ve mentioned before that Valentine’s Day at my house get lumped in with our wedding anniversary. For that reason, we don’t typically do anything fancy on the actual February 14th. Instead we avoid crowds and high costs by doing something special closer to the 19th. That doesn’t mean, however, that the official V-Day is allowed to go unrecognized (you hear me hubby!?). It still gets its own recognition, with some sort of small treat or card.
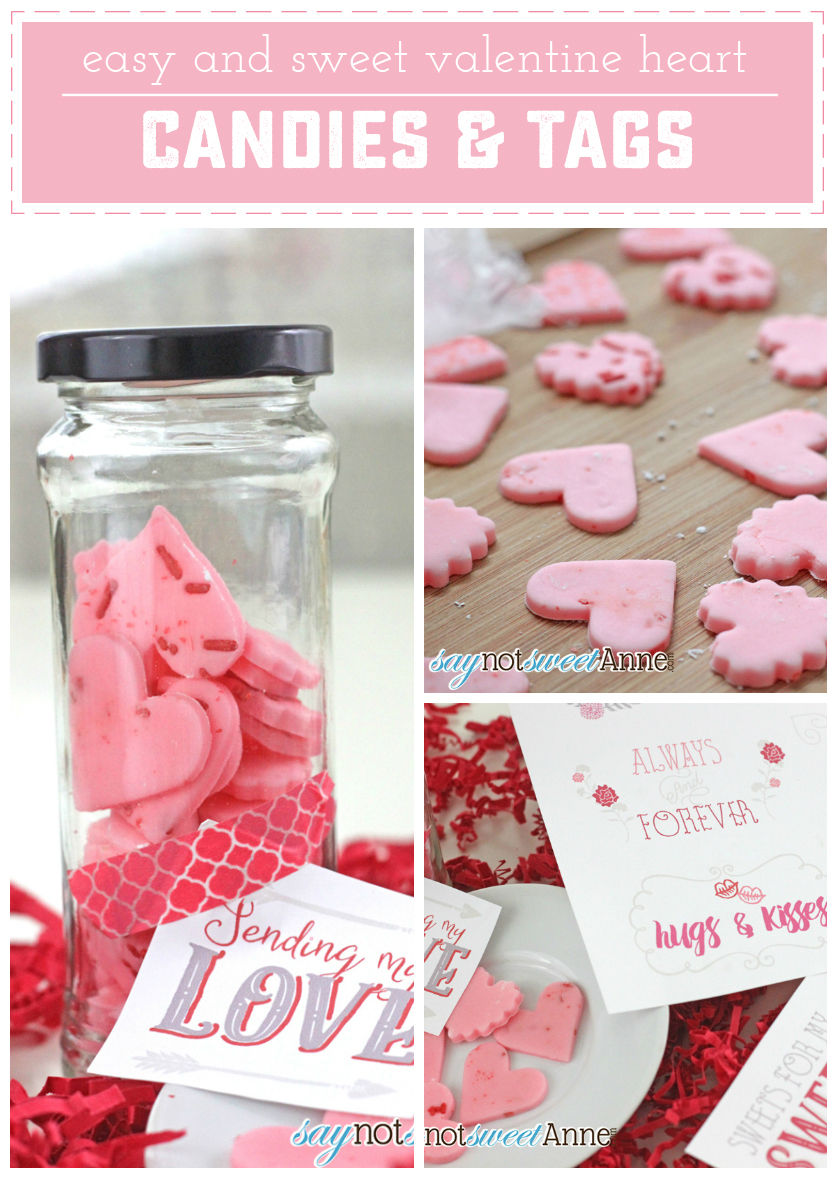
In years past I’ve made cupcakes, cards, made romantic themed games and more. This year I’ve been making candy, and printable valentine tags.
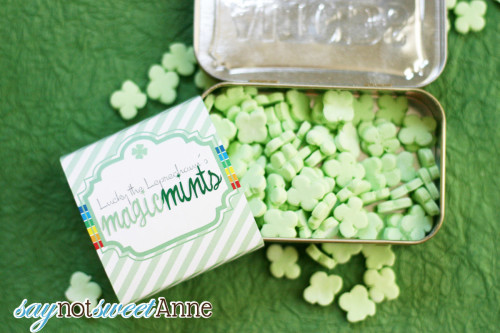
It all started with the awesome Clover Mints I made for St. Patrick’s day a few years back. They were easy and delicious, starting with store-bought gumpaste. Since then I’ve wanted to do some sort of homemade candy using fondant or gumpaste. The trouble is, conversation hearts kinda have the market cornered on rock-hard sugary candies for V-Day. I wanted to do something special.
So I started with a marshmallow fondant recipe. If you don’t know what that is, its a short cut fondant made from marshmallows. It gets stiff but never hard, and generally tastes better than actual fondant. I added some candy flavoring and voila! Easy, home made, kid-friendly candies to give hubby on the Day of Love. Pair them with the printable Valentine tags I made and voila! Something special!
What You Need:
- 2 cups mini marshmallows
- 1 tsp water
- 1 cup – 1/5 cups confectioners sugar
- 2 tsp Karo Syrup
- 1/8 tsp candy flavoring of your choice (I used raspberry)
- 2 drops food coloring
- 3 tsp shortening
- Mixing bowl, Microwave, stand mixer (or sturdy hands!), small cookie cutters and rolling pin.
How To Make It:
- Grease your mixing bow with a bit of shortening. Add the marshmallows and water. Toss to coat. Heat in microwave for 10 second intervals, stirring after, until the marshmallows are melted and smooth.
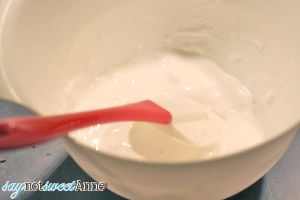
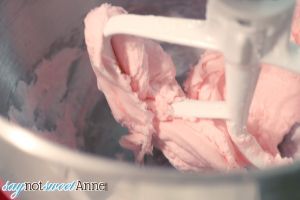
- Transfer mixture to stand mixer. On low, add in the shortening, flavor, food coloring and 1/4 cup of the powdered sugar.
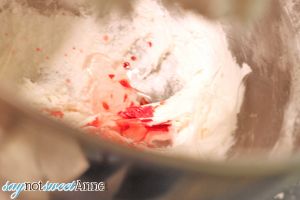
- Continue to add the powdered sugar in 1/4 cup increments until a stiff dough is formed (should be a bit tougher than playdoh).
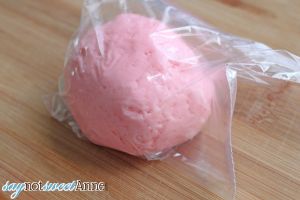
- Once your dough comes together, grease your hands with a bit of the shortening and roll the dough into a smooth ball. Place in an air tight container, or a zip top bag and let sit on the counter over night. (This will help to prevent a grainy texture, you can skip this step if you are in a pinch.)
- The next day, dust a working surface with a bit more of the powdered sugar. Roll out your dough to 1/4 to 1/8 in thickness. Work in bits (about 1/4 of the dough at once, to prevent dry out) and decorate as desired with sprinkles, edible glitter etc. I used the rolling pin to smush the sprinkles into the dough.
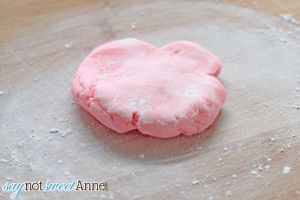
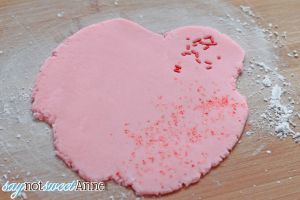
- Cut out your candies in whatever shape you like! If you don’t have a cute cutter, you can just slice them into squares.

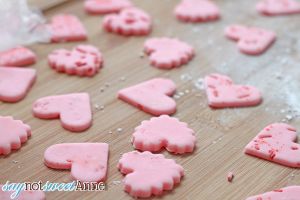
- Let the candies dry out in the air (preferably on a rack) at least overnight. They won’t ever get hard, but they will be stiff and able to package without flopping or falling apart.
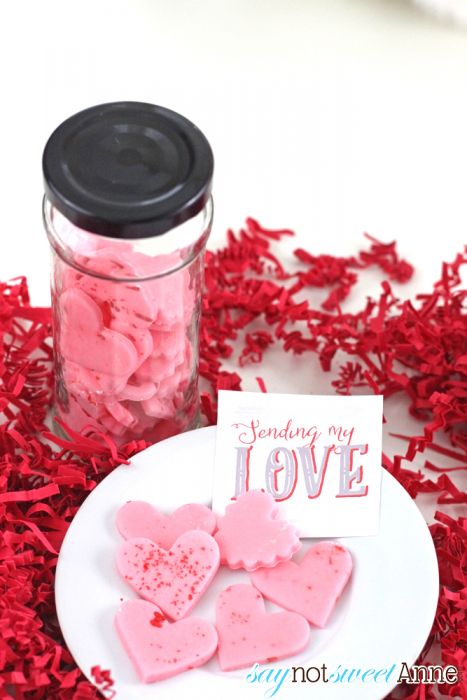
That’s it! Don’t forget this super cute set of tags I made that you can print and add to your jar, box, or altered tin of candies. Heck, you could just print them out and stick them in his car or lunch sack!

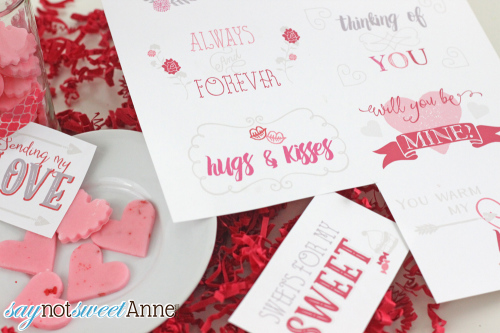
I hope you have a wonderful V-Day, and get some sweets for yourself too! <3
Kayla Domeyer
Latest posts by Kayla Domeyer (see all)
- Miniature Bohemian Style 1:12 Dollhouse Rattan Shelf - August 24, 2023
- How I made a DIY Prop Dragon Book (Twice!) - March 20, 2023
- How to Solve Stress with Princess Bathtub Melts - June 2, 2020

