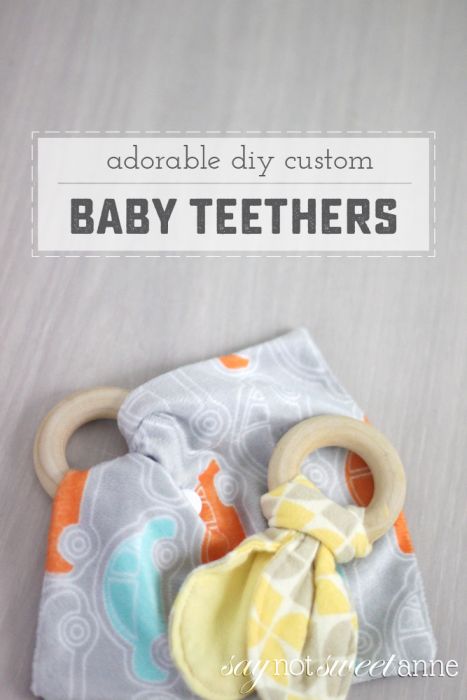
DIY Baby Teethers might have saved my sanity. During pregnancy last year I found myself overwhelmed by desire to make things for my soon-to-be son. I was exhausted and had very little spare time as we tried to prepare for his arrival, but that didn’t stop me from wanting to.
Thankfully, this little project helped me to feel closer to baby, to work with my hands to make him something, and all without spending too much time or money. They hit the crafty sweet spot, and I loved picking out fabrics and imagining what they would look like wrapped him his tiny hands. (Spoiler: They are adorable. He’s already got 8 teeth, so teethers have been a life saver!)
What You Need:
- Unfinished, unglazed hardwood rings. I got mine from Amazon. The seller isn’t there anymore – but these are similar.
- Fabric of your choice (these coordinated with blankets we made)
- Sewing Machine and Thread
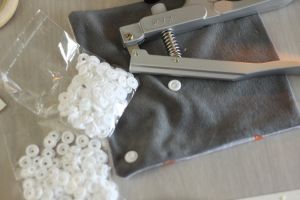
- Button Snaps (Optional – I use mine to make Cloth Diapers too. I got this set for color options.)
- Button Snap Tool (Optional – See above.)
How To Make Them:
- For the first, “Rabbit Ear” type of teether, you’ll need to make a pattern that looks sort of like two flower petals joined at the center. Be sure to make it long enough, considering the bulk of your fabric and the length it will need to wrap the teething ring.
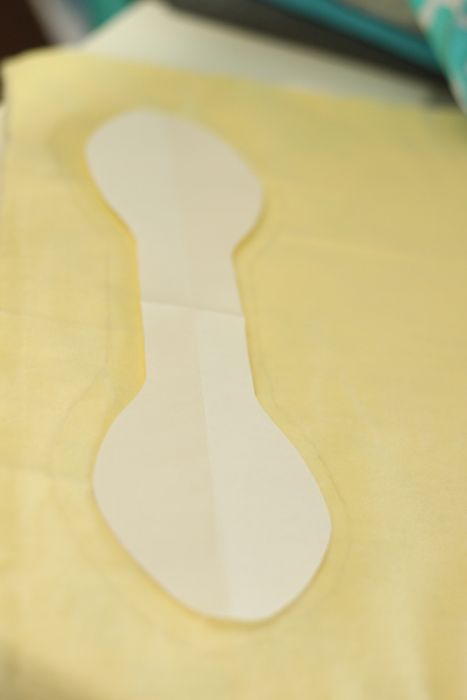
- Cut two of your pattern out. Pin with right sides together.
- Sew 1/4 inch seam around your piece, leaving about 1 inch in the center area to turn out. Clip access fabric off from the ear
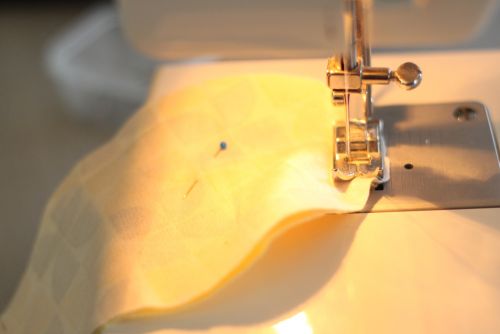
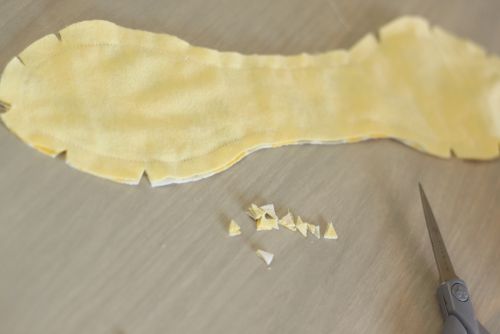
- Turn the petal right side out and press the seams with an iron.
- Top stitch 1/8 inch all the way around, careful to seal your previous turn-out hole.
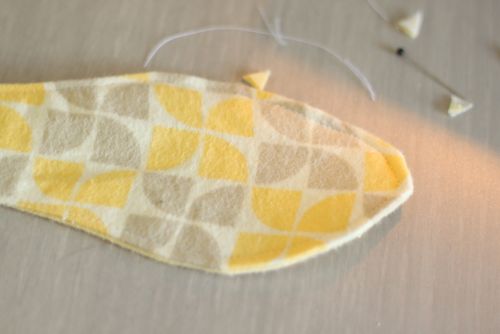
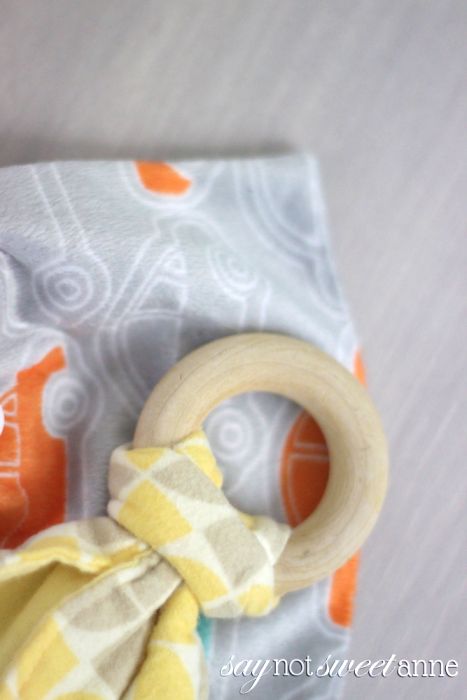
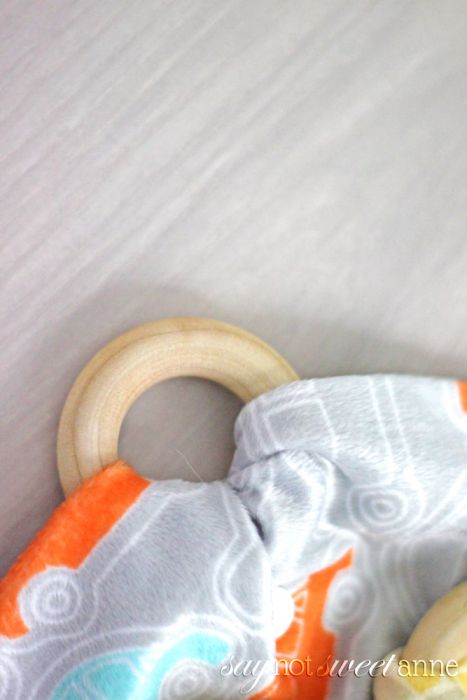
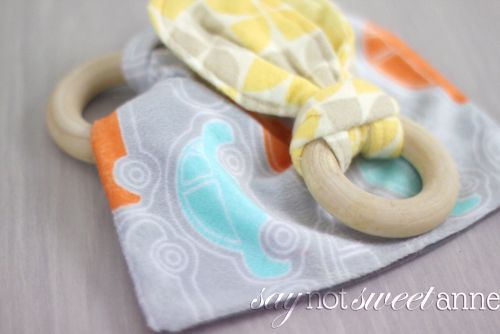
- Loop the fabric around your teething ring. Done! And the fabric comes off easily to wash.
- For the Square/Minky teether, start by making a large square template. Cut out 2 pieces of fabric and pin right sides together.
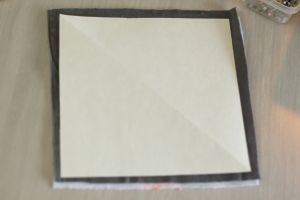
- Like the rabbit ear teether, sew all the way around, leaving a 1 inch gap to turn the fabric out.
- Turn the fabric right side out and press the seams.
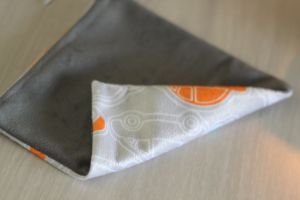
- Sew a 1/8 inch top stitch all the way around.
- Using the ring as a guide, fold your square through the ring and mark the optimal place for your snap buttons.
- Using the snapping tool, punch the fabric and add a female and a male snap.
- Snap around the ring. Done!
The following two tabs change content below.


Kayla Domeyer
My name is Kayla and I am an Artist and Graphic Designer. That means that I love pretty things, and also that I like to make free printables! I'm so happy that you've stopped by to visit my blog, and I hope you find something interesting here. In the past 15 years since I started the site, I bought a house, had two children, and shifted careers. My focus now is more about sharing and less about the daily grind.
Latest posts by Kayla Domeyer (see all)
- Miniature Bohemian Style 1:12 Dollhouse Rattan Shelf - August 24, 2023
- How I made a DIY Prop Dragon Book (Twice!) - March 20, 2023
- How to Solve Stress with Princess Bathtub Melts - June 2, 2020
