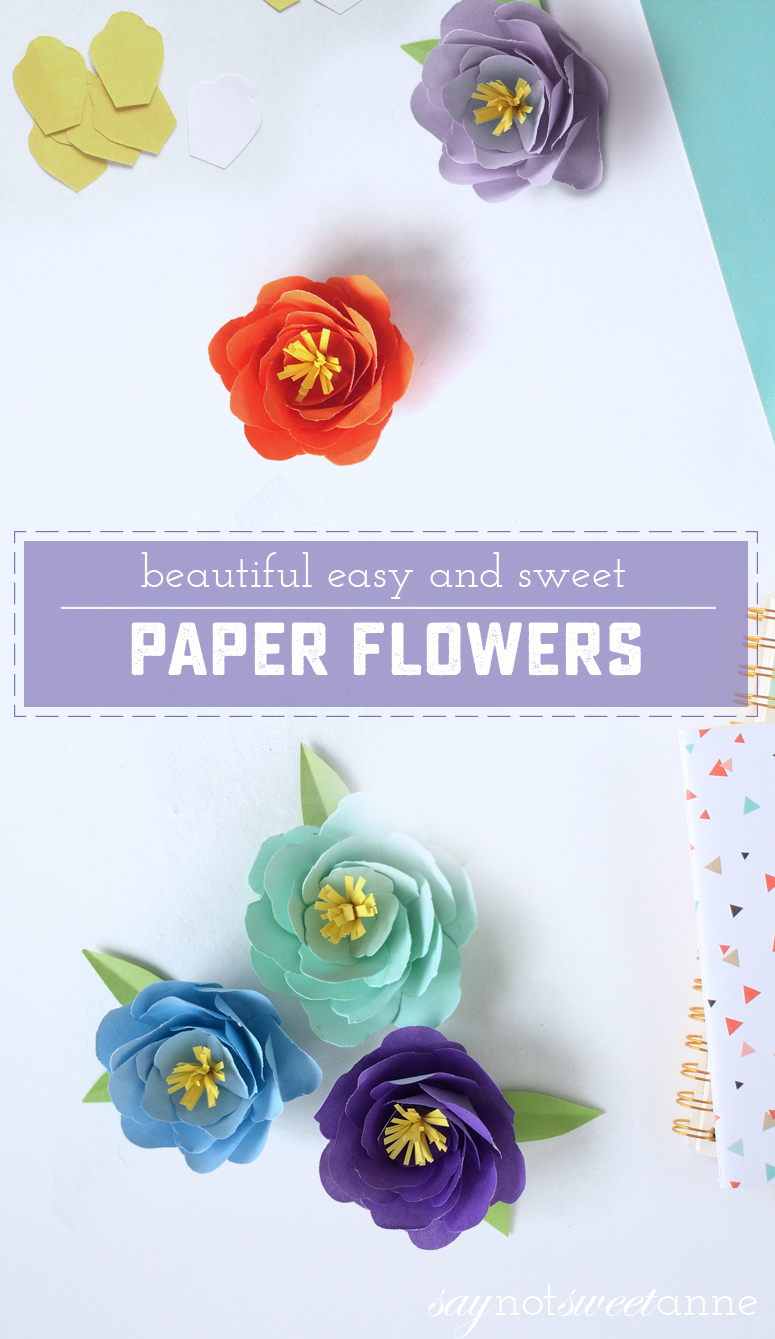
Back when this blog first started, papercrafts were my thing. Paper peonies / paper flowers remind me of when I was cranking out templates right and left. Every post had a printable, and every design was made from paper. Since then I’ve become a bit more broad in my projects and craft materials, but paper still holds a place in my heart. Working with paper is often easier, brighter and less messy than other mediums.
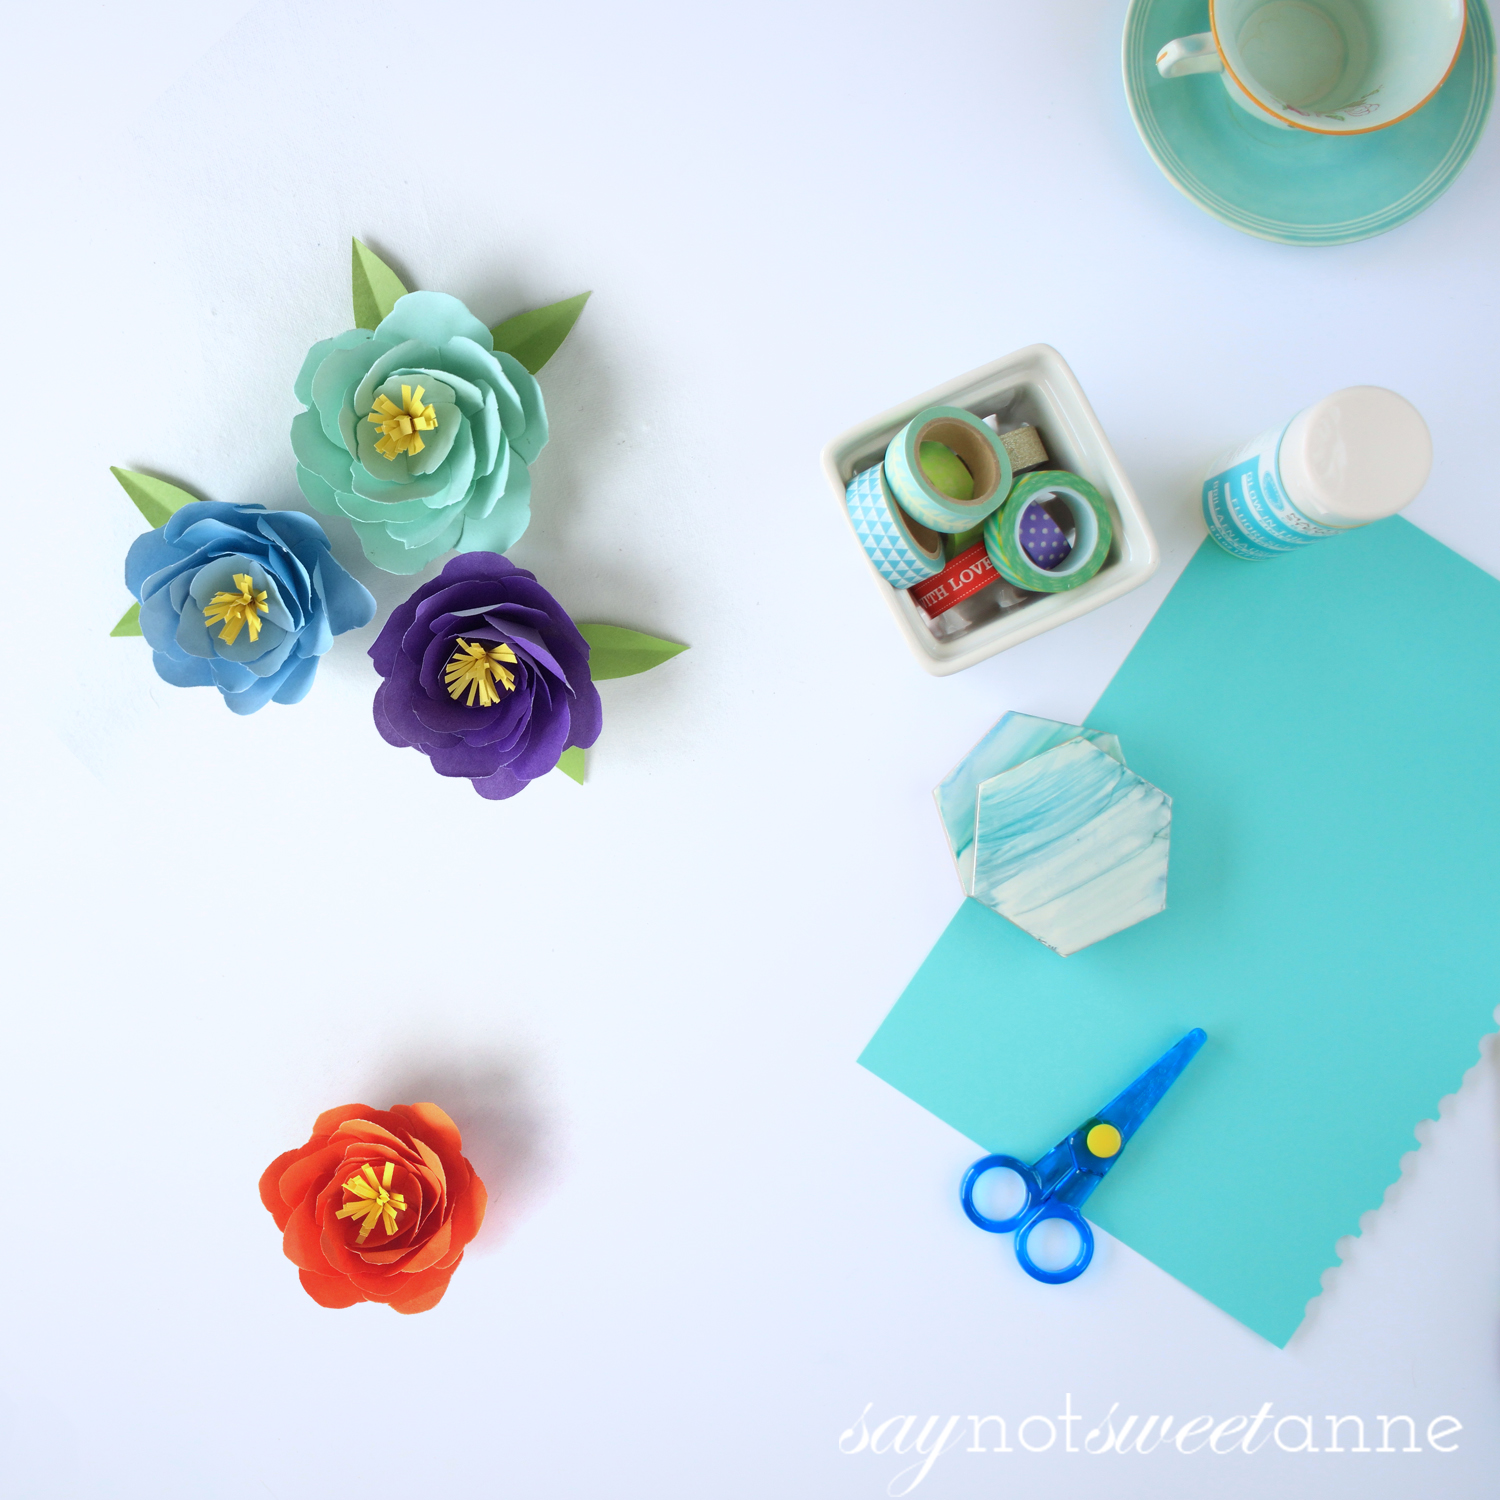
Paper is also inexpensive to get started with. These paper flowers only take a few sheets of colored paper and some scissors and glue. Less than $5 for something that can be really stunning. But don’t go thinking it is too easy or childish. While I do think a child could follow this tutorial, I think that even I could make these over and over again, improving each time. I could dust calk into the centers for an ombre effect, or tip the edges of the petals in gold. There is such a versatility in the simple, in going back to my papercraft roots.
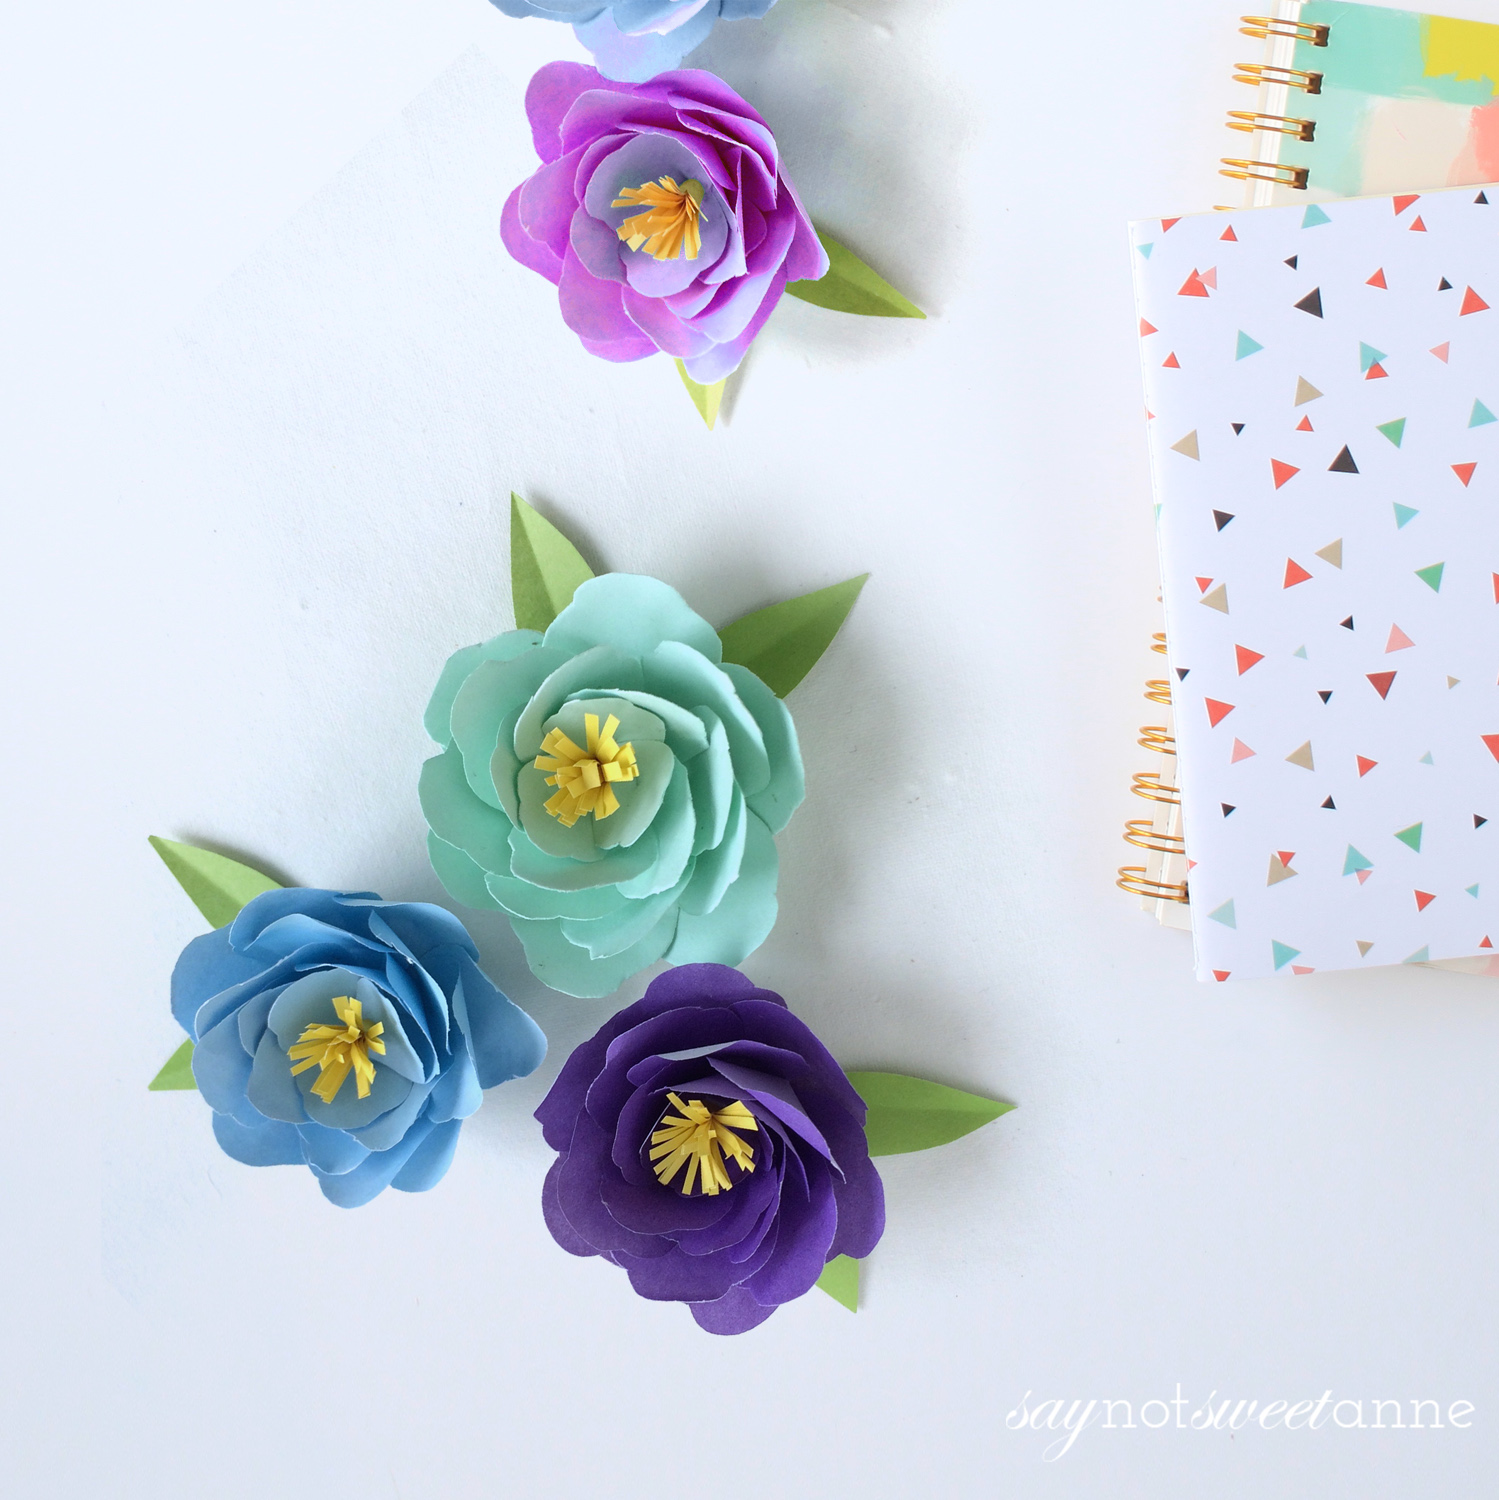
These are very similar to the paper flowers in my Unicorn Gift Bags as well. They could be used everywhere!

What You Need:
- Colored craft papers – 2 colors for 1 flower.
- Card stock (check out this bright colored pack on Amazon)
- Pencil
- Craft glue.
How To Make It:
- First of all, print and cut out the patterns from the template. The template includes 12 large petals, 6 medium petals, 3 small petals, 1 strip for the center and 1 round piece for the base. Select a color for the flower and cut out the petals from it. Cut out a small strip from yellow craft paper and a round piece from a card stock.
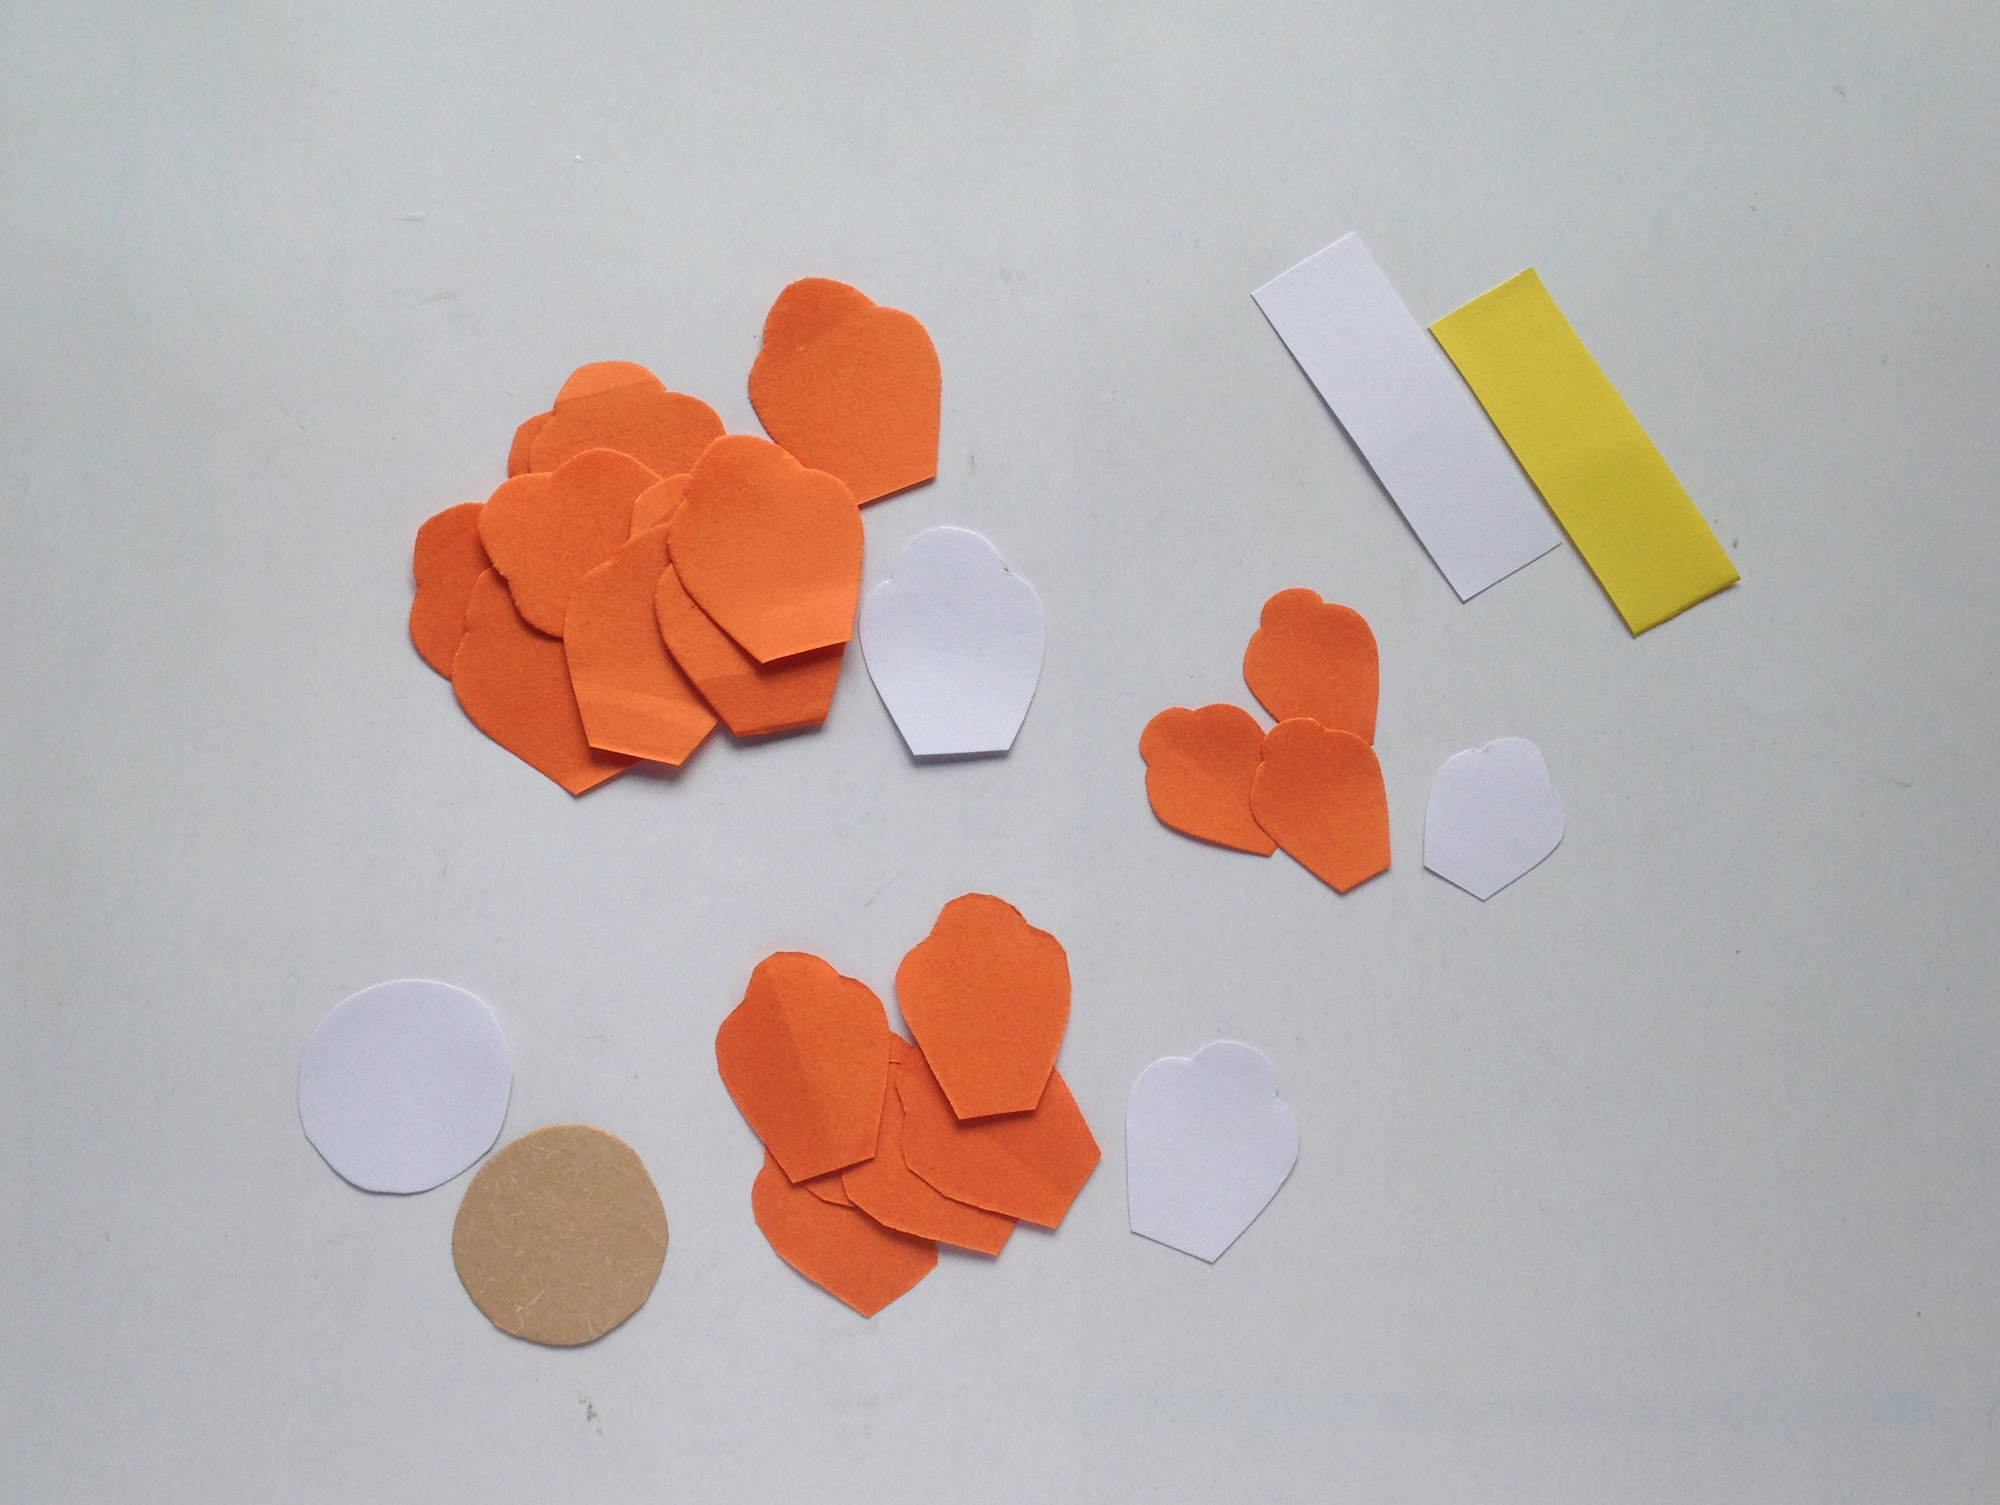
- Take the petals and cut small slits on them from the bottom.
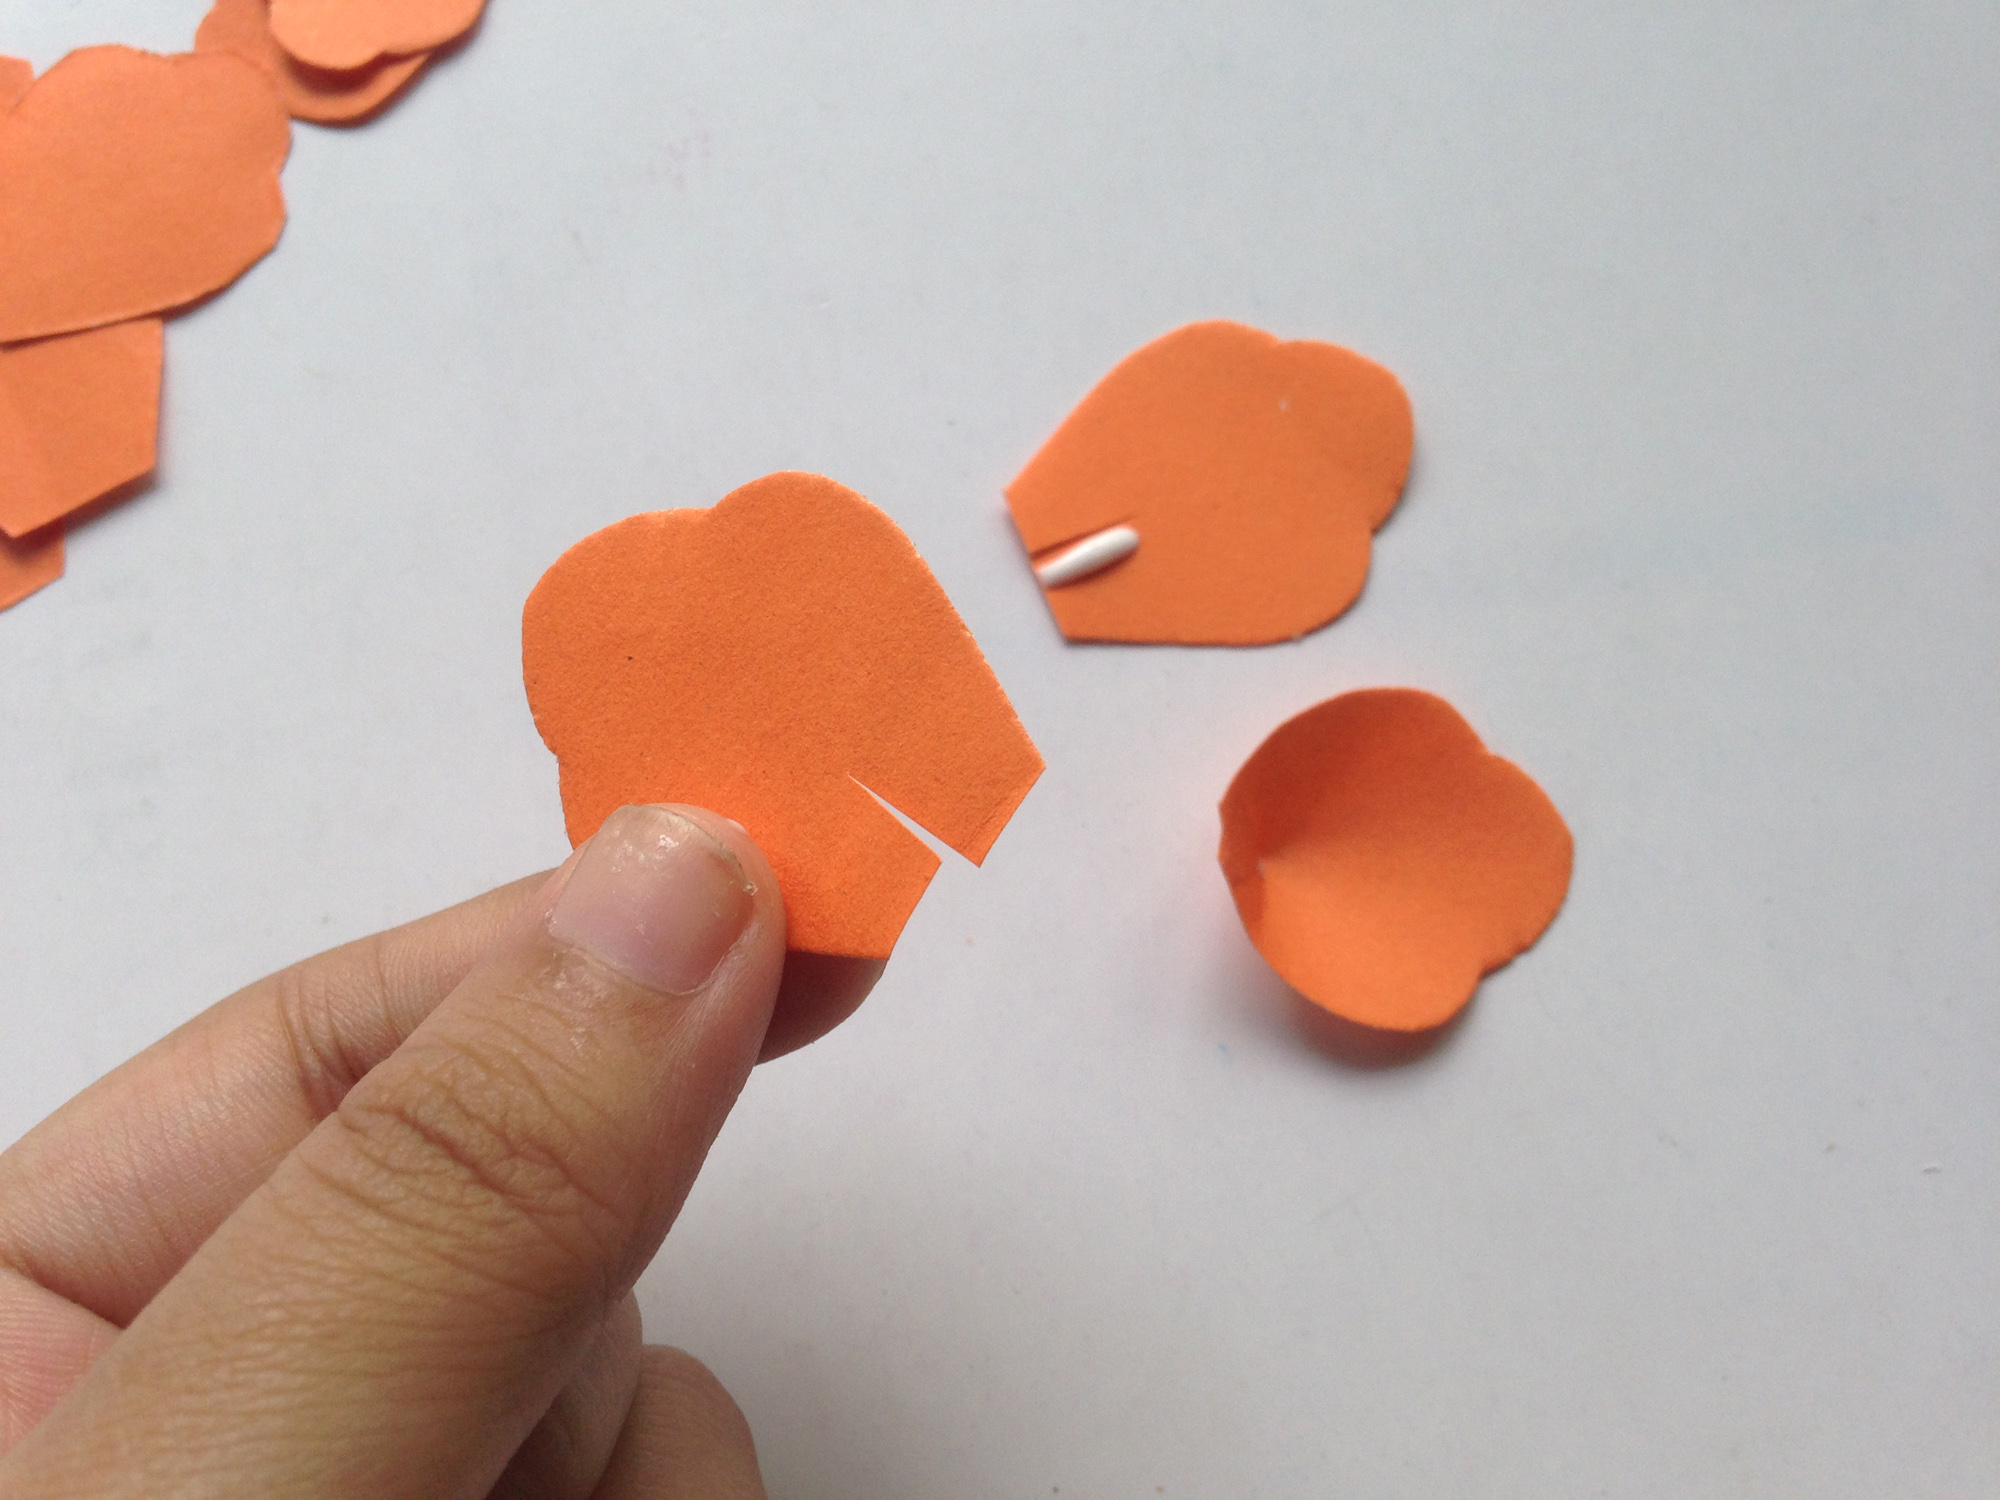
- Take any one petal and apply a small amount of glue near any 1 side of the slit. Overlap the parts on both sides of the slit and press to join them. This will give the petals a 3d look.
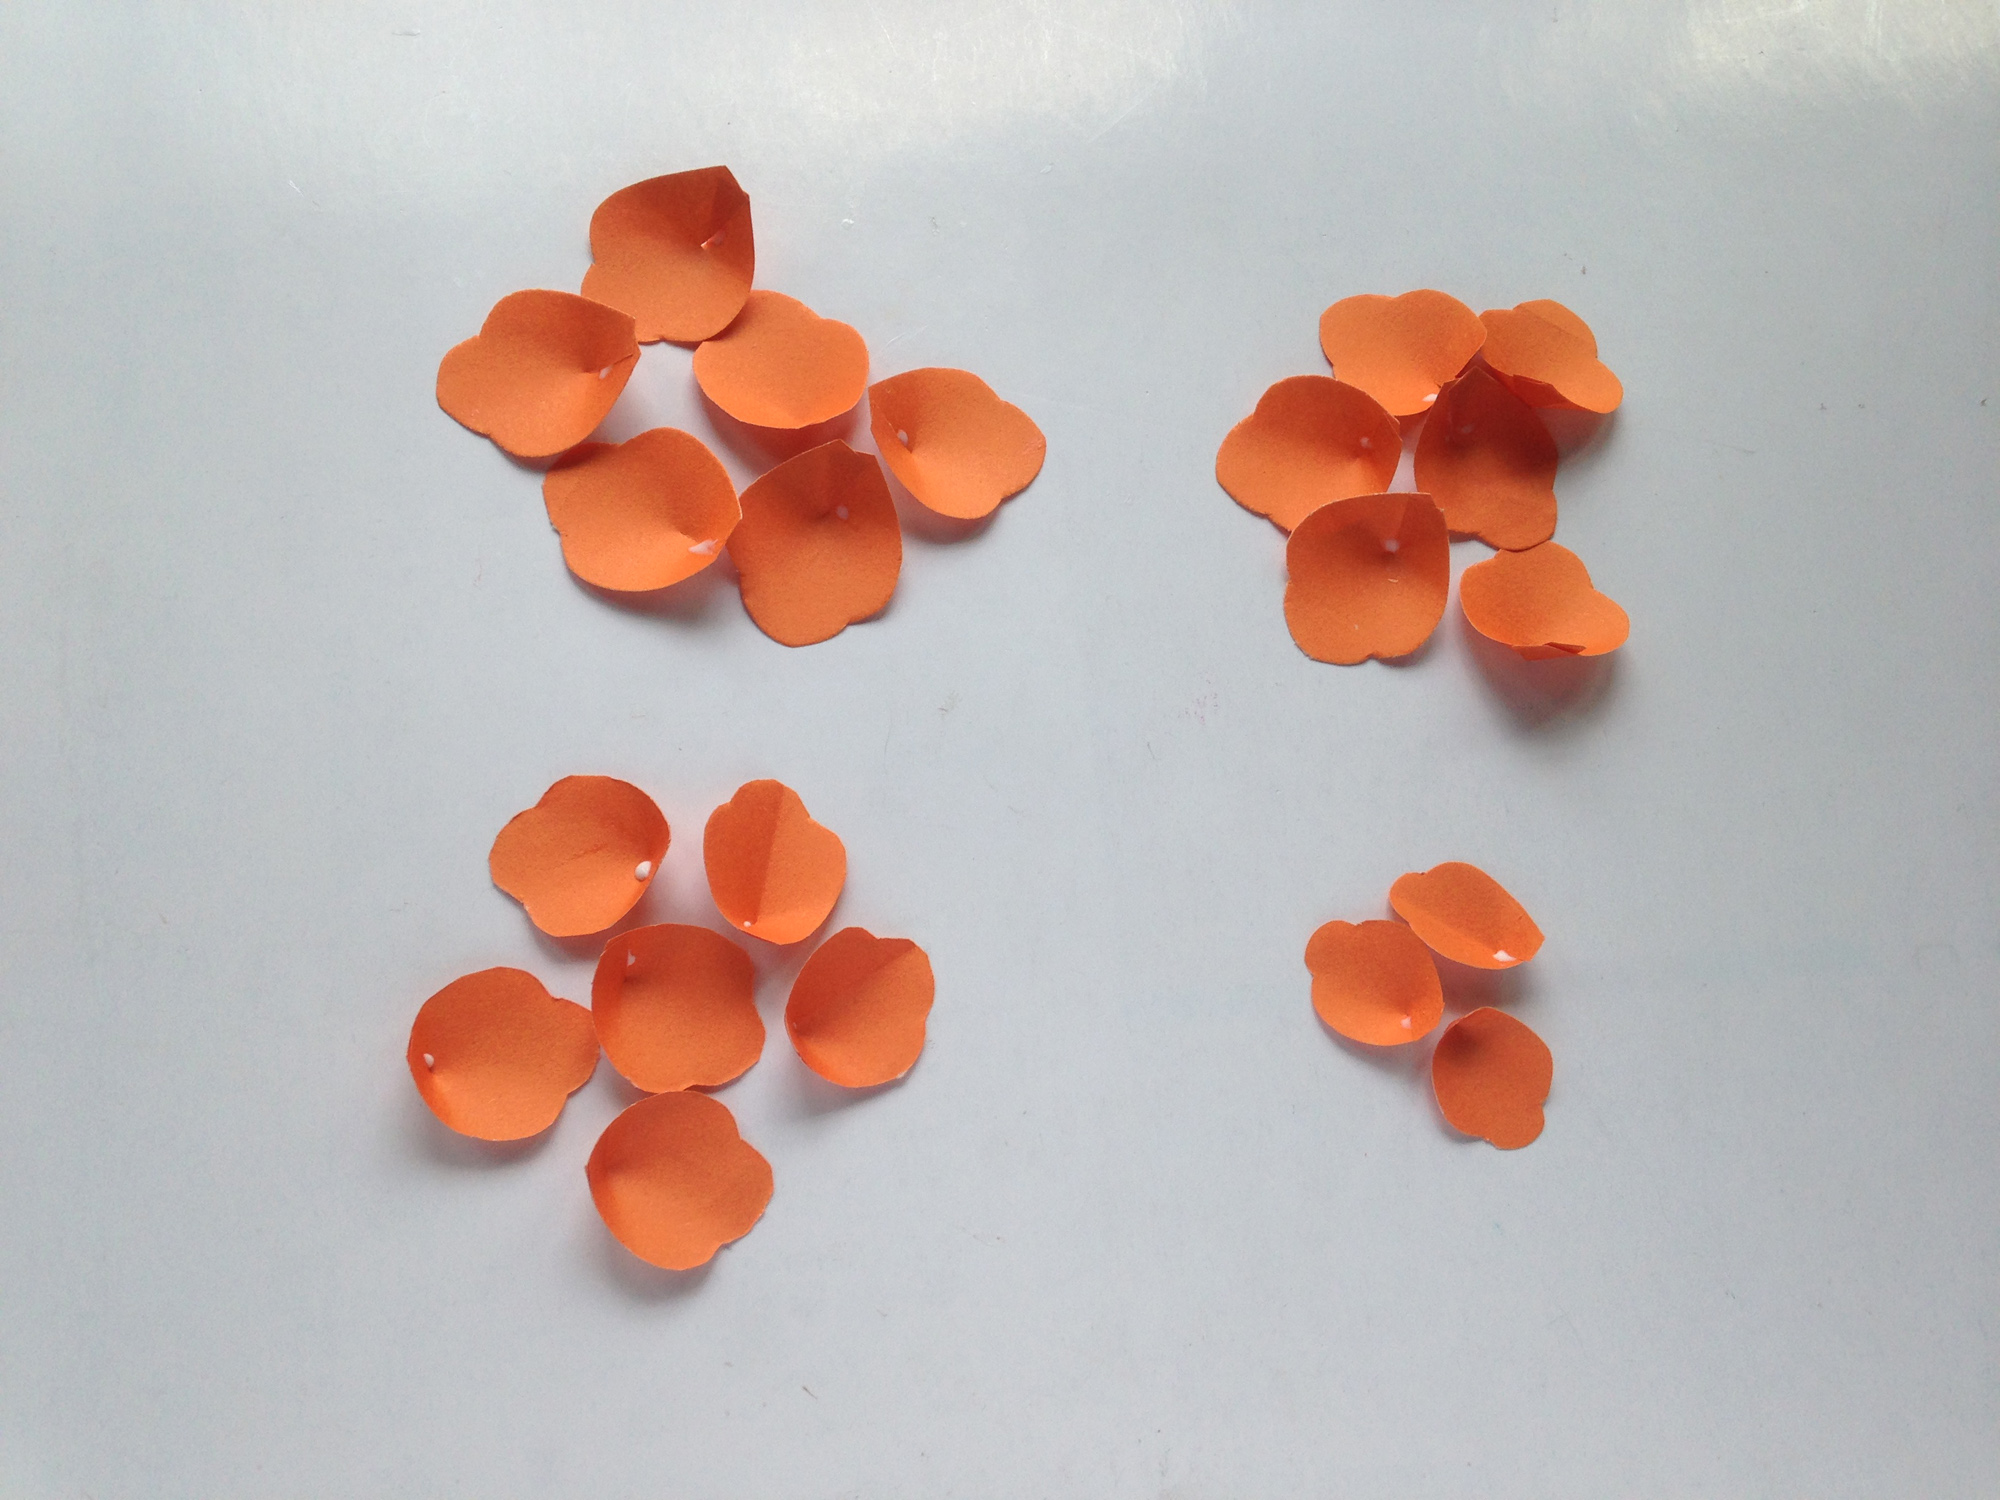
- Do same for all the petals. You can also use a small round object to curve the sides of the petals, but it’s optional.
- Take the round base cut out from cardstock and start gluing the curved petals on the base one by one. First glue a layer of 6 large petals around the edge of the base.
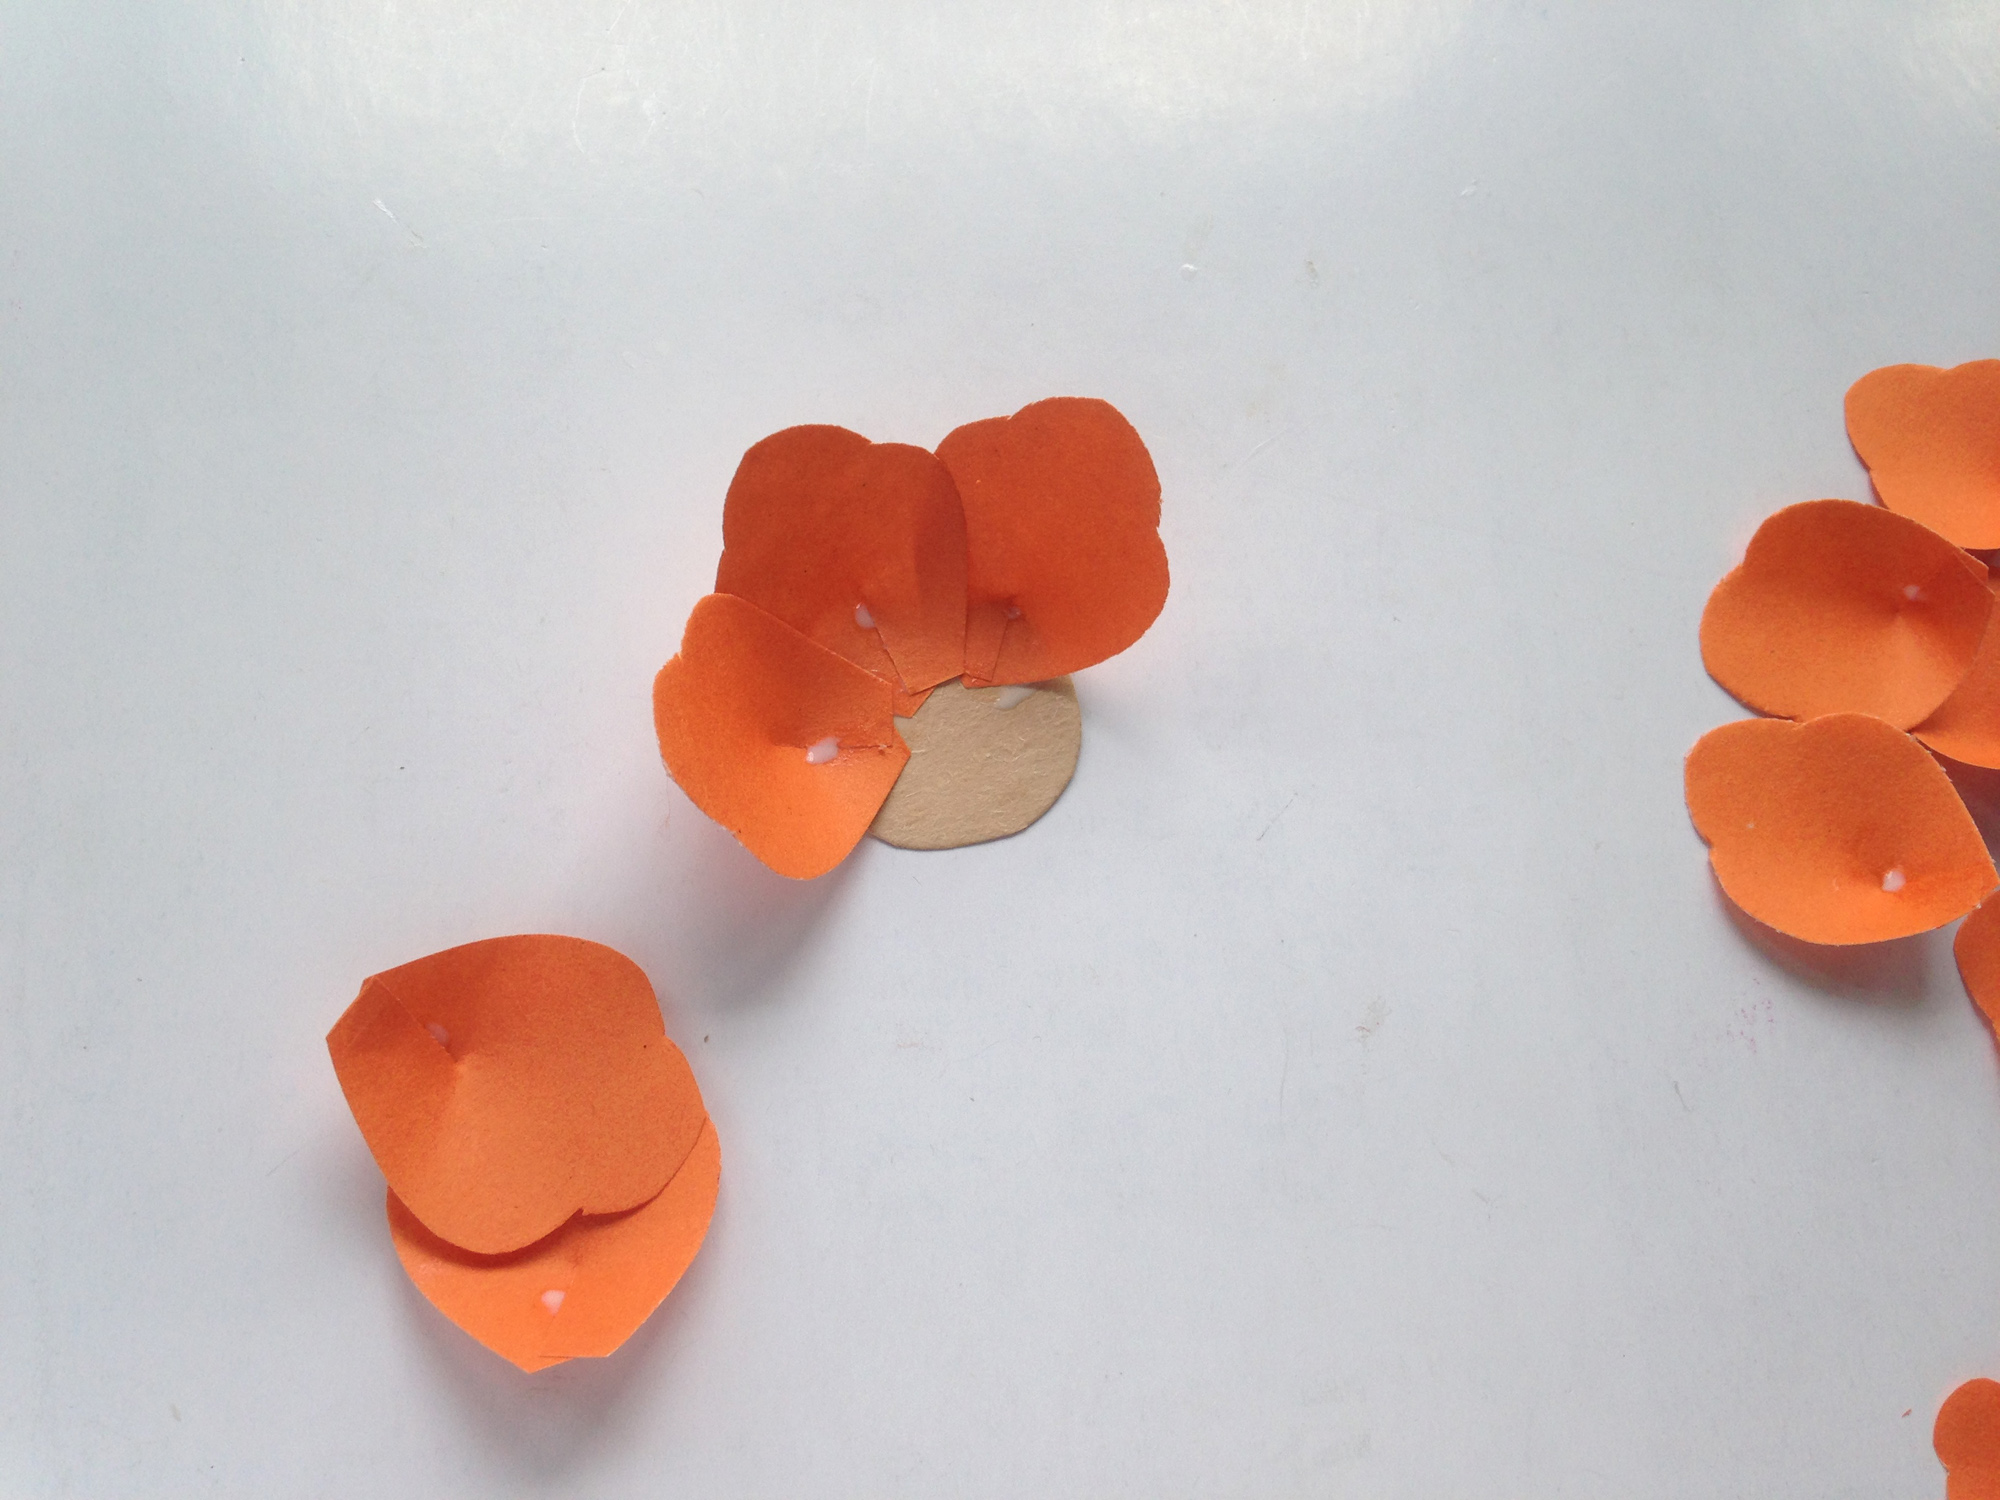
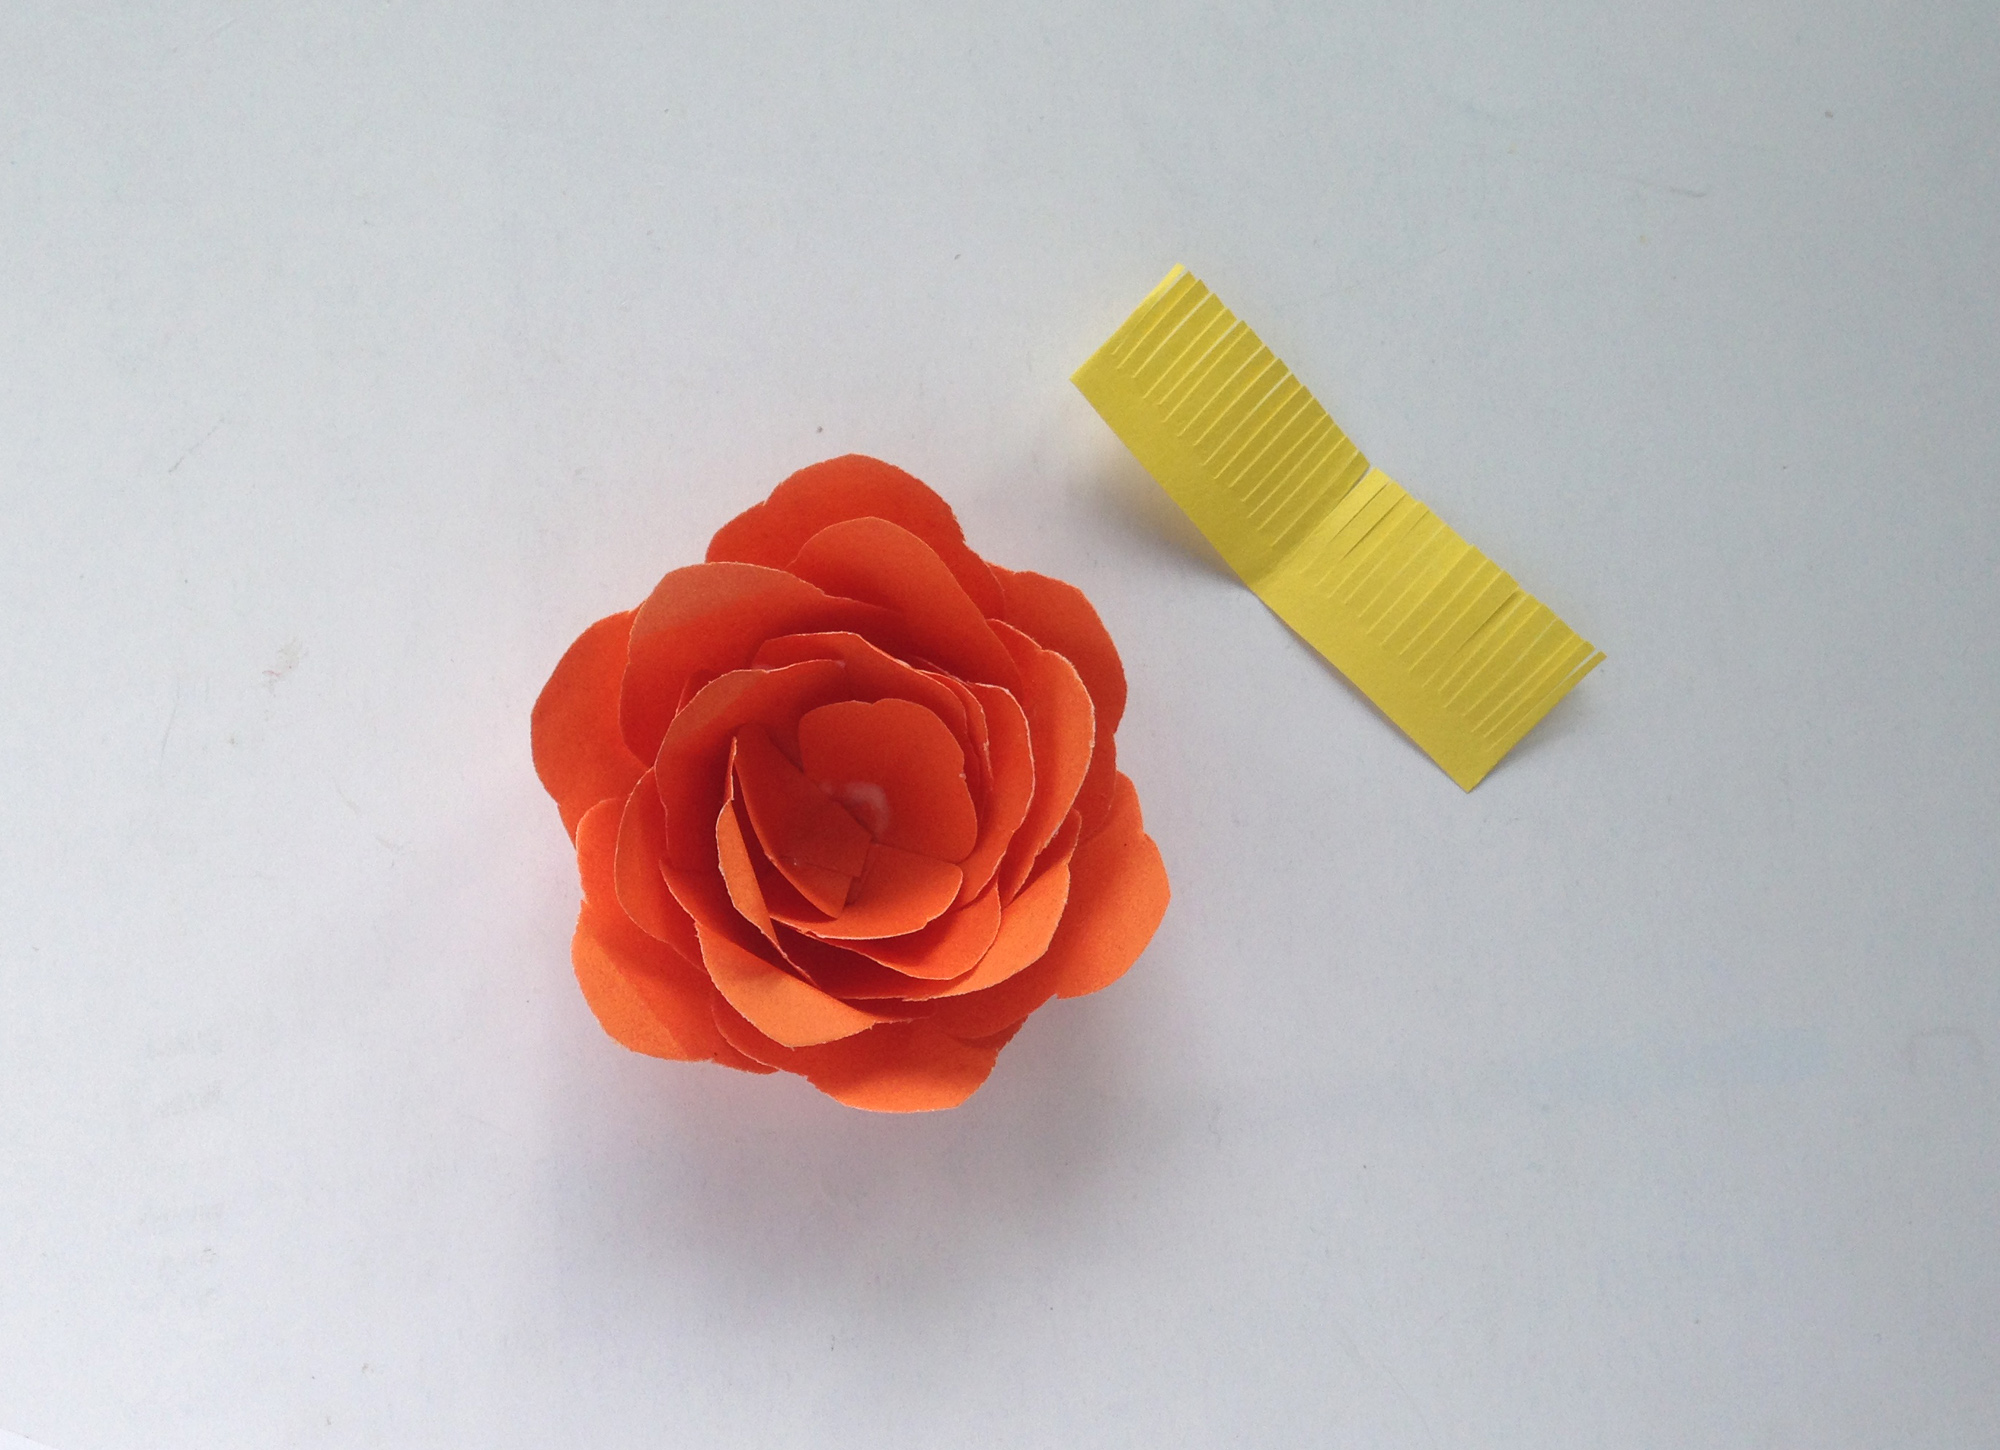
- Glue the second layer of the rest of the large petals inside the first layer. Add the third layer of medium 6 petals. For each layer we’ll move towards the center.
- Finally, glue the layer of 3 small petals. While the glue dries, cut small fringe on the yellow craft paper.
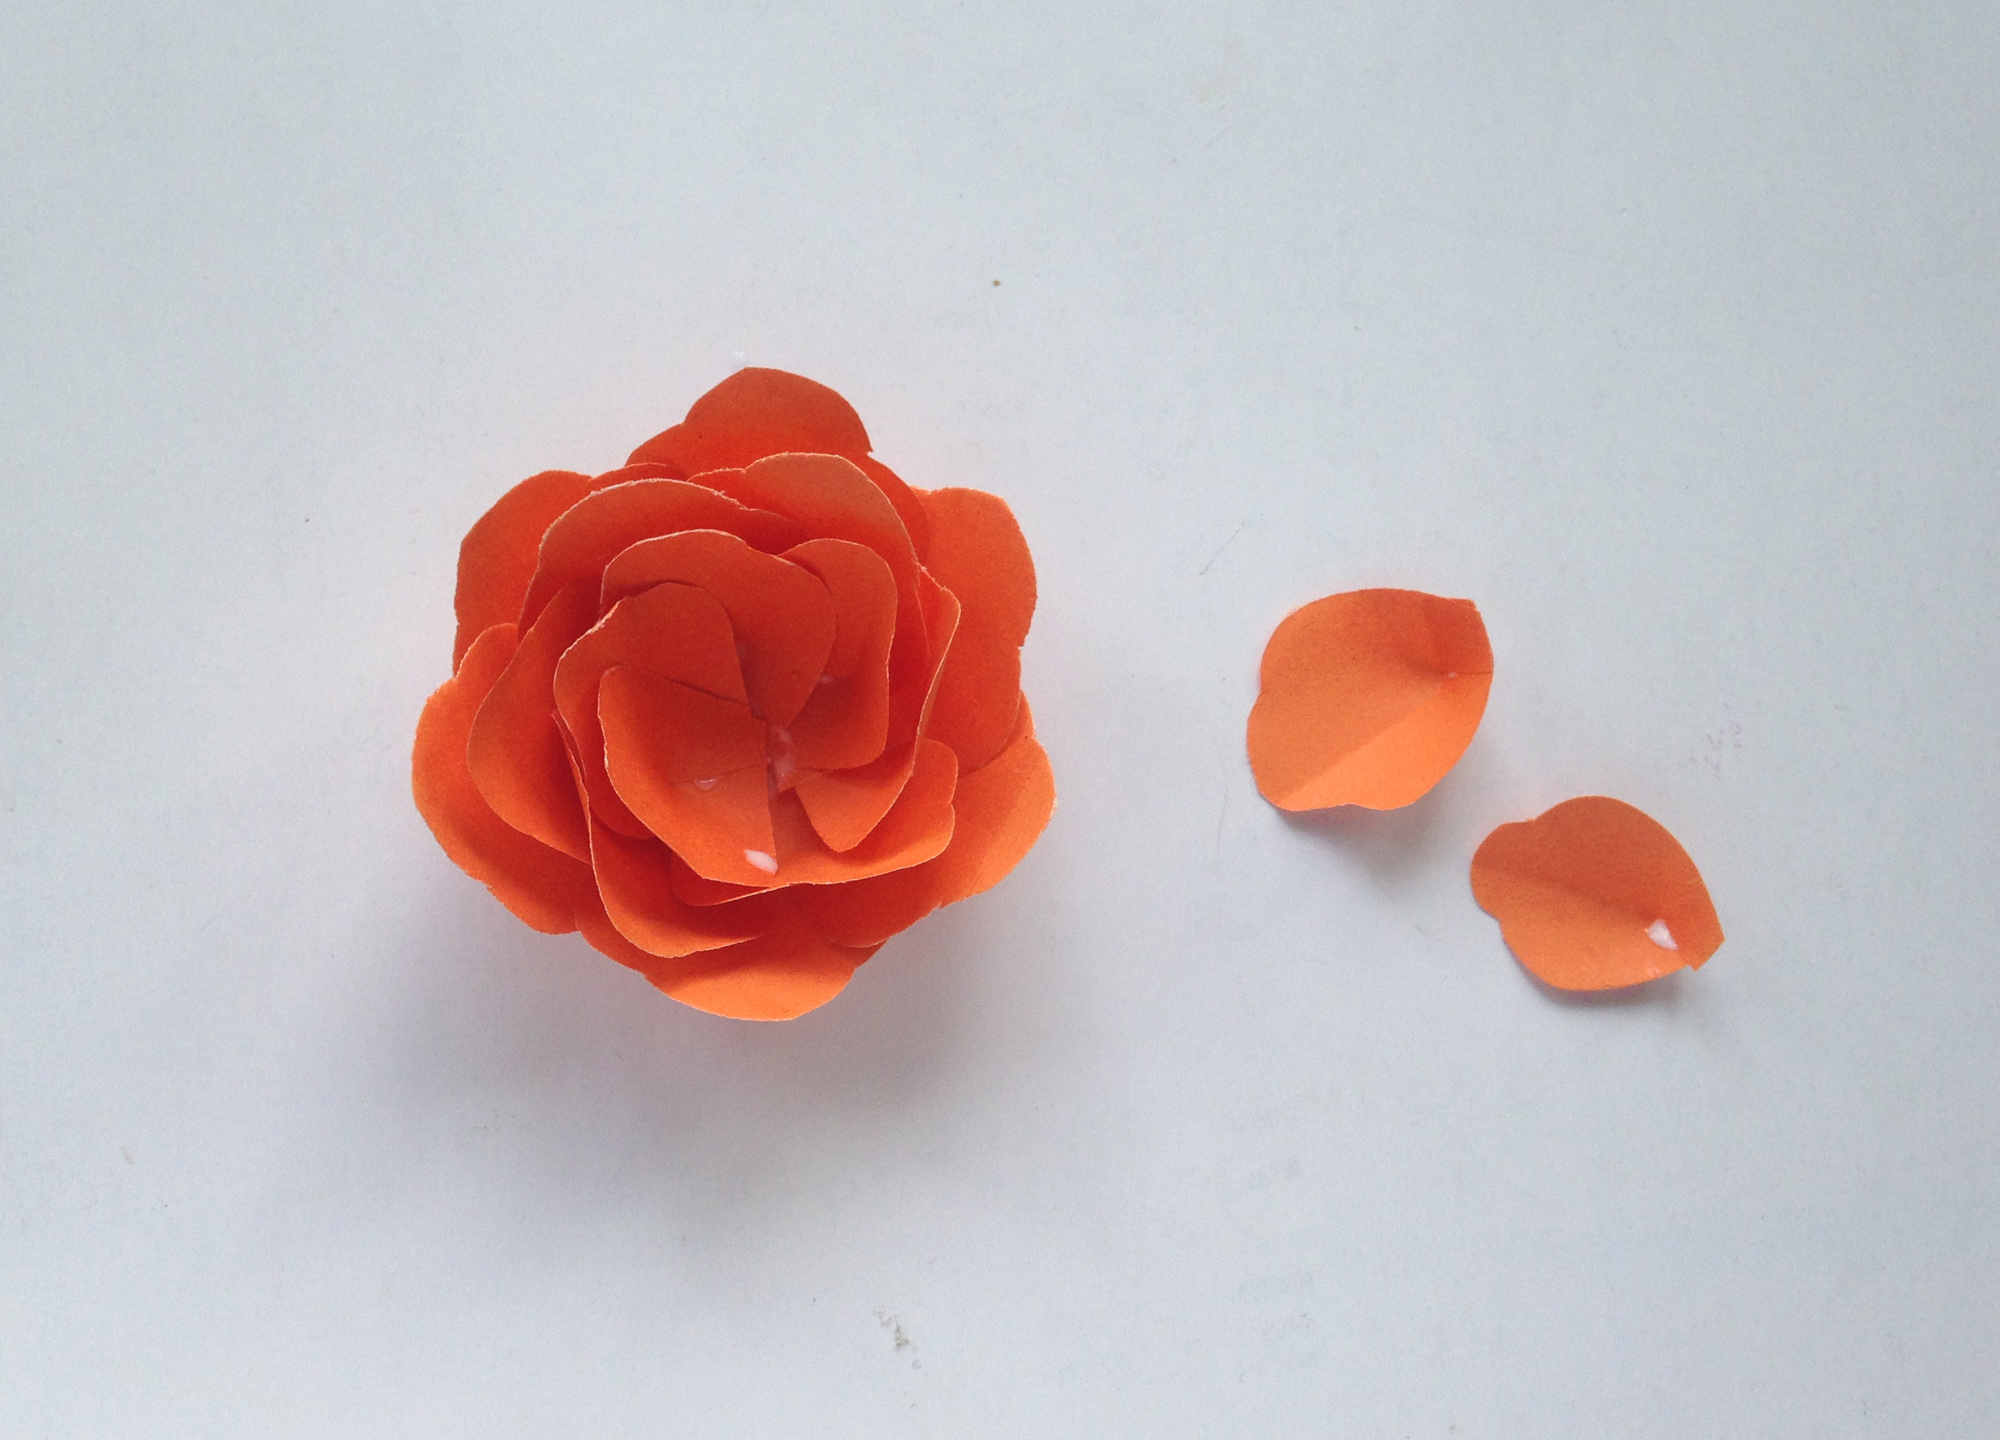
- Roll the fringed yellow paper and glue at the end to secure the roll.
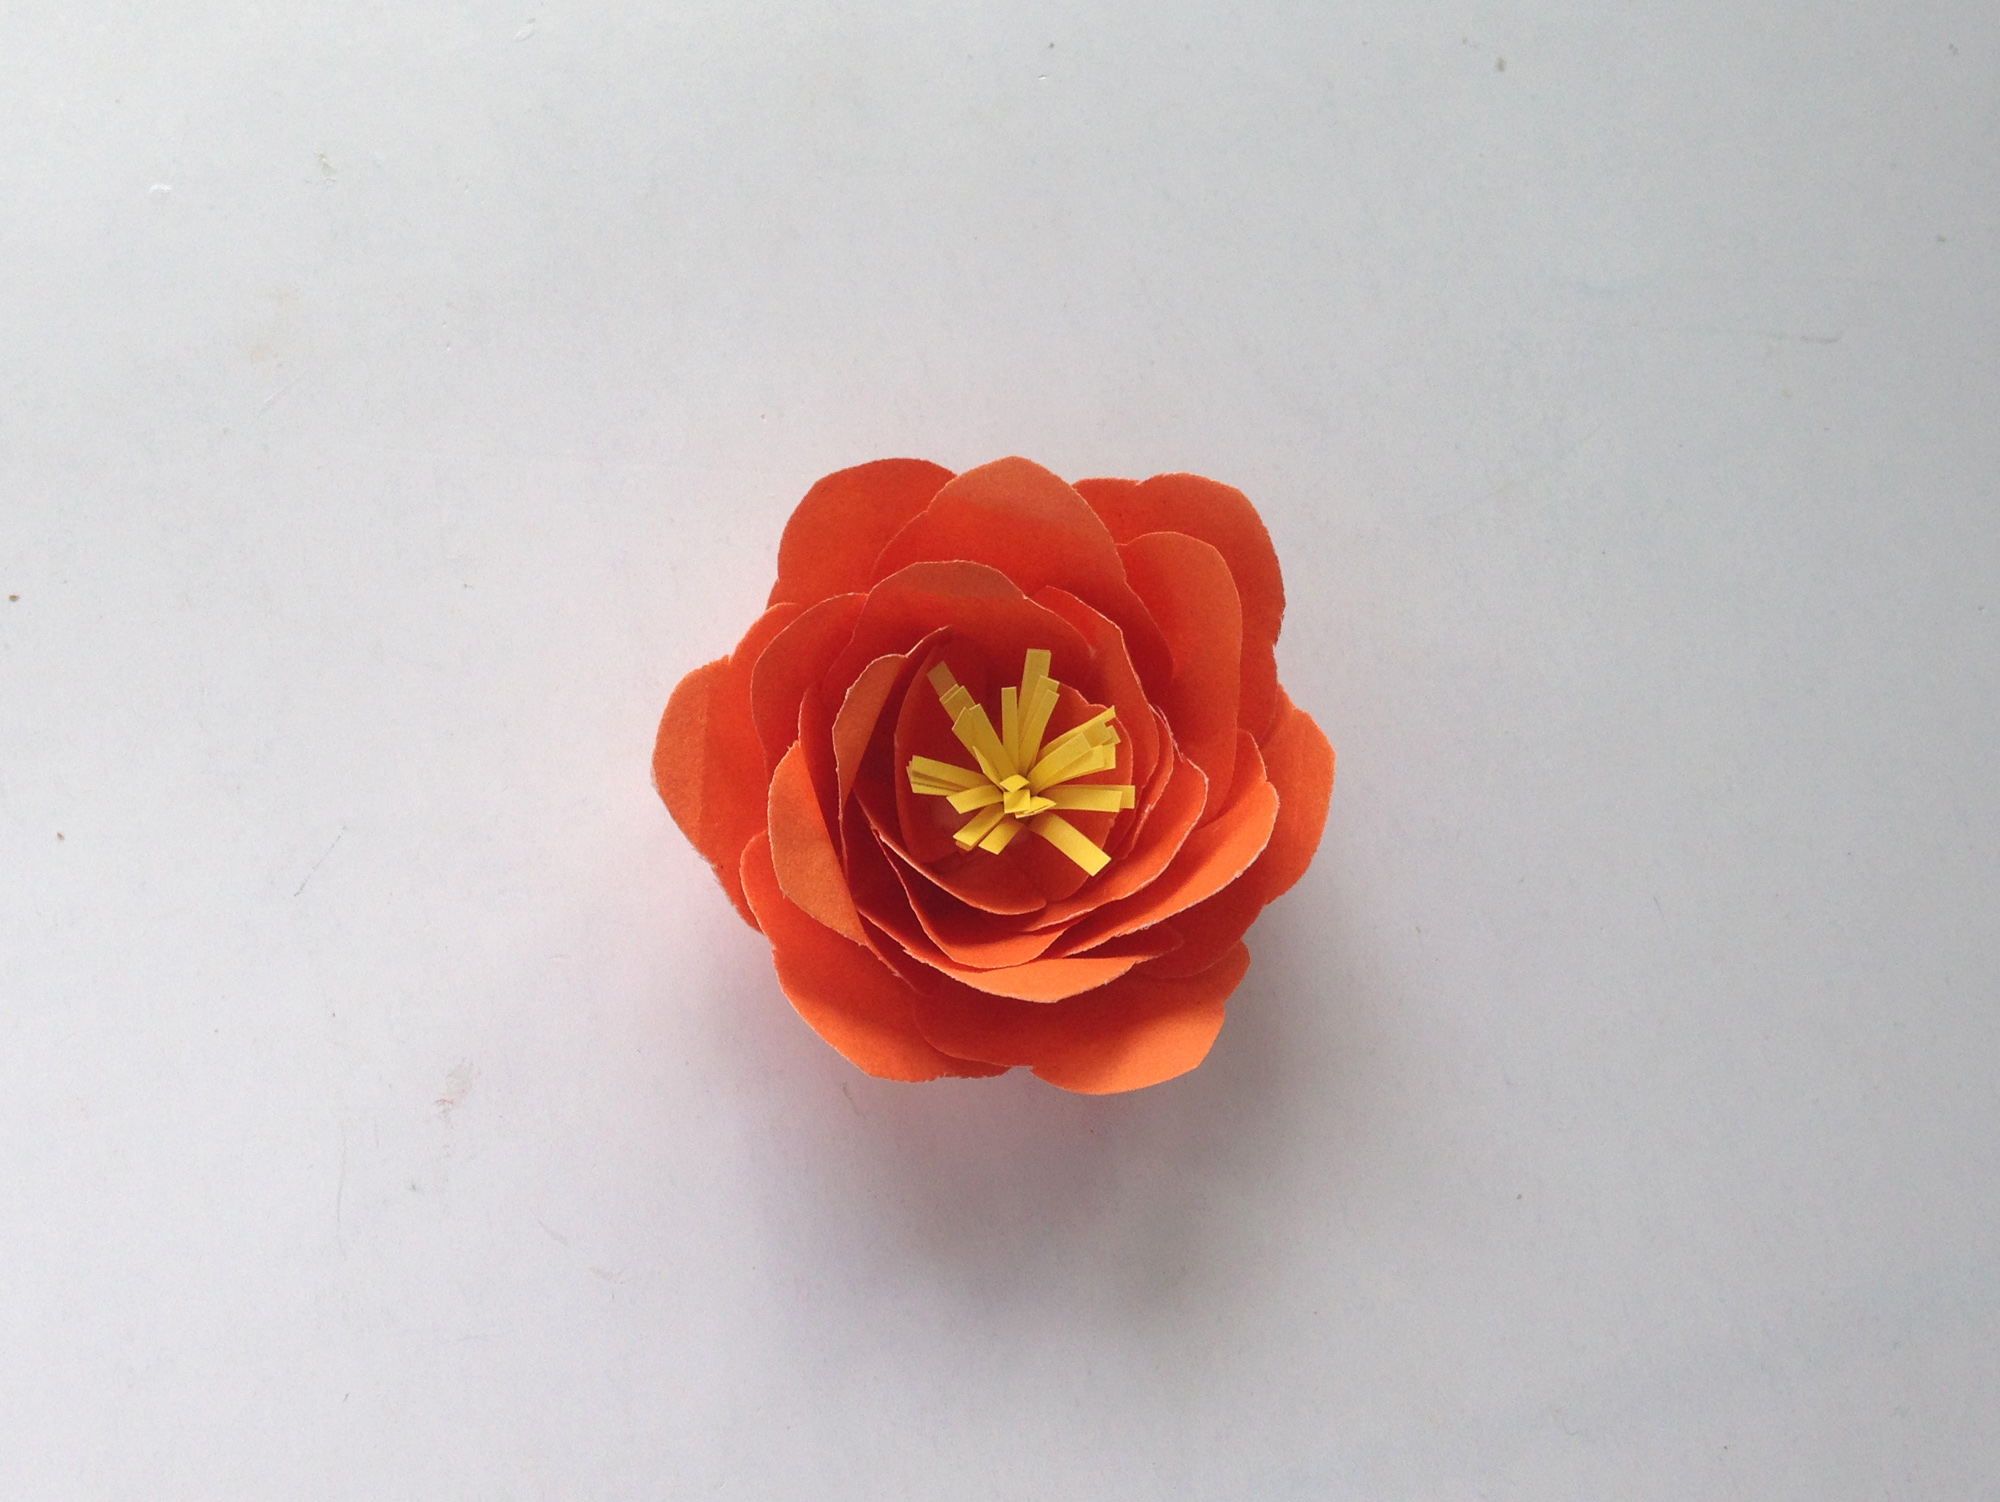
- Use green craft paper to cut out leaf patterns and add them with glue to the at the bottom.
Kayla Domeyer
Latest posts by Kayla Domeyer (see all)
- Miniature Bohemian Style 1:12 Dollhouse Rattan Shelf - August 24, 2023
- How I made a DIY Prop Dragon Book (Twice!) - March 20, 2023
- How to Solve Stress with Princess Bathtub Melts - June 2, 2020
