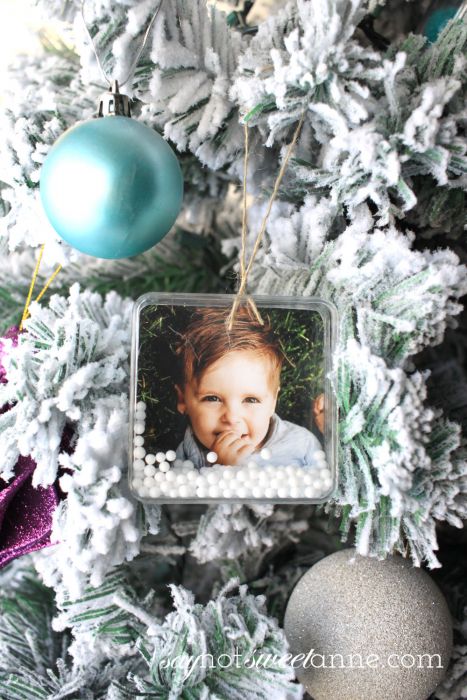
For a lot of us, our ornament selection during Christmas or holidays reads as a sort of family memory album. There’s that acorn we got at Greenfield Village, the ceramic house that grandma gave us the year we moved here. The wooden popsicle stick reindeer the Squish made in preschool, and so many more mini memories hanging on our tree. Today I’m going over how to make stunning snow globe photo ornaments that are perfect for commemorating an occasion, giving away as gifts, or just decorating your tree with your favorite faces.
If photos aren’t your thing, or you want something a bit more hands-on for littles check out salt dough ornaments!
The base of these ornaments is a clever way to re-use favor boxes I had leftover from a party. I was beyond impressed with how high end and posh the result was, and I’ve even hosted a craft night for some girlfriends to share with them how to make these!
What You Need:
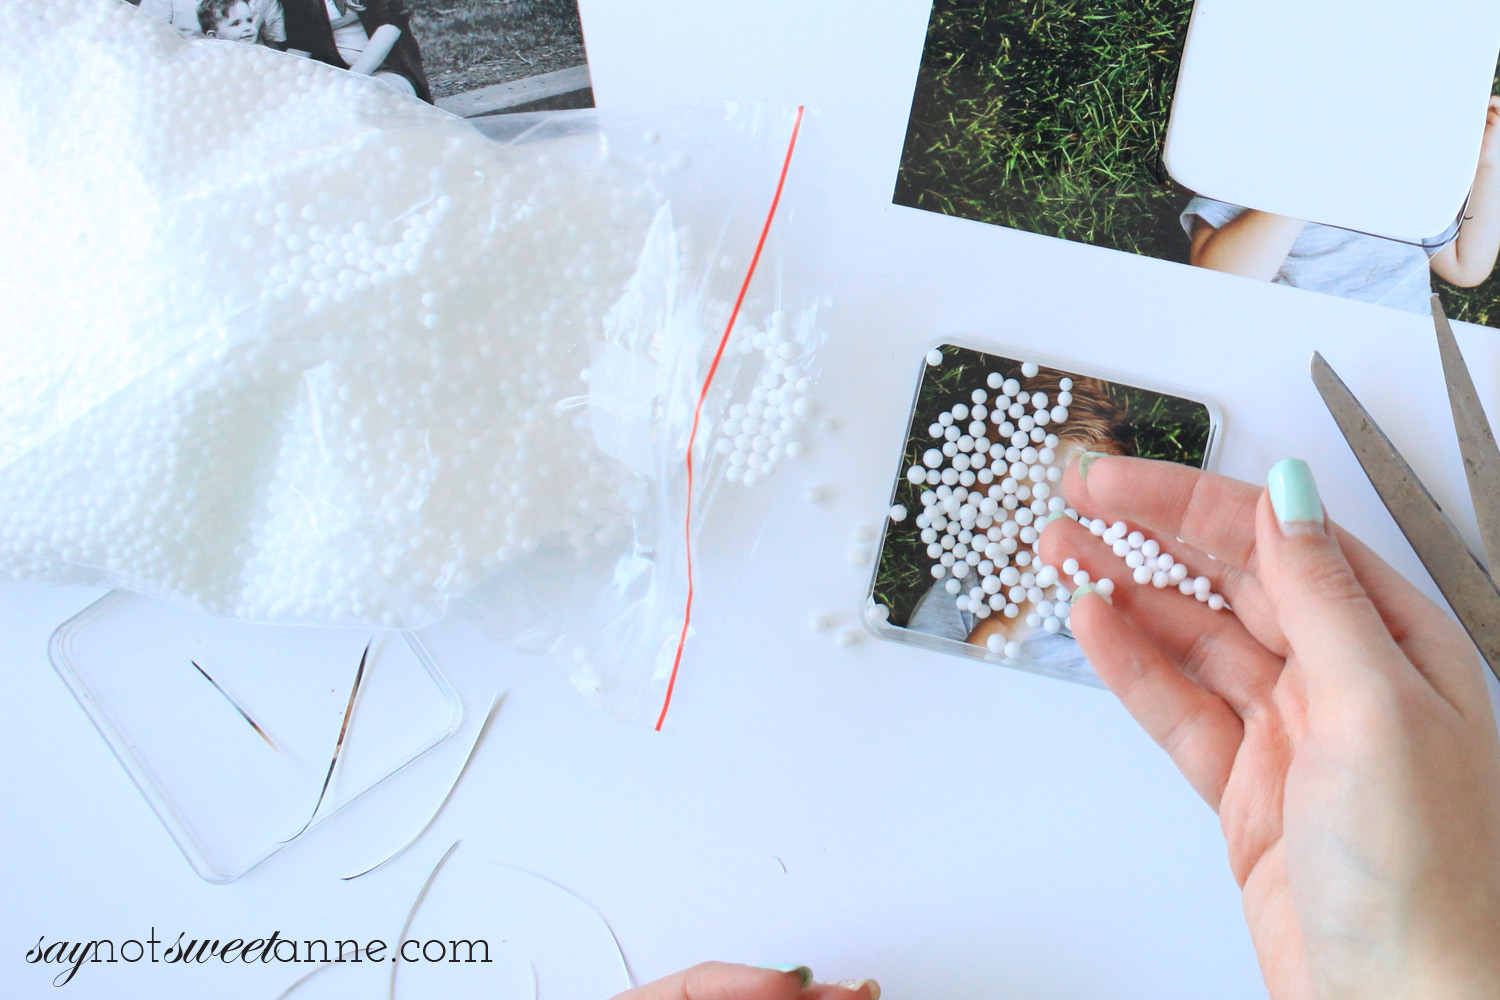
- Polystyrene snow
- Clear Favor Containers (Mine are from Oriental Trading)
- Photo for your photo ornaments, two copies.
- String or Twine
- Double sided tape, and clear glossy tape
- Glitter, sequins or charms
How To Make It:
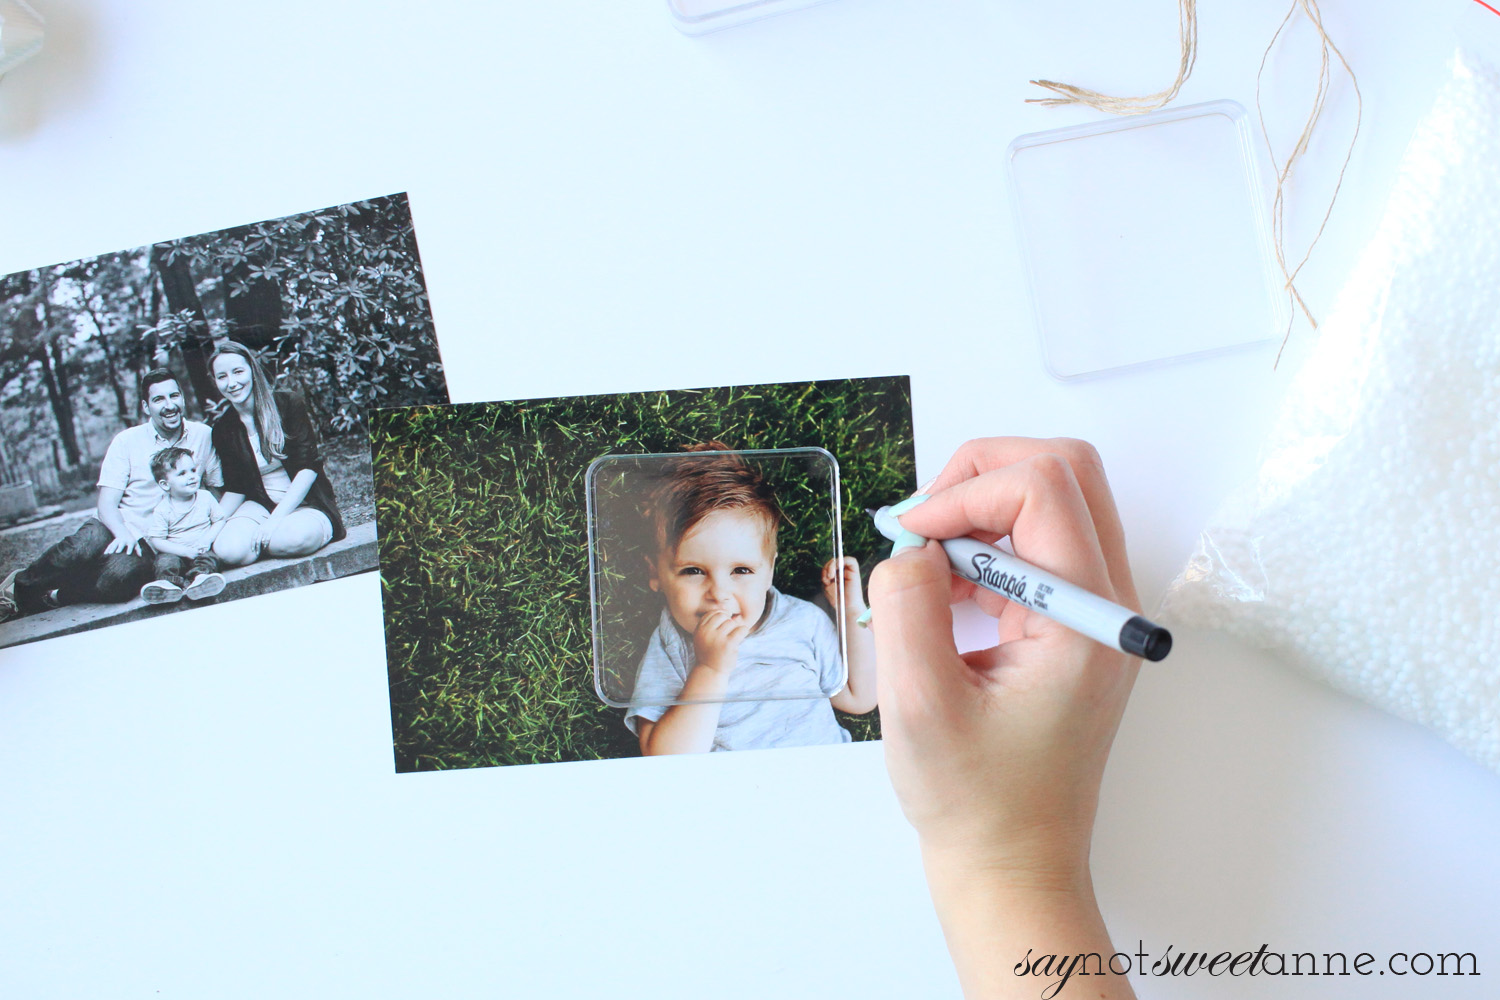
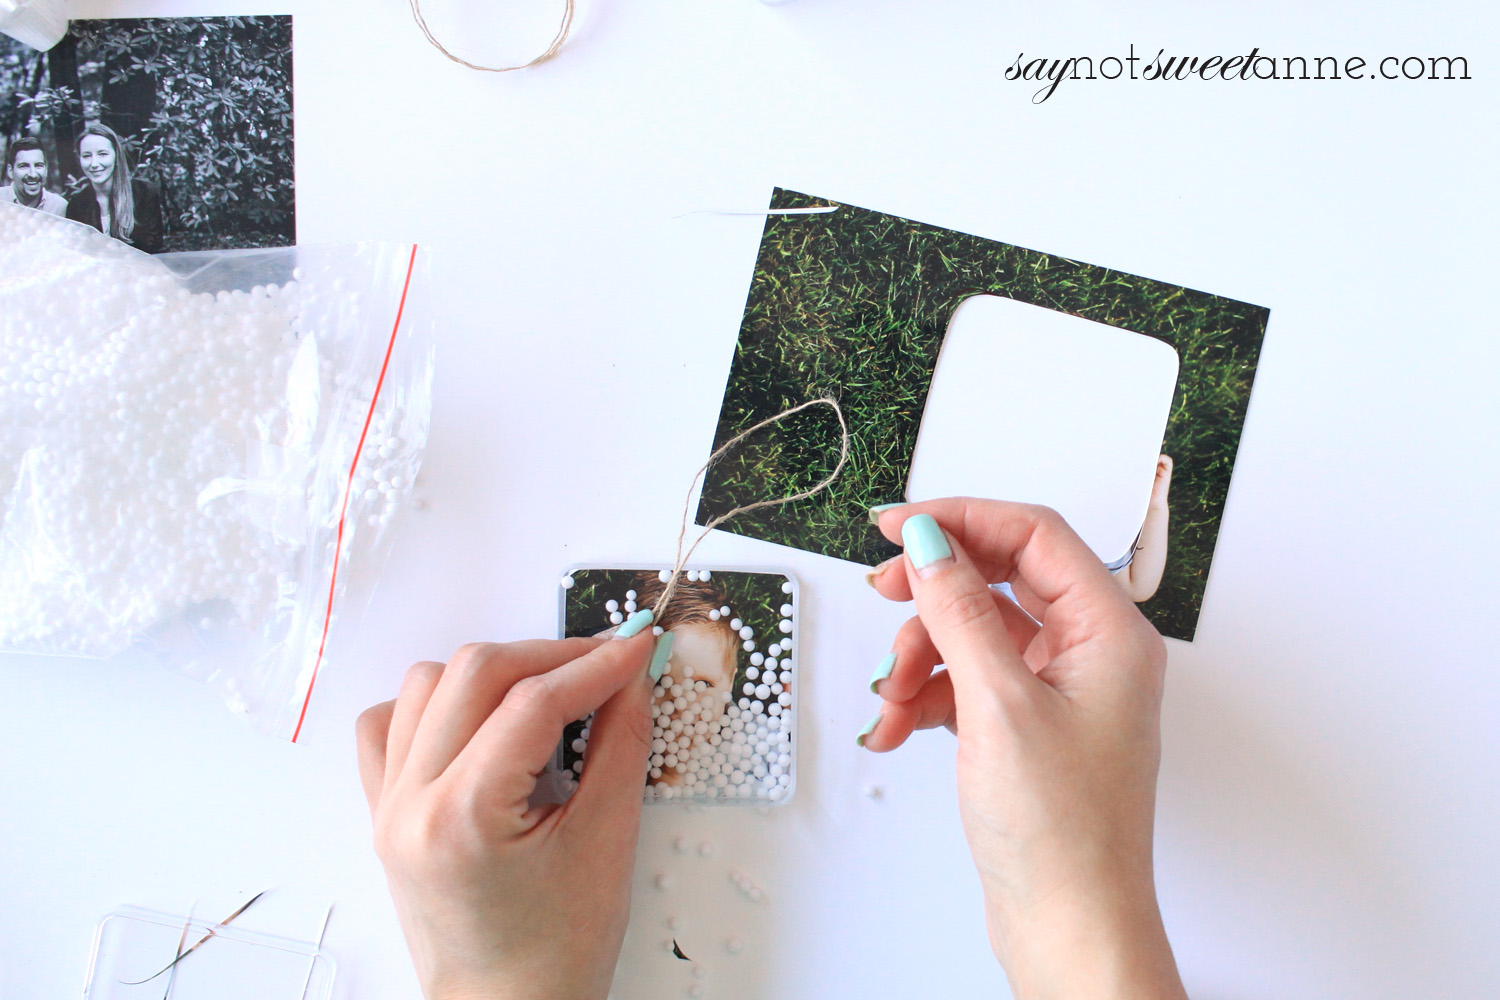
- Start by tracing the favor box onto your photo. The clear box means that you can line up the crop of your photo exactly where you want it!
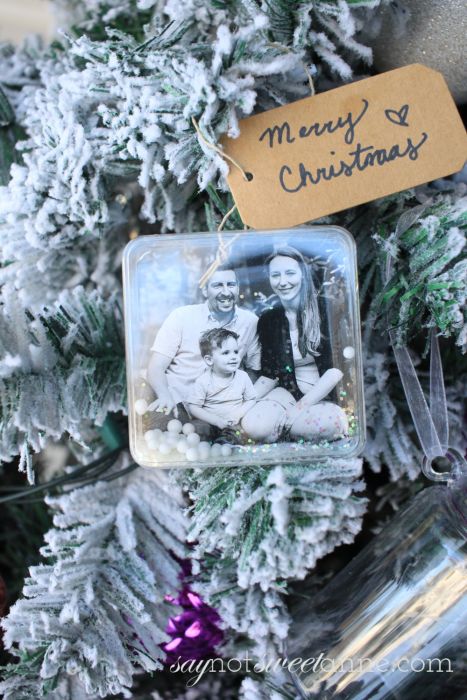
- Cut out your photo. If you want your ornament to be viewable from both sides, then cut two and stick them together (right sides facing out) with the double sided tape.
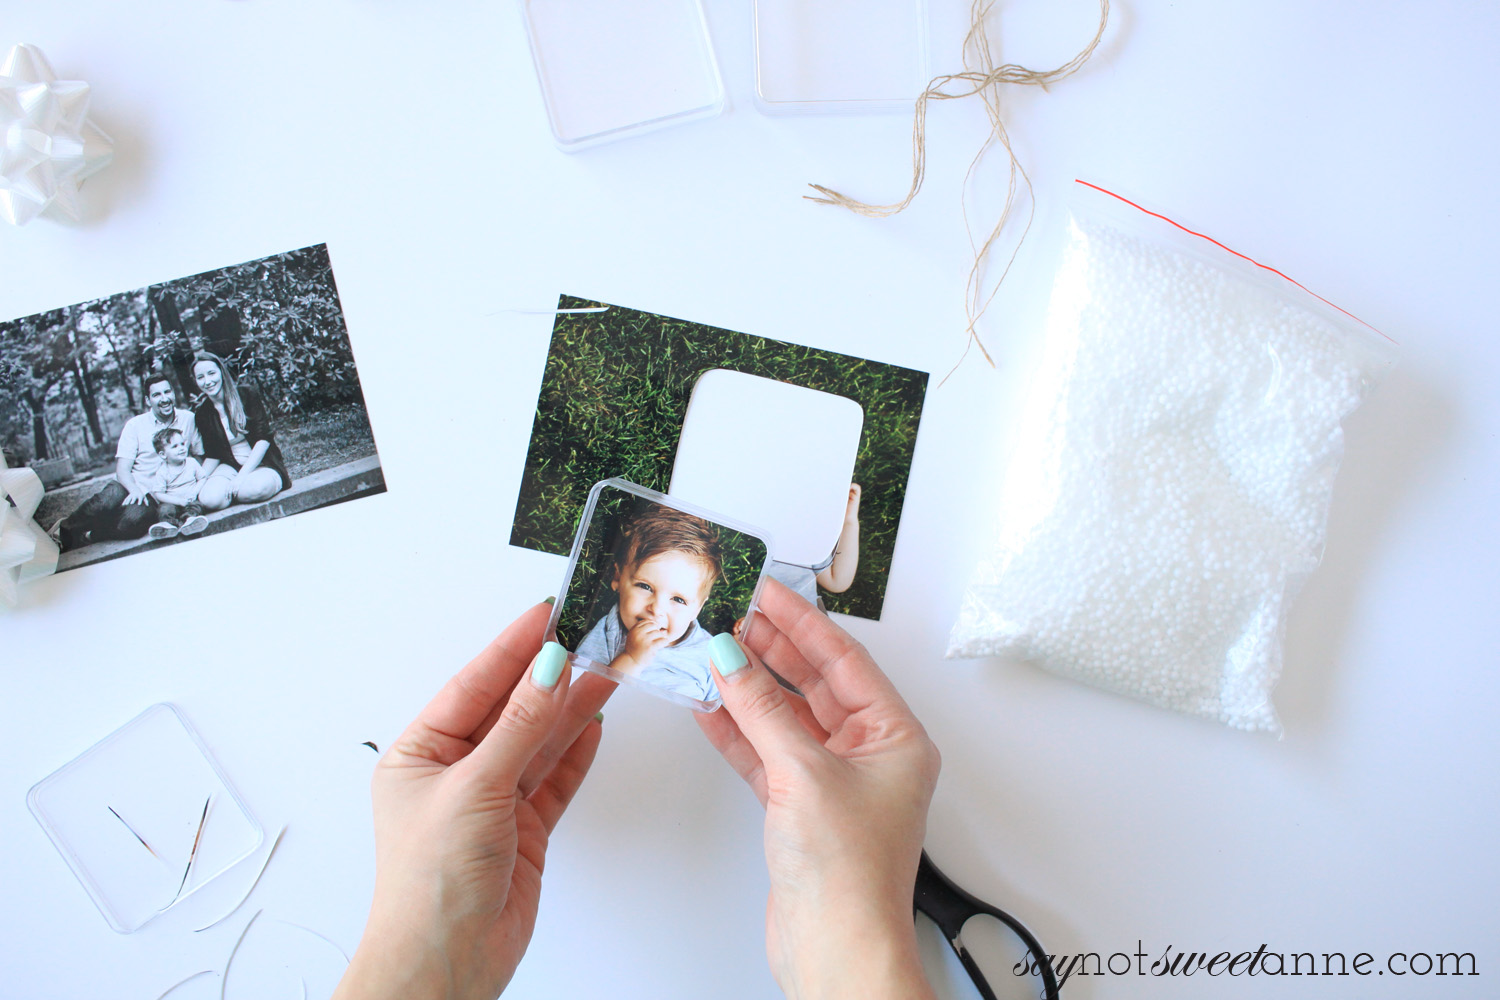
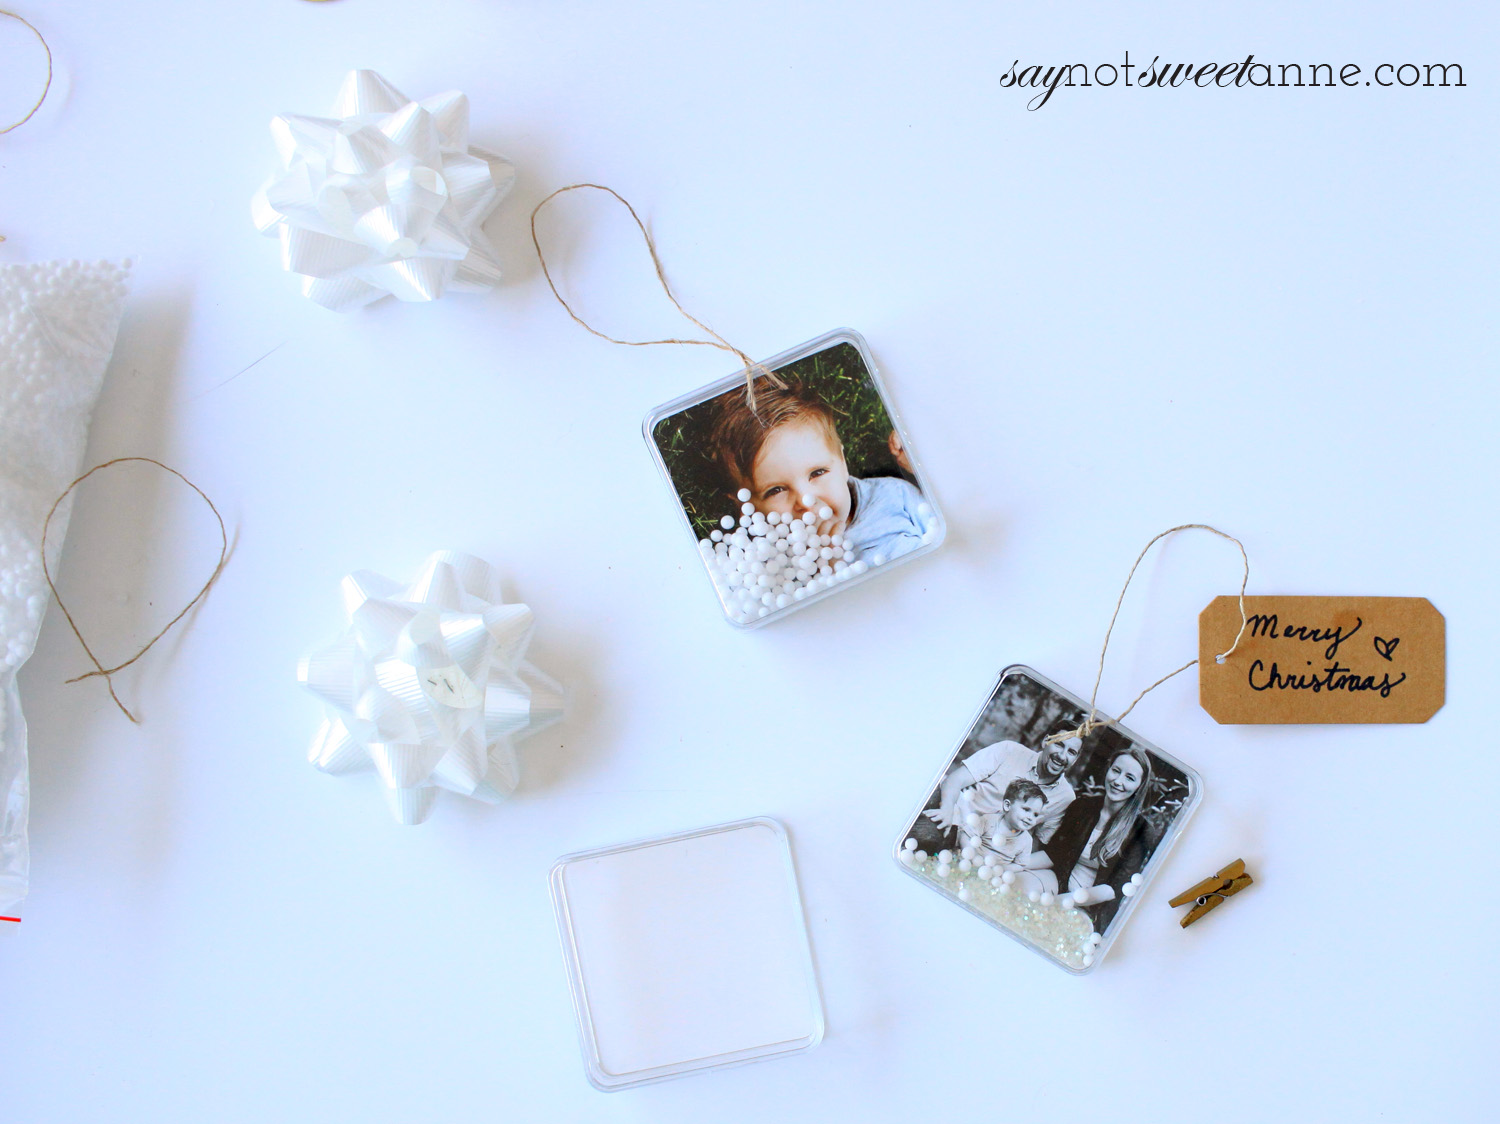
- Rest the photo in the favor box, and top with fake snow, glitter, sequins, charms, or whatever you want to make your stunning snow globe photo ornaments.
- Prepare a piece of twine or string to hold your photo ornaments. Knot the string at the end, and place the knot side just over the side of the favor box so the knot will be caught when you close the box.
- Close the favor box and insure it stays closed by using your clear glossy tape along the edges. This also keeps any super fine glitter inside the ornament and not throughout the house. (Who am I kidding? There’s always glitter in my house.)
Kayla Domeyer
Latest posts by Kayla Domeyer (see all)
- Miniature Bohemian Style 1:12 Dollhouse Rattan Shelf - August 24, 2023
- How I made a DIY Prop Dragon Book (Twice!) - March 20, 2023
- How to Solve Stress with Princess Bathtub Melts - June 2, 2020
These are so cute! I am totally making these for gifts next year!
Aww, thanks Angela! That’s high praise coming from someone as talented as you are!