Painting my fingernails is one of my guilty pleasures. My husband thinks its a waste of time but I feel so much more “put together” when my nails are well manicured and glossy. When I’m feeling *really* into the spa moment, I do my toes too. =D
I can’t, however, afford to get them done. Even if I could, that takes away part of the experience for me. I appreciate the act of giving a self-manicure. It says that I took a minute from the business of my day to take care of myself. Its a simple act- but one that means a lot to me.
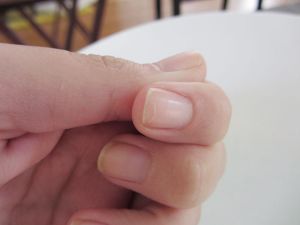
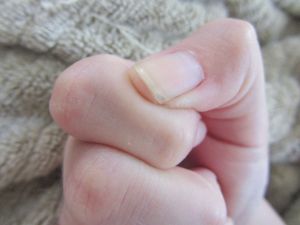
So, when my nails began peeling earlier this year, I didn’t know what I had done wrong. I use gentle nailpolish remover, I avoid physically damaging my nails, a file instead of clip- and yet there they are. Peeling layers of yuckiness.
So, I went to the internet. Turns out, that dryness is a very common cause for nail breakage and peeling. Since the skin of my hands is chapped ad dry, its a pretty good bet my nails are too. Then I got to reading about cuticle oils. By moisturizing the cuticle you can keep the nail plate stronger and the nails more healthy. Just rub it on each nail for 20 seconds twice a day. Sounds easy right?
Wrong. These little buggers are EXPENSIVE! Not to mention chocked full of mysterious chemicals that do who-knows-what. So, in true Kayla form, I set out to make my own.
Turns out some of the essential oils I have around are great for nails! Eucalyptus helps to balance moisture, Grapefruit protects from irritants and Peppermint promotes blood flow. Beeswax helps to seal in the moisture you are applying. (source)
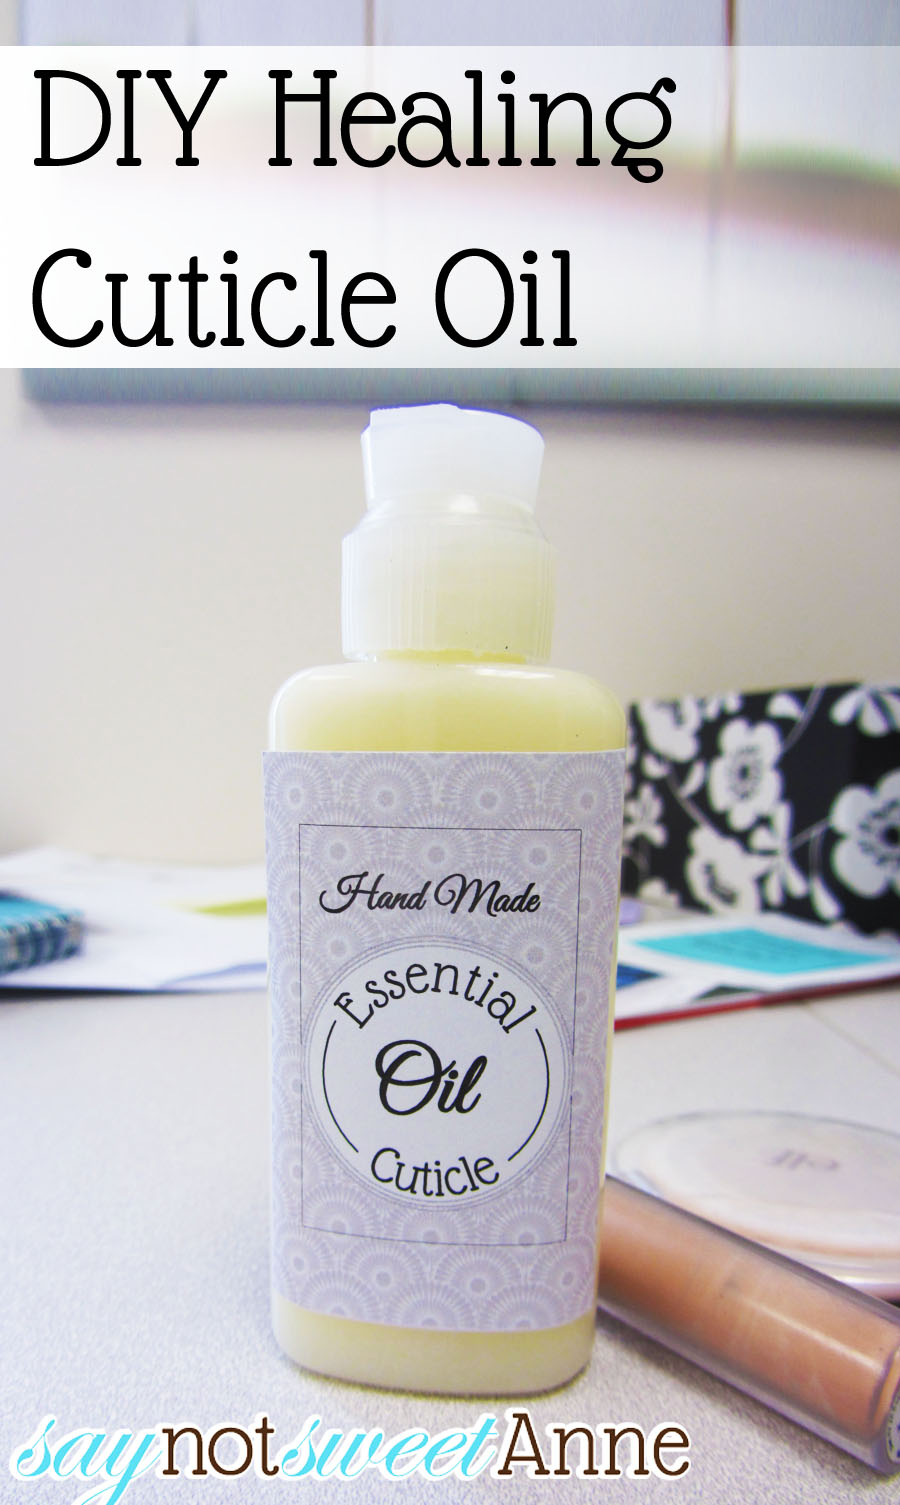
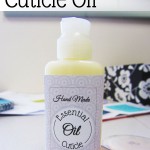
Armed with these and two other household ingredients I set to work! You can make your own and use the Free Printable!
What You Need:
There are two versions of this oil. An all oil version that will be clear and liquid, or a lotion type version that will be creamy, with wax to hold the moisture in. The recipes are pretty much the same.
- 1/4 cup Coconut oil
- 1 tsp grated Beeswax (this is for the lotion version only).
- Hand or stand mixer (Lotion version only).
- Eucalyptus Essential Oil. (I get all my oils at a local Health Food store. They range from $2-$5.)
- Grapefruit Essential Oil.
- Peppermint Essential Oil.
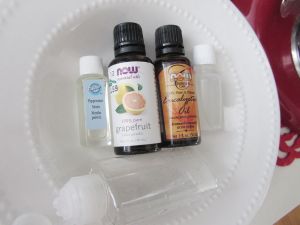
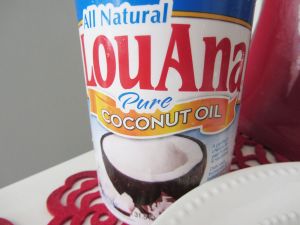
How To Make It:
- Begin by melting your oil. Coconut oil can turn solid in temps under 76degrees.
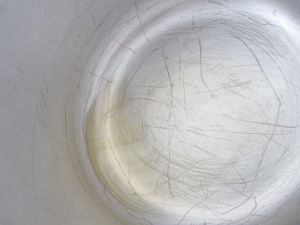
- If using the beeswax, add the shavings to the oil and let melt.
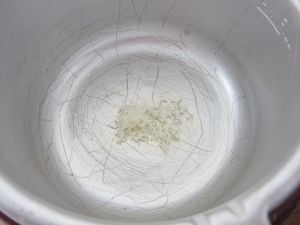
- Add 6 drops of each oil to the mixture.
- If using the oil only method- you’re done! Simply pour your oil into a container and use twice daily. If you’re like me and prefer a lotion, read on.
- Once the oils are combined, heat a metal bowl (or the metal bowl of your stand mixer) in the oven until its hot to the touch but not super hot. (This is just to allow the mixture to cool slowly rather than becoming solid all at once when it hits the cold bowl.)
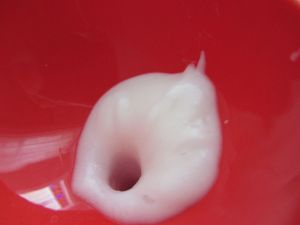
- Pour the mixture into the bowl and whisk it on high for about 5 minutes, or until it is cool to the touch.
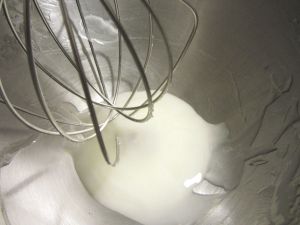
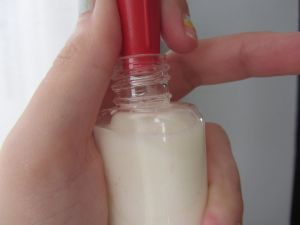
- Use a funnel to help you pour into a bottle and Done! Whipping adds air to the mixture and helps it to cool evenly, now you’ve got a rejuvenating cuticle oil to moisturize with, and the wax helps to seal in that moisture!
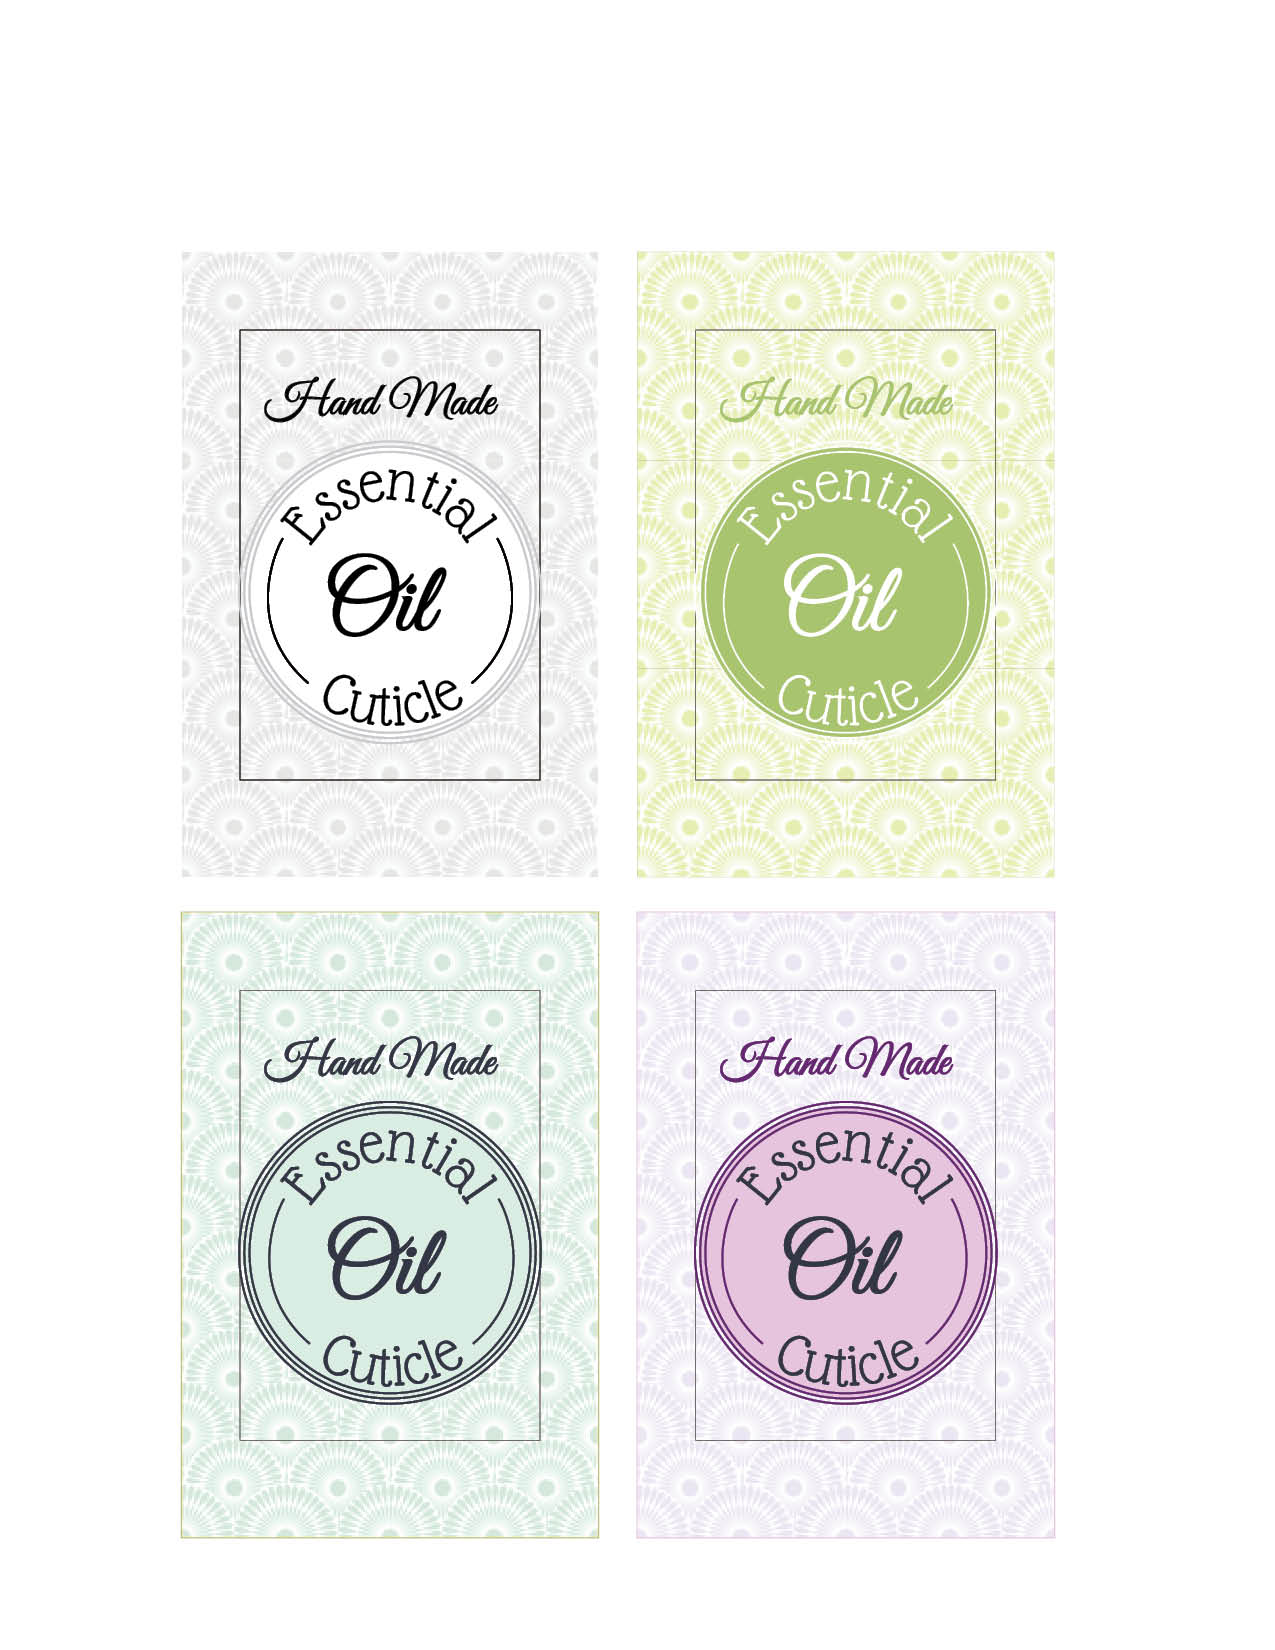
- If you’d like, feel free to use the free printable label I’m sharing. =D
<h3 style=”text-align: center;”><span style=”color: #ff99cc;”>Check out my other Beauty Related posts!</span></h3>
Kayla Domeyer
Latest posts by Kayla Domeyer (see all)
- Miniature Bohemian Style 1:12 Dollhouse Rattan Shelf - August 24, 2023
- How I made a DIY Prop Dragon Book (Twice!) - March 20, 2023
- How to Solve Stress with Princess Bathtub Melts - June 2, 2020


Thanks for the comment about putting it in a chapstick tube! That’s why I try to read all the comments, I’m trying to do more “for me” and getting my nails back to looking decent is one of them.
I hope you love it Tammy! You are worth it! <3
would you mind if i did a blog post on following this recipe for the oil. ill give credit and link you.
Holly recently posted..Top polish of 2015
Hey Holly, feel free to use the recipe with a link back. If you’d like, you can use the hero image too – just be sure to leave the watermark. =D
Love this recipie. I added the beeswax, but didn’t whip it or anything to make a solid oil to put in a ChapStick container and it works great!
I’d never thought of that! Great Idea!!
Can you please tell me about how much this recipe yields? Sorry I try to price things out especially when people are asking me to make this stuff as gifts.
Hey Allison!
The recipe makes the sum total of all of the ingredient measurements mixed together. The whipping adds a bit of volume but not much. I’d say a bit over 1/4 cup (5 oz)?.
Oh, and it goes a long way. As gifts you could easily give out 1-2oz each in a cute container.
I guessed about 3 1oz containers at 1.08 for ingredients with doterra oils. If I get 5 it’s only .82. I buy everything in bulk 🙂
Jojoba oil is a great addition to any cuticle oil as it’s most like skins natural sebum so it’s works wonders and soaks in well. Just a helpful thought. 🙂
Thank you for sharing Kayla. I have a single income and this sounds right up my alley for trying new things. So I’ll try a few and let you know!
Hi! I love your beauty recipes!! And i think it would be interesting to know why you choose those esc, oils, why in this recepie, what is the relation betwen peppermint and cuticle for exaple? Which are the benefits of them in this recepie? (This recipe as an example) because I can find in several sites about these oils, but not spefically.
Sorry abour my english, i am from Argentina.
Thanks!
Hey Elena,
In the cuticle oil recipe I chose peppermint because it improves bloodflow. Plus, it smells yummy.
This is fantastic! I love essential oils. Thanks for sharing. 🙂
Libby recently posted..Sharing the Joy of Crochet {Part 2}