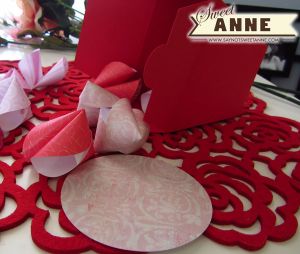
I mentioned a few posts back that I received a Martha Stewart Craft book for my birthday. Well, my latest favorite are these Felt Fortune Cookies. So, with that floating around in my head, I stumbled upon this paper printable fortune cookie post from last year. Suddenly I was in a V-Day Fortune cookie mood! I’m hoping that when I give this to my hubby on Valentine’s Day, he will open a fortune a day for a week. And, since our wedding anniversary is at the end of February, at the bottom of the box I’ll hide some sort of anniversary message!
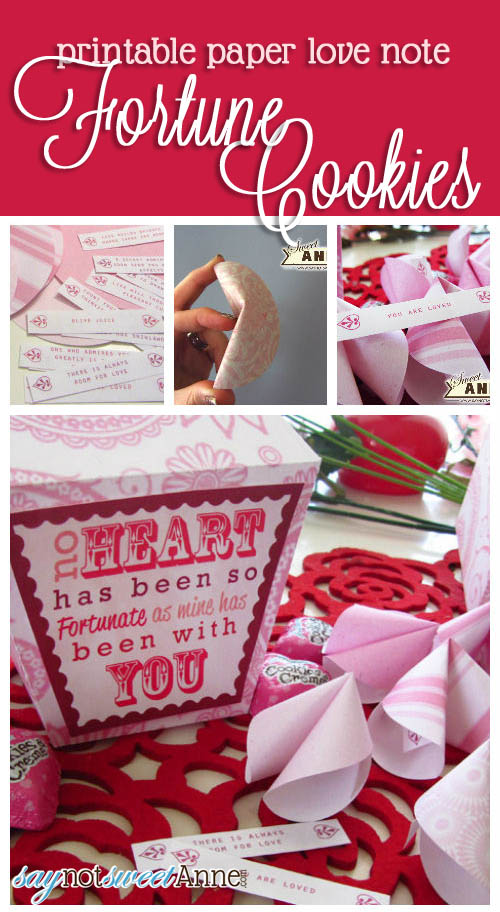
So, here they are! I’ve done 3 different versions of these printable fortune cookies, to suit all sorts of crafty types. Let me explain:
- Print and Hand Cut – This free download includes the pink papers as seen here. Its a 4 sheet printable. Two patterned sheets for the box (It prints in 2 pieces), and one with 6 different patterned rounds (for the cookies). All of the cut lines are marked, so you print them, and then cut them! (Cut on the solid lines, score on the dotted lines.)
Print And Hand Cut File | Label & Fortunes
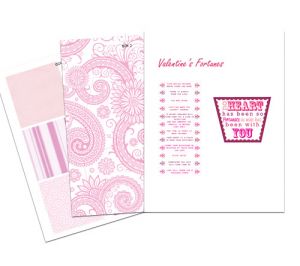
- Cut Template – This 4 sheet printable doesn’t include the colored patterns. I thought there might be crafters out there who would prefer to use their own paper. So, this template includes only the lines needed to cut out the box and the cookies. Print them on white paper and trace them, or print directly on the your letter-sized paper of choice, then cut. (Cut on the solid lines, score on the dotted lines.)
Cut Template | Label & Fortunes
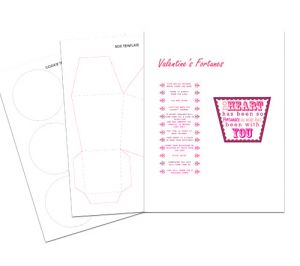
- Silhouette Cutting files – I have a Silhouette Cameo, so I put together a set with cutting files for the box and the fortunes. They are designed for 12×12 paper of your choice (this is not a print & cut). You will still have to print just the labels and fortunes.
.Studio File for Favors | .Studio File for Boxes | Label & Fortunes
How To Make It:
- Since there are so many different ways to print & cut this project- I’m going to begin the tutorial after you’ve already printed and cut all of the elements.
- Grab the box peice with the bottom lets call this pc1. Each peice has one side flap. Glue that side flap on pc1 to the side on pc2 that does NOT have a flap. Repeat, gluing the flap from pc2 onto the flapless side on pc1. You should have a box shape.
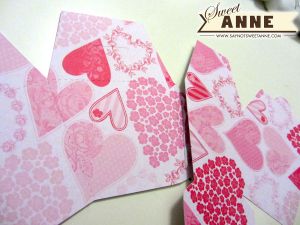
- Fold the bottom lid up, and glue its tabs to the inside of the box.
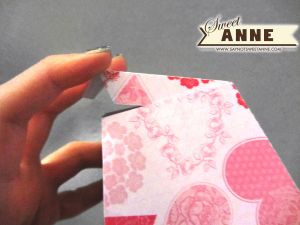
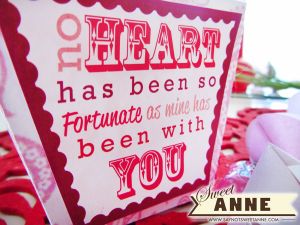
- Glue the front label to the box. Tada! Box is done. Onto fortunes.
- Cut out the fortunes. Have them close at hand. Take a round, and bend it in half, pretty side out. Do not crease.
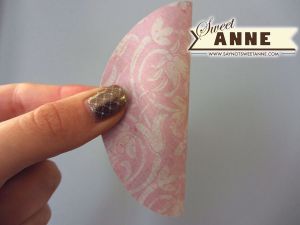
- Now, pucker the fold on the opposite side, and pull the ends together.
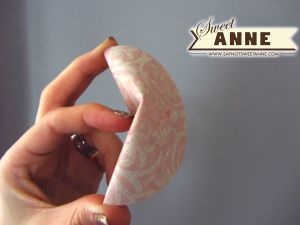
- Sneak a fortune inside, and use a dot of glue to glue the ends together and hold the cookie in the “folded” position.
- Once all completed, drop the cookies and some candy into the box!

Kayla Domeyer
Latest posts by Kayla Domeyer (see all)
- Miniature Bohemian Style 1:12 Dollhouse Rattan Shelf - August 24, 2023
- How I made a DIY Prop Dragon Book (Twice!) - March 20, 2023
- How to Solve Stress with Princess Bathtub Melts - June 2, 2020

Thank you for having the print and cut file also with the instructions in the PDF file. The download is super easy. THANKS!!!!
Kayla, these designs are darling, I love them!
Rachel @ {I Love} My Disorganized Life recently posted..Sweets for My Sweet{heart} Bread
Hi, im attempting to make the fortune cookies… I’ve printed it on card but i cant seem to make the fortune cookies, it gets all crinkled and it doesnt stay put…
do you have any tips? I tried printing them on normal paper as well but it doesnt quite work either.
Thanks =)
Jessica,
Making the cookies was the hardest part of this tutorial to describe. I found a video that shows it pretty well: http://www.ehow.com/video_4790371_make-paper-fortune-cookies.html
So hopefully that helps! Basically, its just the way you fold it. Although I wouldn’t be surprised if you had trouble with the card stock- it might be too heavy to fold right. 😀
I hope it works out- and that your Valentine loves it!
This is, perhaps, my most slow-pokey week yet. My apologies for taking so long to get over here from “A Little Birdie Told Me..” to enjoy your post. It’s important to me to visit and really give my full attention to all the links, but as the party grows it’s taking more and more time. Thank you so much for bearing with me, and for continuing to share your talent at Rook No. 17!
Jenn
Need to get me one of those Silhouettes! Thank you so much for sharing at Taking A Timeout Thursday! Hope you had a wonderful Valentine’s Day!
Linked up to

You are a creative genius love to to much
You have such a fun blog!!!! Come link to my party on Tuesdays :):)
I love this and just pinned it!
Hello Kayla! Stopping by for the first time to your sweet place here. Lots of great projects and things you generously share. Love the fortune cookie box!
Nice to meet you!
Kindly, Lorraine
Super cute! I’d love for you to link up to Do Something Crafty Friday: http://seevanessacraft.com/
These are really cute! Thank you. Stopping by from {whipper berry}
This is super cute! Great job putting this together and thank you for sharing the printable. Stopping by from Night Owl Crafting. Cheers!