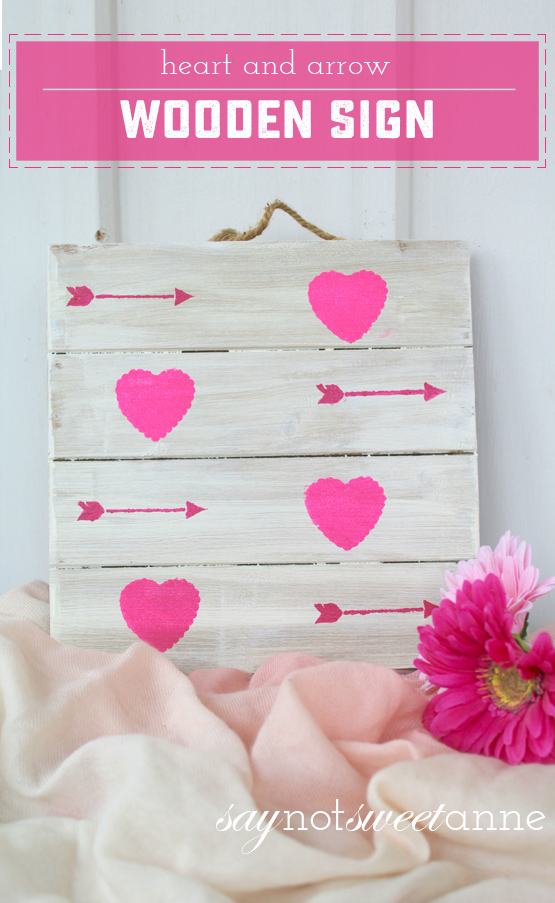
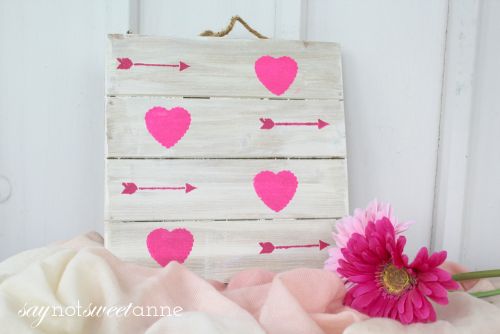
DIY Wooden Signs are kind of a big deal lately. They are adorable, generally easy, and provide a ton of decor options. I recently redid my whole living room decor, leaving a dedicated space for seasonal hanging art. And you can bet that this DIY Wooden Valentine Sign will look great there!
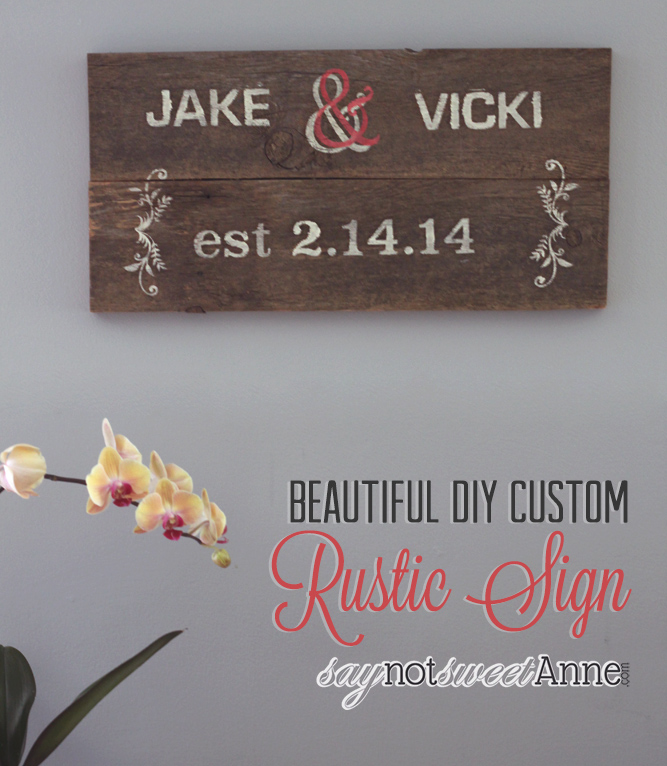
This isn’t the first DIY Wooden Valentine Sign I’ve made either. A few years ago a family member was married on Valentine’s Day, and I made them this adorable sign to commemorate it.
This new version is a bit more approachable, using store bought elements rather than home made ones, and a couple of stencils instead of cut vinyl. It is still adorable though!! The pre-done base sign was a steal on Amazon, and you can get them in craft stores pretty much year round as well!
What You Need:
- Basic wood sign base or square piece of scrap wood (you can get these pre done at a craft store or on Amazon.)
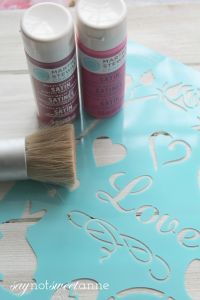
- Assorted satin craft paints
- Stencils of your choice (I used the Martha Stewart holiday stencil set found at Michaels’s – but there are a lot available online too.)
- Stencil dabbing sponges or brushes
How To Make It:
1. If you wish to paint a base color on your sign, now is the time to do it. If doing a base color, apply two coats of paint and allow to dry well in between coats.
2. Practice your stencils a few times on a piece of paper so you can an idea of how to dab on the paint and carefully remove the stencil. This way you are less likely to make mistakes once you begin the sign. Usually you need far less paint that you’d think. Dab your paint brush straight up and down – don’t move side to side.
3. If you wish for your shapes to be precisely placed on the board, you can measure ahead of time with a ruler and make pencil marks where you want each stencil to go.
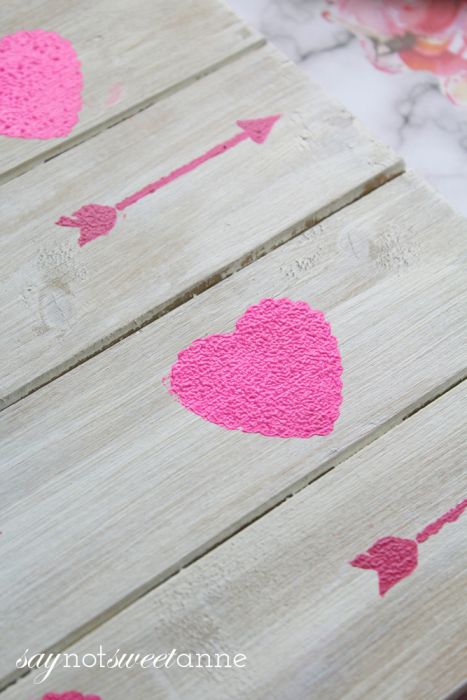
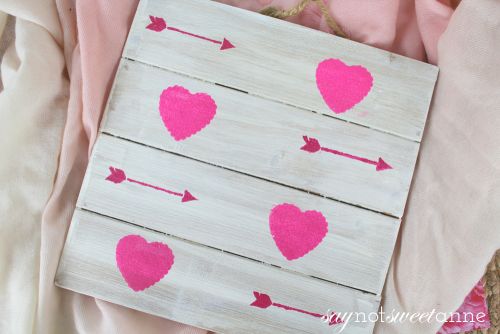
4. Stencil it! For mine I chose two designs we really liked and decided to alternate them.

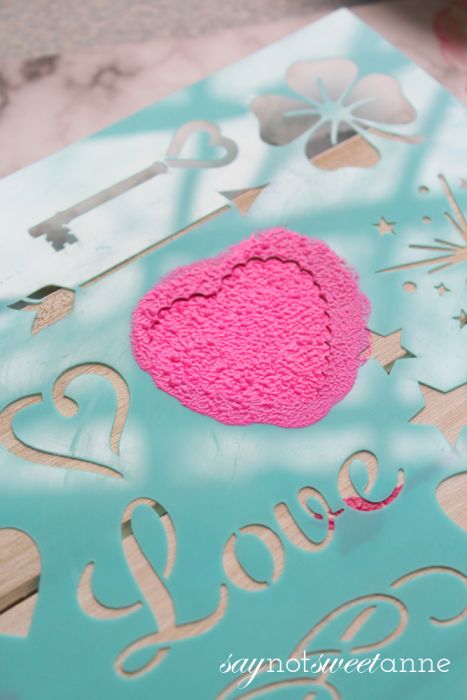
5. Place the stencil down and make sure it is flat. Dip the sponge in the paint and start dabbing it over the stencil.
6. Gently peel back the stencil, revealing the image underneath. Be careful not to touch it as it will smear.
7. Repeat these steps until the stencils are applied as you wish. Allow the paint to thoroughly dry before hanging.
Optional: If you wish to seal the paint with a clear sealant you can. It may help it last longer and resist fading.
Kayla Domeyer
Latest posts by Kayla Domeyer (see all)
- Miniature Bohemian Style 1:12 Dollhouse Rattan Shelf - August 24, 2023
- How I made a DIY Prop Dragon Book (Twice!) - March 20, 2023
- How to Solve Stress with Princess Bathtub Melts - June 2, 2020