I’ve told you all before that I rarely give store bought gifts or money at a wedding. That was the reason I ventured into Personalized Pyrex and Kitchen Towels a year or two ago. So hopefully it is no surprise to anyone when I show up at a wedding bearing oddly shaped and often home-made gifts. This February I was invited to a wedding with the reception in a hunting lodge. I knew immediately that I wanted to make a gift that reflected the outdoorsey and rustic nature of the couple.
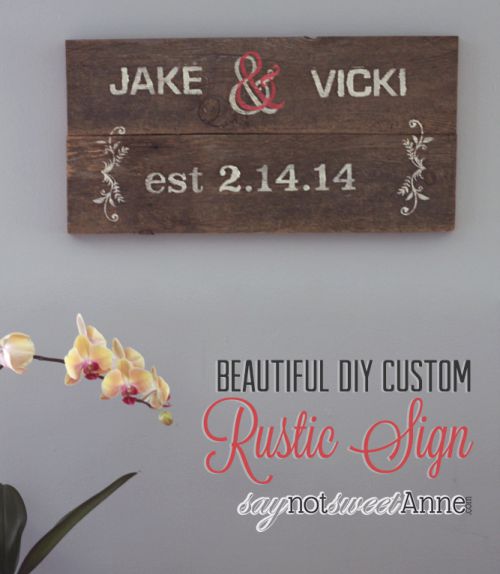
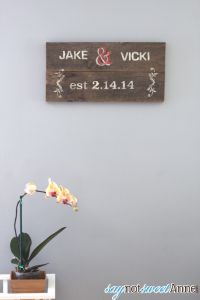
The result was this beautiful diy rustic home decor sign made with the bride and groom’s names and wedding date! I couldn’t be happier with how well it turned out. And believe me, it was really easy. I actually ended up giving money too because I felt guilty over how easy this gift turned out to be. =D
What You Need:
- Weathered board a few feet long (Or you can weather some new wood using this Almost Instead Weathered Wood Stain). Hubby found ours above the garage when we moved in. Its cedar, but I don’t know how old.
- A dowel from a craft store, and a drill bit the same size.
- Wood glue.
- Stencils and paint.
How To Make It:
- First step is to cut your board into two pieces of equal length. These will end up stacked on top of each other to make your sign base.
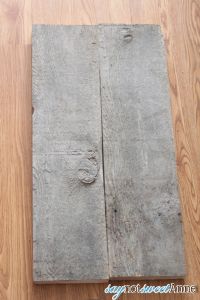
- Then, lay your boards how you want them to end up stacked. Mark a line across the gap where they join. This will be the guide for your dowel holes.
- Following your lines, drill a 1/2 inch hole in each board along each mark. The picture explains it better than words.
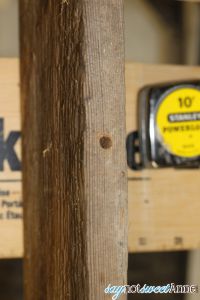
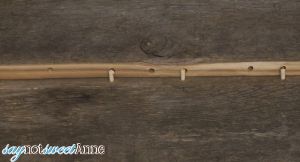
- Now, cut your dowel to 3/4 inch bits. Put a little wood glue in your holes and put the dowel pieces in. This will hold your sign together with no outward markings! (you can see it took me a couple tries to get it right…)
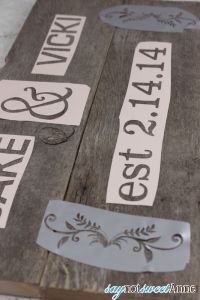
- Now for the design. I used my silhouette cameo to cut vinyl to use as a stencil, but this could really be done with any craft stencil. Plan out your design and mark lightly with a pencil to make guides for yourself. (Since this project is rustic wood, you could also use fine pushpins as guides that can be removed later.)
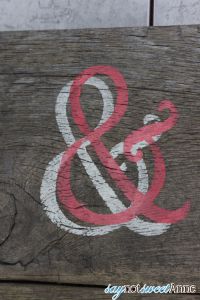
- One sweet touch that is really easy is to layer some elements with a “shadow”. I just painted this ampersand white, waited until dry, offset the stencil and painted it again red!
- Once you’ve got your design painted, attache a picture hanging clip to the back. All done!
Kayla Domeyer
Latest posts by Kayla Domeyer (see all)
- Miniature Bohemian Style 1:12 Dollhouse Rattan Shelf - August 24, 2023
- How I made a DIY Prop Dragon Book (Twice!) - March 20, 2023
- How to Solve Stress with Princess Bathtub Melts - June 2, 2020

Ahhh so cute! This doesn’t look too hard to make but is adorable! I need to make it for my next home.
Love this, Kayla! I’ve actually wanted one of these custom signs just like this! I’ve seen some on Etsy, but most of them are pretty pricey. Your tutorial makes it look so easy, though! I have been wanting to get a silhouette cameo for a while and this just gives me more reason to get one. 🙂 Definitely want to make this.
Ashlyn @ Belle of the Kitchen recently posted..Mason Jar Rainbow Cake