My cousin is having a baby! That means I’m headed to a baby shower. Now, years ago I shot myself in the foot when I started making hand-made gifts. I made these sweet baby clothes Parfaits for one cousin, This awesome personalized pyrex for a wedding, This neato rustic sign for another wedding, Nail polish for a graduation party, and the list goes on. So now, every family get together, party or event, I feel the need to make something. Why? Because I don’t want anyone to think “Man, she must not like me as much as she likes X. I only got towels instead of personal embroidered towels.”
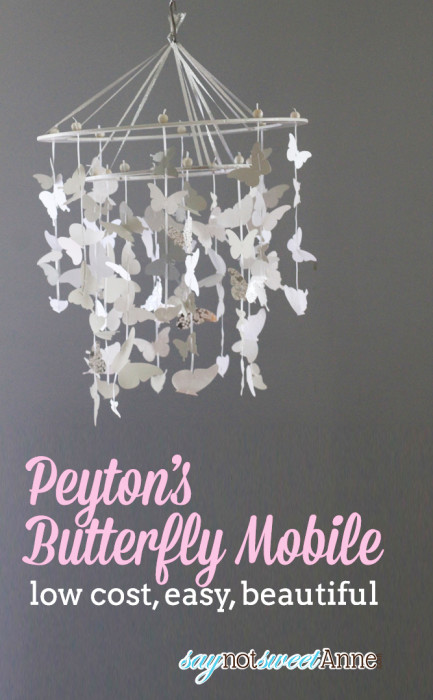
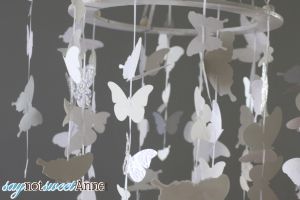
Not that it would happen. But it happens in my head and so I take pains to make a gift. And not just any gift. A heartwarming, kind and thoughtful gift. After getting back from our vacation I haven’t had much time, and things have been crazy at work. I was really starting to stress about creating something for my cousin. Then this paper mobile idea came to me. A lovely white cascade of flutterfing butterflies for baby to enjoy. How sweet!
What You Need:
- Round Wreath Form (one or two depending on your design)
- White paint (or any color, for wreath forms)
- Ribbon (Long enough for all the strings you want)
- Scroll saw (optional)
- Large wooden beads
- Elmer’s glue
- Sharp knife
- A bunch of cut butterflies, flowers etc in different colors of paper
How To Make It:
I was shocked at how quickly this all went together. I’m a big fan of working smart and not hard, I think this project is really easy to replicate!
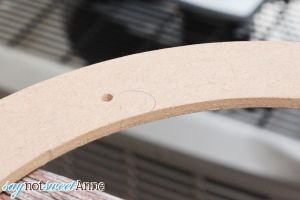
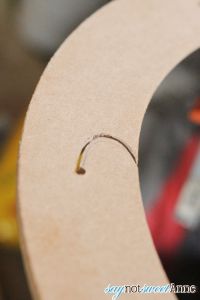
- If desired, cut holes and little C shaped channels into your wreath form. Later, these will be used to attach the strings in a way that allows them to be removed in case of tangling/transport.
- Paint the wreath forms
- Cut your ribbon to the desired length. Each of our circles has 8 strings. I cut 8 long ones and 8 somewhat shorter.
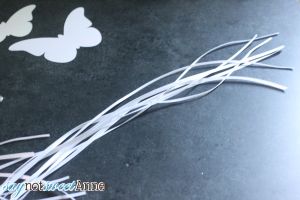
- Begin stringing your butterflies. Be creative! I simply cut two slits in each paper butterfly and fed the ribbon through. I placed the slits in various places, had some butterflies folded etc to create the illusion of a dancing cloud of wings. This was the most time intense part, as I cut all of my butterflies with my Silhouette Cameo and was very careful to balance different papers, shapes, and positions for the butterflies.
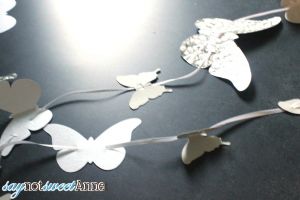
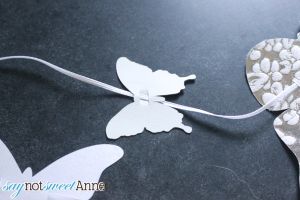
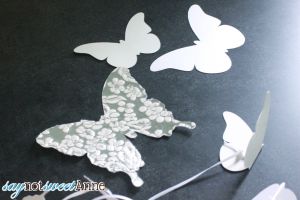
- Where the ribbon is strung through each paper butterfly, apply a small dab of white glue. This will keep them from moving on the string.
- Secure the bottom end of the ribbon with a knot and a dab of glue.
- Secure the top of the ribbon by stringing through the wooden bead. I then filled the inside of the bead with glue to be sure the strings stayed put. Allow all the glue to dry.
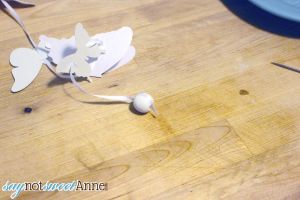
- Now its time to hang the circles. For mine I cut 6 identical lengths of ribbon, strung them around the circle and then tied a knot in the center of all the strings. This allows each ring to hang from 3 ribbons, and be at the same height as its companion. We tried a bunch of different methods before landing on this one- which is so simple! (Duh!)
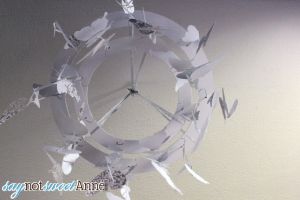
This is after I hung the butterflies, but it shows the three strands holding up the ring. - Now simply guide each butterfly string through the C channel until it reaches the end. The bead should be on top of the ring to keep the string from falling through. The C channel should be curved enough that accidental movement won’t be able to guide the string out. (If you didn’t go the C channel route, simply tie the ribbons onto the wreath and secure with glue.)
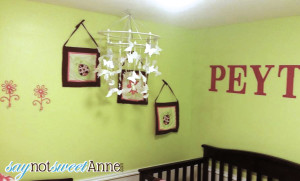
- Done!! I’m not sure how I’m going to pack this up to give away, but I LOVE how it turned out. It doesn’t even need to be for a baby’s room, it would make a great chandelier or wedding arch prop!
Kayla Domeyer
Latest posts by Kayla Domeyer (see all)
- Miniature Bohemian Style 1:12 Dollhouse Rattan Shelf - August 24, 2023
- How to Solve Stress with Princess Bathtub Melts - June 2, 2020
- 25 Valentines Even a Toddler Can Make - February 11, 2020

This looking soo pretty. But I think this little hard for me to make. But I like this very much. Thanks for sharing.
Aww, you should give it a shot Kayla!
This is such a cute idea!! I have several baby showers coming up and I think this would make a great gift!